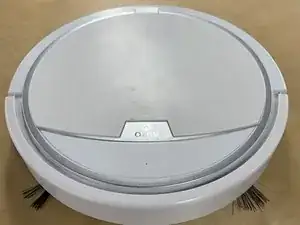
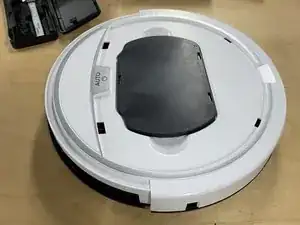
Introduction
-
-
You will need a PH0 screwdriver.
-
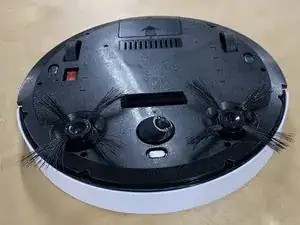
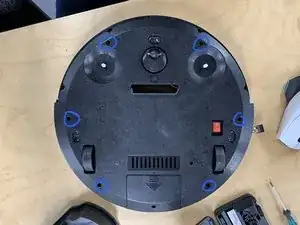
First make sure the power is turned off. (this is the red switch on the bottom.)
-
This then can be followed by removing the side brush.
-
-
-
Next remove the screws connecting the top of the bumper to the bottom.
-
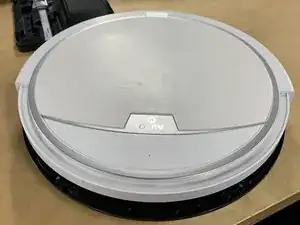
Then remove the top of the bumper. By lifting and pulling the plate towards yourself.
-
-
-
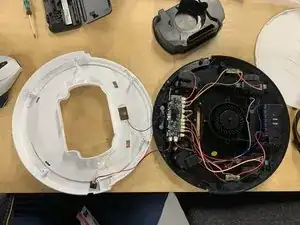
Remove the top white plate.
-
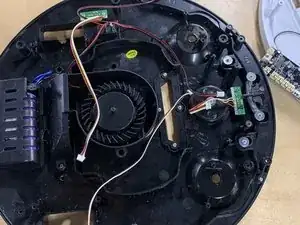
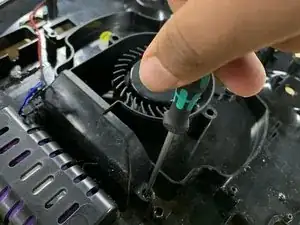
Remove the fan housing part.
-
Remove the filter from the part by popping the lid off the part. (this can be done with your hands.)
-
-
-
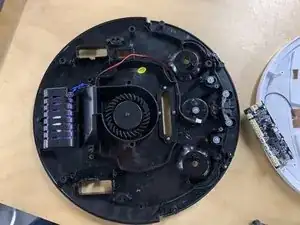
After Unscrew the rest of the plates from the base.
-
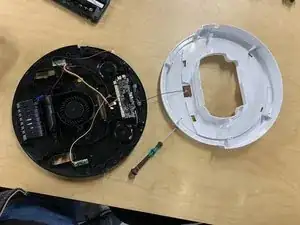
Next remove the base from the top as shown. (make sure to be careful as the lid and the base are attached by a wire.
-
-
-
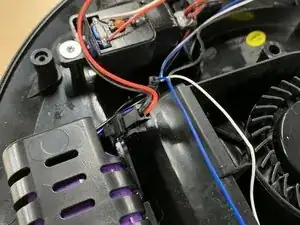
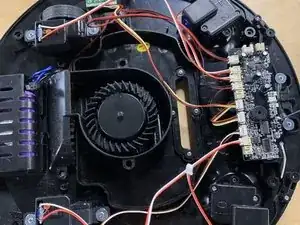
Now unplug the battery.
-
After unplug all the components MAKING SURE TO KEEP TRACK OF WHAT GOES WHERE!
-
Once done unscrew the motors and remove them from the chasis.
-
-
-
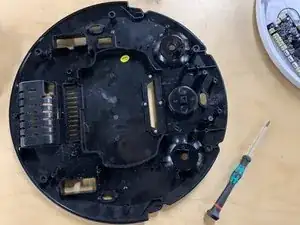
Now the motherboard must be removed. Unscrew the motherboard and remove so that other components can be removed.
-
Once removed all of the IR sensors can be removed.
-
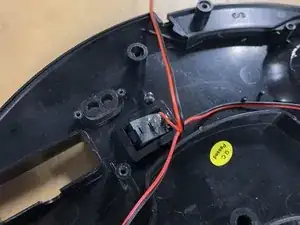
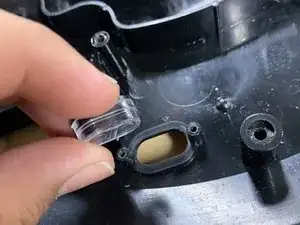
Unscrew and remove the IR sensors followed by popping out the power switch (this will require some force.)
-
-
-
Remove the IR sensors casing and place the 2 parts next to the IR sensors.
-
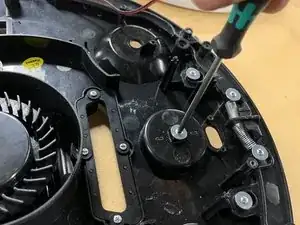
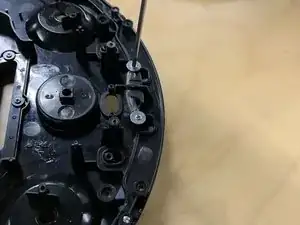
Next unscrew the universal directional wheel.
-
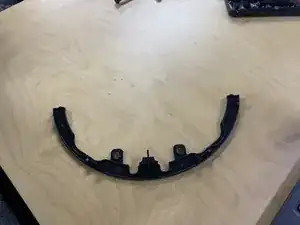
Next unscrew the lower bumper and remove it.
-
-
-
Now unscrew the lower fan housing and remove.
-
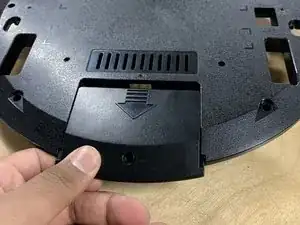
Flip over the product and unscrew the back panel. Then remove the battery.
-
-
-
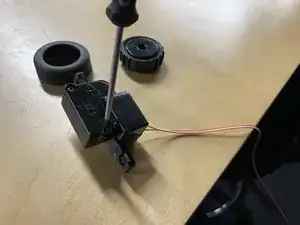
Sub assembly of Motor and Wheel.
-
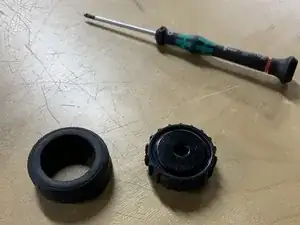
First unscrew the wheel from the motor.
-
Next remove the tyre from the wheel.
-
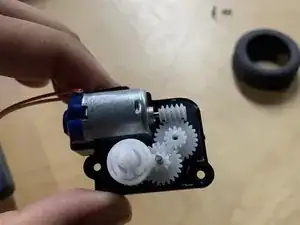
After unscrew the motor and open it.
-
-
-
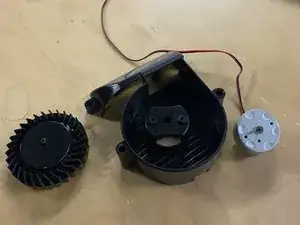
Disassembly of fan and holder.
-
First remove the fan. (This will require some force.)
-
Next unscrew the motor and remove.
-


To reassemble your device, follow these instructions in reverse order.
