Introduction
This demonstrates how to replace the triggers on your Diswoe Switch-01 controller. Before you begin the repair, make sure the controller is off and disconnected from the console.
-
-
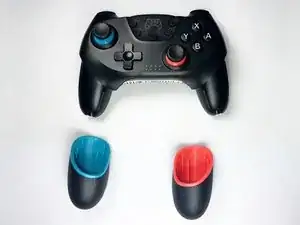
Use a Phillips screwdriver to remove the two screws at the bottom of the hand grips.
-
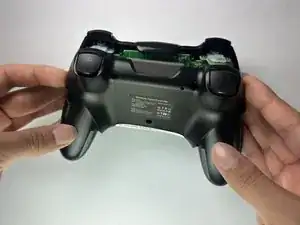
Remove the handgrips from the controller.
-
-
-
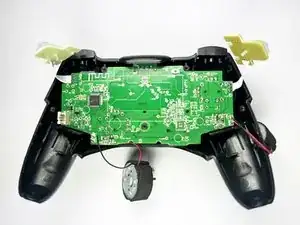
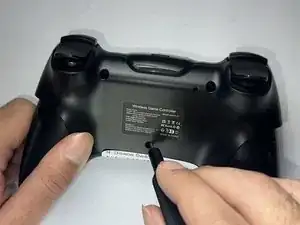
Turn the controller over so the bottom is facing up.
-
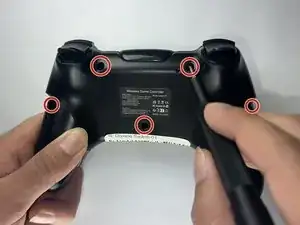
Use a Phillips screwdriver to remove the five screws from the back case.
-
-
-
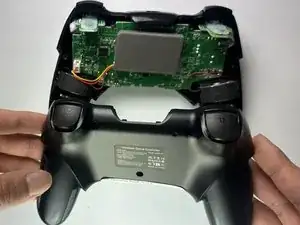
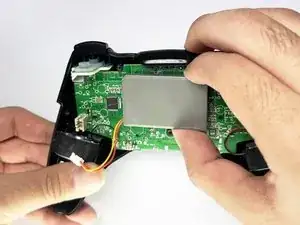
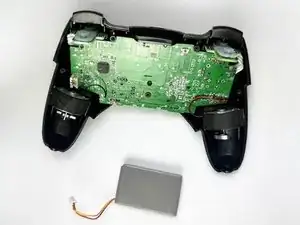
Push on alternating sides of the battery connector to "walk" it out of its socket.
-
If that doesn't work, use a pair of tweezers to firmly grip the sides of the connector and pull straight away from the socket. Hold the tweezers closer to the connector to get a better grip.
-
Additionally, if the previous step didn’t work, use the arms of a pair of sharp tweezers to gently push the connector out of its socket by inserting them into the cutouts.
-
-
-
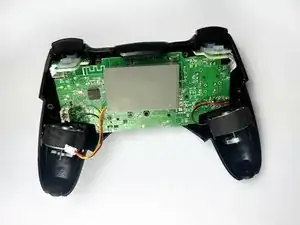
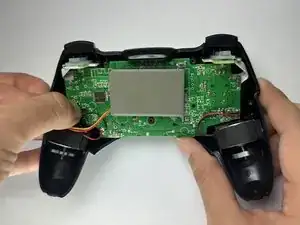
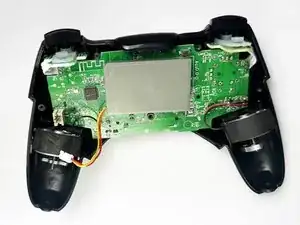
Right under where the triggers were, you should see some small loose rectangular pieces of circuit board. These are the sensors that register the clicks of the triggers. Lightly blow on them and dust them gently in order to clean them. If they move out of place, simply move them back into place.
-
If needed, you can also remove the trigger buttons from the case, you can replace these with newer ones if they are too rundown for your liking or if they become damaged.
-

To reassemble your device, follow these instructions in reverse order. Take your e-waste to an R2 or e-Stewards certified recycler.