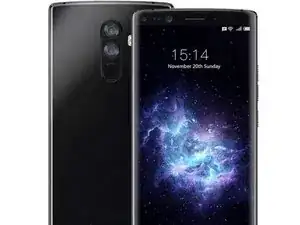
Introduction
If your phone isn't charging reliably when you put the plug in, and you've tried different cables and chargers including the ones that came with your phone, you may need to replace the charging board in your Doogee Mix 2.
-
-
The most stressful part of repairing this phone is removing the glued on back. Unless you are very confident buy a new back cover and a new set of patch antennas before you start. The back cover is about $6 and the patch antennas about $5 at the time of writing.
-
-
-
Shut down the phone.
-
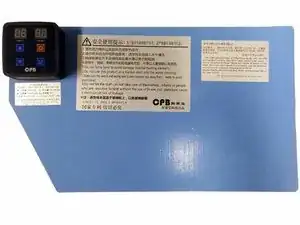
Heat the rear of the phone, ideally with a temperature controlled heat mat like this but you can use a heat gun or even a hair dryer around the edge of the rear cover if you are careful.
-
-
-
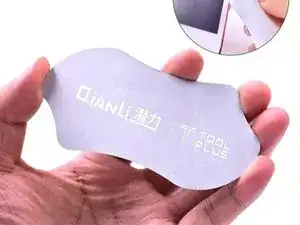
With a very thin spudger like the one shown gently pry the back cover away from the phone about half way down the long edge of the cover on either side.
-
When you have enough room, insert some plastic cards (such as plastic playing cards) and use them to cut through the glue around the bottom half of the rear cover.
-
Be careful not to pry around the top edge. If the patch antennas are damaged when the cover is removed be sure to replace them with new ones.
-
Slowly lift away the back cover, detaching the top edge last.
-
-
-
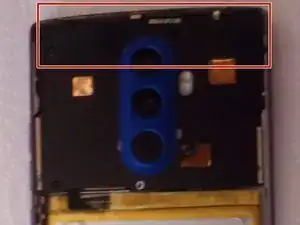
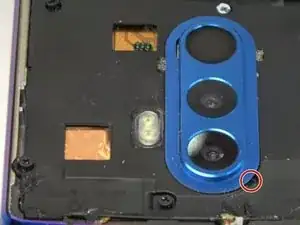
Unscrew the motherboard shield at the top of the phone
-
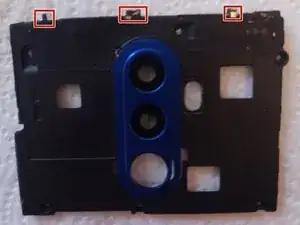
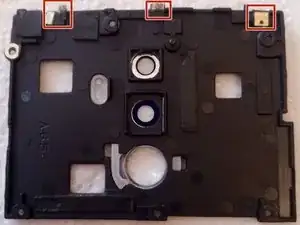
Note one screw almost hidden by the camera bezel. You will need to pry the bezel to undo this screw.
-
Lift away the shield and store it safely with the screws
-
Unplug the battery connector from the motherboard to avoid electrically damaging the phone.
-
-
-
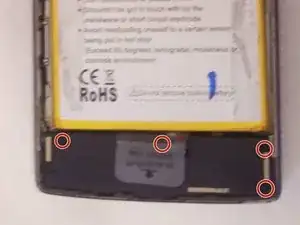
Remove the screws at the bottom of the phone and carefully lift up the black speaker unit. Underneath is a small circuit board. Be careful not to break the metal braid joining the speaker to the phone.
-
-
-
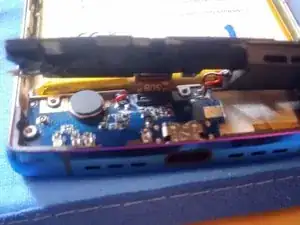
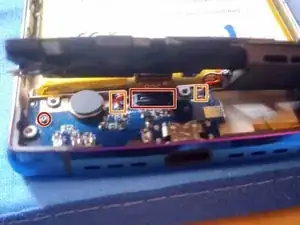
Unplug the antenna jack on the left and the flat cable in the middle
-
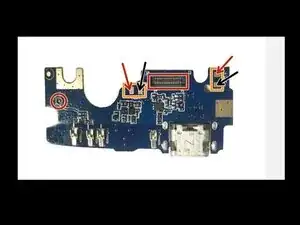
Carefully unsolder the four separate wires without damaging anything with your soldering iron. You may need an assistant to hold the speaker out of the way.
-
Prepare the new board by applying solder to the four square pads with the soldering iron (tinning the pads).
-
Gently lift the board out before installing the replacement board
-
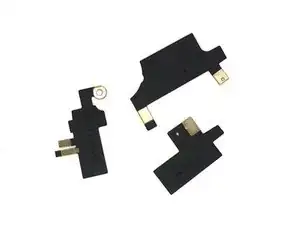
Solder the four wires to the new board in the same positions. Make sure you match the colours of the wires shown by the arrows.
-
Plug in in the antenna and flat cable.
-
Screw the speaker back into place.
-
-
-
Inspect the patch antennas on the motherboard shield for damage. If any damage is seen, photograph both sides of the shield then peel off the damaged antennas and replace them with new ones. Transfer any sticky pads to the new antennas referring to your photos for location.
-
Reconnect the battery and screw the motherboard shield back into place.
-
-
-
To attach the back cover normally requires special glue, however small strips of double sided tape will work. Apply very sparingly and avoid the antenna area.
-
Press the cover into place. If using glue, use soft plastic clamps to hold the phone together while the glue dries.
-
Hopefully you managed to repair your phone!