Introduction

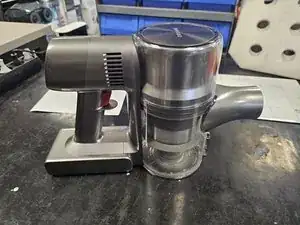
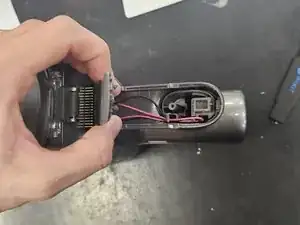
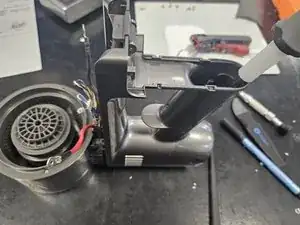
This is a guide on how to replace the display of the Dreame T30 handheld battery operated vacuum cleaner.

You should consider doing so if the display is malfunctioning or if the buttons have stopped working.

A possible solution for not switching speeds/powers is to replace the battery.

  1. NBLHDJW64dIeLDrA
    NBLHDJW64dIeLDrA
    RXnUokcvtZAPt16L
    yCc2wIsHuQWaIRtQ
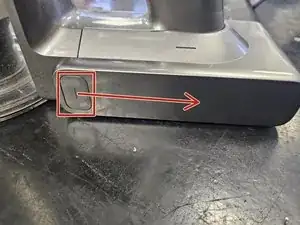
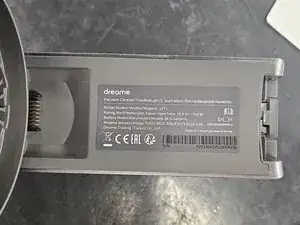
    • Begin by removing the removable battery.

  2. fpPtMTk3UBxayBi2
    fpPtMTk3UBxayBi2
    hT5AtbKYdlog5Kug
    FsKTMdyZhYYNvx6t
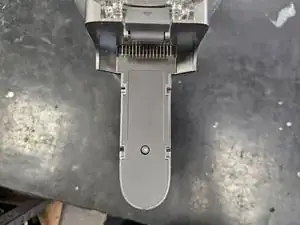
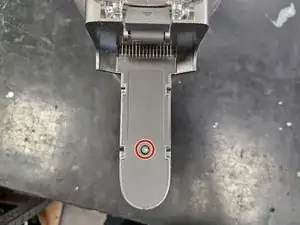
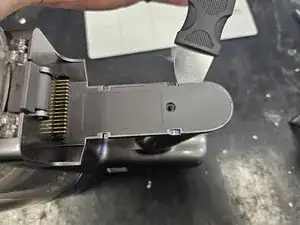
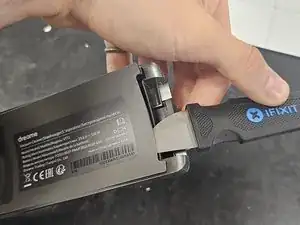
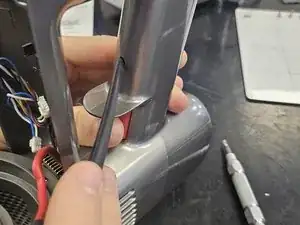
    • Use a T10 torx screwdriver to remove the screw.

    • Then use a prying tool of some sort (Jimmy) to loosen the latches.

    • Finally, remove it.

  3. WQhhcmAnJY1OuDpD
    WQhhcmAnJY1OuDpD
    OTpE3FHFHeo3COAq
    • Push the tab.

    • Pull it off.

  4. 3uNMaOuy4bElACLg
    3uNMaOuy4bElACLg
    LJa2FO2PRbhgxyhl
    6KBA5MCe3ZinnmQq
    • It is only latched on.

    • Use a prying tool to force a gap.

  5. fIBGCgE3Pj4AFrVn
    fIBGCgE3Pj4AFrVn
    aTReoS2M5NQDGSLd
    J4HDISFygsCMCdVQ
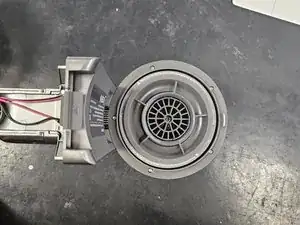
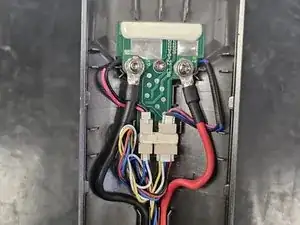
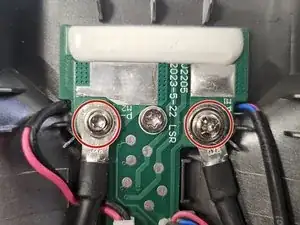
    • Remove the positive and negative leads of the suction fan from the pcba.

    • Negative is a T8 Torx, positive is PH2.

  6. HVjUysI5eOCi2XkB
    HVjUysI5eOCi2XkB
    2jvk1sKYH1SQbUFJ
    • Disconnect the rest of the cables and remove the middle screw.

    • It is a T10 Torx.

    • Once the screw is removed, push the PCBA out. Simply push on the battery connector.

  7. 6fMBWugXJ6MMGiNH
    6fMBWugXJ6MMGiNH
    EKJOwUexqKSImHyO
    JFcFjNeugXbhxmoB
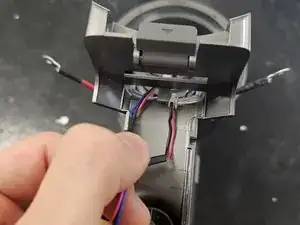
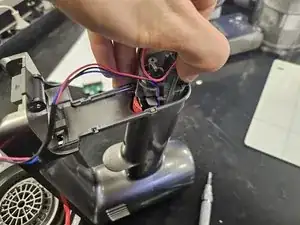
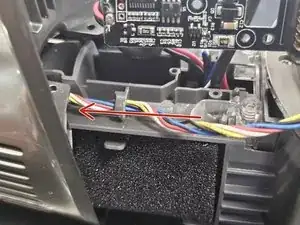
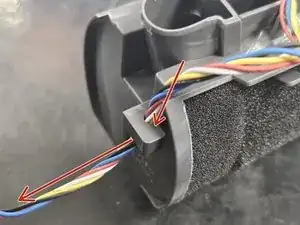
    • Back up top, pull the 2 top wires through the gap.

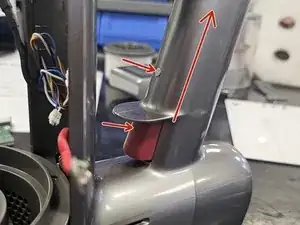
    • You will now have to push the little grey button and the red trigger button in while applying some upwards pressure to loosen the handle.

  8. QWPRGH1ZRE4RBENB
    QWPRGH1ZRE4RBENB
    v2oVJTAcqIhG4sNo
    • Now, simply pull the handle out.

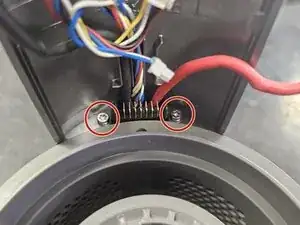
    • Rotate back to the front and remove the 2 marked screws. They're T10 Torx.

  9. qIJejpoXhq2JvjdM
    qIJejpoXhq2JvjdM
    IIogEx6FmQwZfmCk
    bimV6Mgp1HTh4VOP
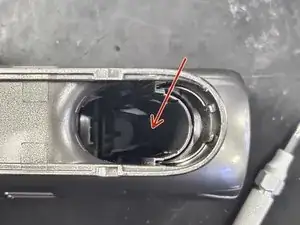
    • To remove the handle chassis, insert a prying tool into the marked gap.

    • Do not fit it into the bigger round hole to the left. Fit it into the hole on the right side, which is significantly tighter.

    • I use my looong Phillips screwdriver for this.

    • Then, simply apply adequate force in the direction of the arrow.

  10. EtbSX2ZhOow1kQqG
    EtbSX2ZhOow1kQqG
    pB6FDNvbWjNSLJjv
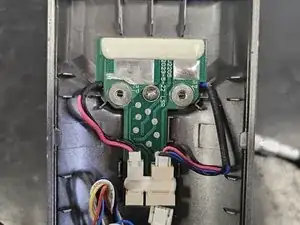
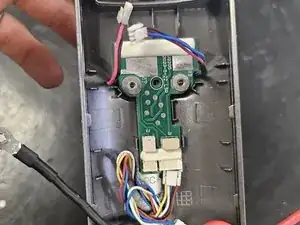
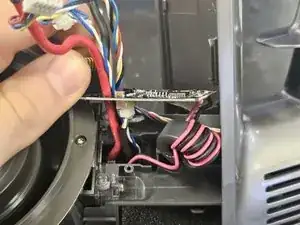
    • Now, pull the chassis off, but only enough to expose the pcba and not any more.

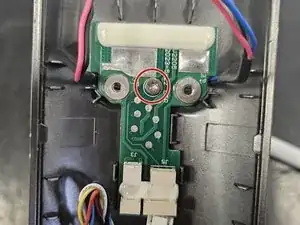
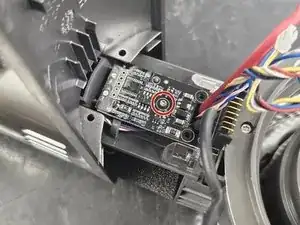
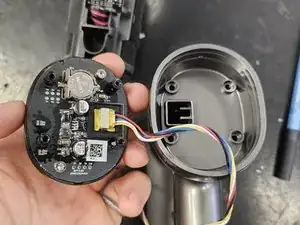
    • Remove the small screw from the PCBA. It is a Torx T6.

    • Disconnect the cable from the PCBA, then pull the other cables through the gap in the PCBA.

  11. uq2TLptCNUChIu5M
    uq2TLptCNUChIu5M
    LIeFJYcKCIZeDQBB
    • Lead the cable out of the housing as you remove the chassis.

  12. uGZRpgTBfyxnBfYg
    uGZRpgTBfyxnBfYg
    1yGUFaANlPScpubH
    HWcbXHgRkn1XaXZg
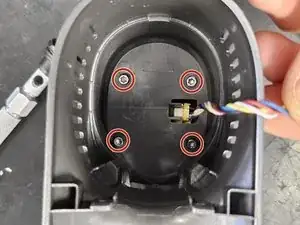
    • Remove the marked screws.

    • They are Torx T10.

    • After removing the screws, push the display out. I usually just use the screwdriver to do so, as it is not held in by anything.

  13. QXHOcGJ2FyyaAaAB
    QXHOcGJ2FyyaAaAB
    Eo1mjHFkB2LOi4IN
    shg4mSktckQPTBPd
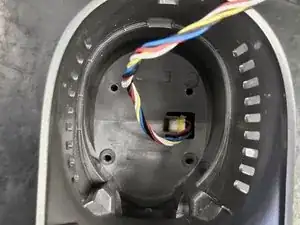
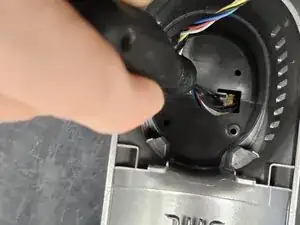
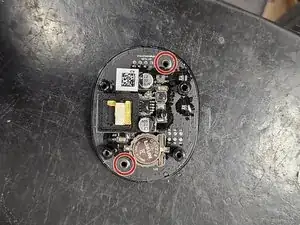
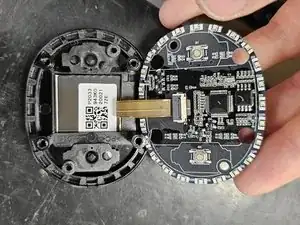
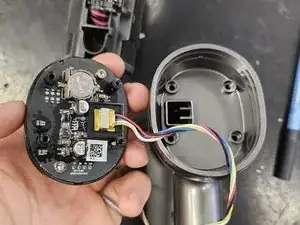
    • After removing the display, simply disconnect the cable. You can now replace it or disassemble it further to replace only the display or the PCBA with buttons.

    • To do so, remove the 2 screws holding the assembly together. They are T10 Torx.

    • Once you've replaced what is needed, simply reassemble it, then attach the cable and put it back into the chassis.

  14. py2CwayaRPM6VyAU
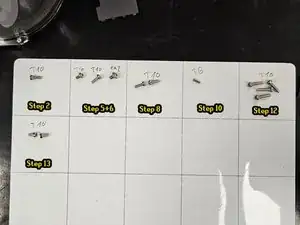
    • All are sorted by steps and have type written above them.

    • Use this as a reference during reassembly if necessary.

  15. 2ydglbEkDV6ETjJB
    • Why do they love boxes so much more than the toys?

Conclusion

To reassemble your device, follow these instructions in reverse order.
DegenFixer

Member since: 18/09/24

4477 Reputation

0 comments