Introduction
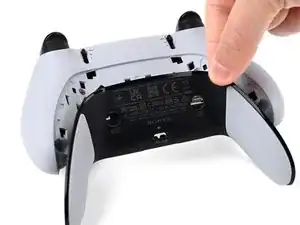
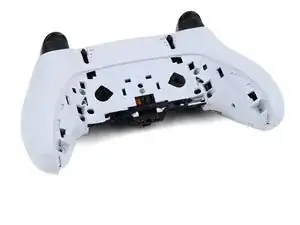
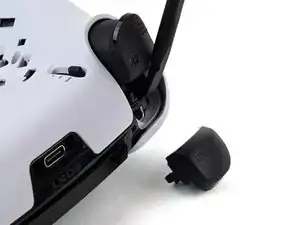
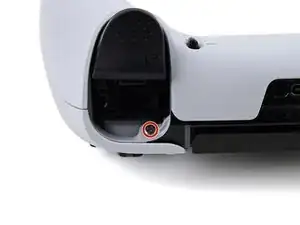
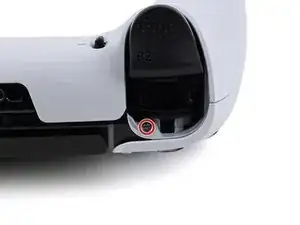
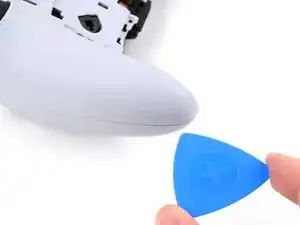
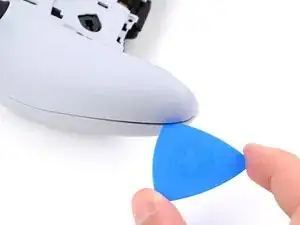
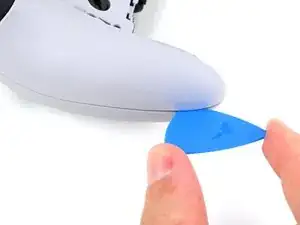
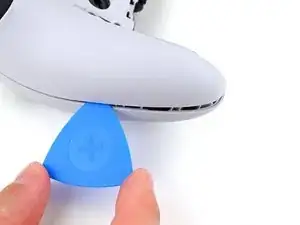
Follow this guide to replace a dead or worn-out battery in your Sony DualSense Edge controller.
If your controller is not holding a charge for as long as it used to, it could be time to replace your battery.
Tools
-
-
Place the controller on a work surface with the joysticks facing down.
-
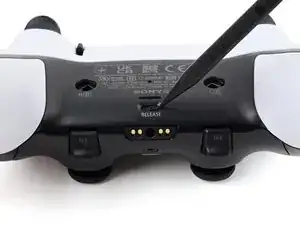
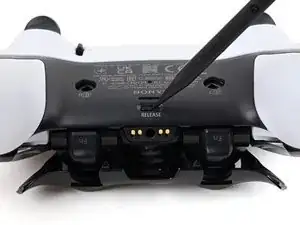
Use a spudger or your finger to slide the Release tab to the left. The front trim should fall to the table.
-
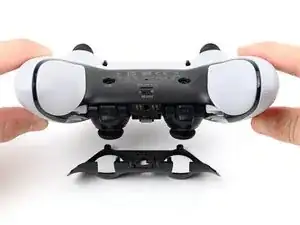
Lift the controller up, leaving the front trim on the table.
-
-
-
Flip the controller over so the joysticks are facing up.
-
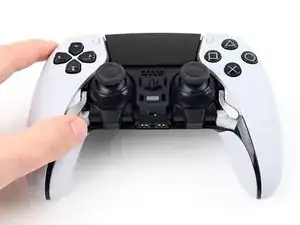
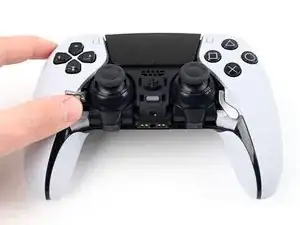
Lift the metal lever that holds the joystick in place until the joystick slides out slightly.
-
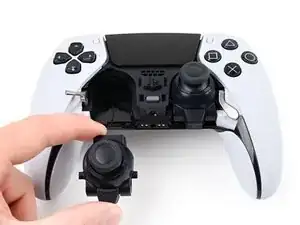
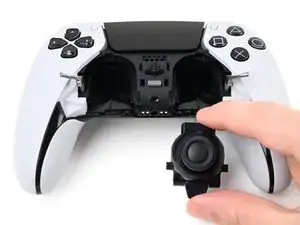
Slide the joystick out from its slot.
-
-
-
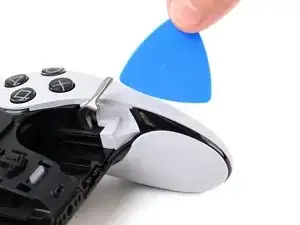
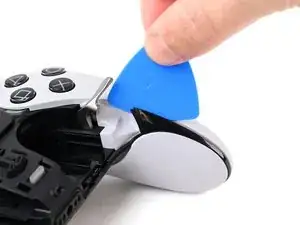
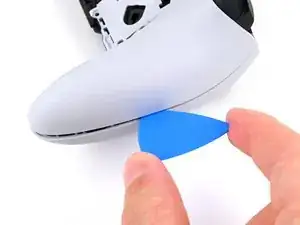
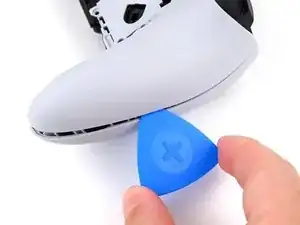
Insert the flat edge of an opening pick between the black portion of the rear trim and the top cover, near the joystick lever.
-
Slide the opening pick towards the bottom of the grip to release the clips.
-
-
-
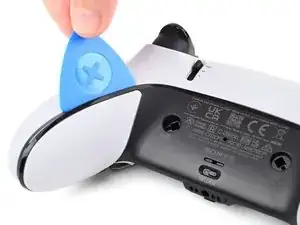
Slide the pick around to the rear of the controller and flip the controller over so the buttons are facing down.
-
Slide the opening pick around the edge of the rear trim to release the clips.
-
-
-
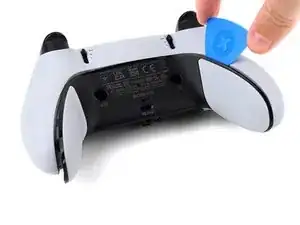
Slide the opening along the edge of the trim on the other grip.
-
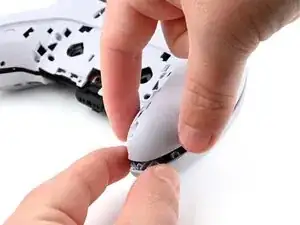
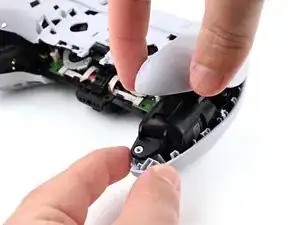
Once all clips are released, remove the trim.
-
-
-
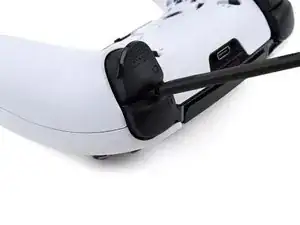
Insert the flat end of a spudger in the gap between the L1 and L2 buttons.
-
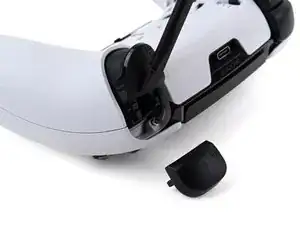
Use the spudger to pry out the L1 button.
-
Repeat this process to remove the R1 button.
-
-
-
Rotate the controller so the grips are pointing towards you.
-
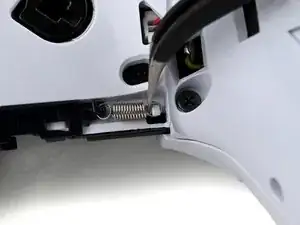
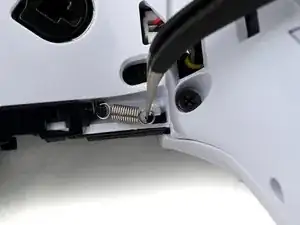
Use a pair of angled tweezers to lift the right end of the release bar spring off of the white post.
-
-
-
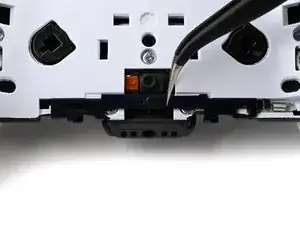
Use a pair of tweezers or your fingers to slide the release bar to the left.
-
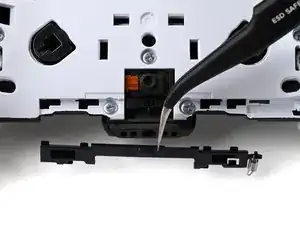
Slide the release bar away from the controller to remove it.
-
-
-
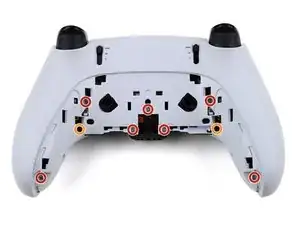
Remove the nine screws securing the rear case:
-
Seven 6.4 mm‑long screws
-
Two 10.5 mm‑long screws
-
-
-
Insert the point an opening pick in the gap along the outside edge of one of the controller grips, near the bottom.
-
-
-
Pry with the opening pick to separate the rear case from the front case by releasing the clips that hold them together.
-
Continue prying along the edge of the controller until one side is separated.
-
-
-
Hold the main body of the controller with one hand.
-
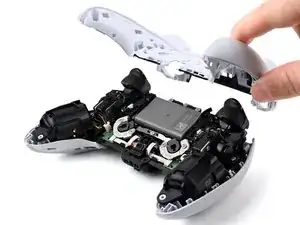
Lift the rear case with your other hand. It should lift at an angle.
-
Pushing slightly towards the L and R buttons, lift the rear case off of the controller and remove it.
-
-
-
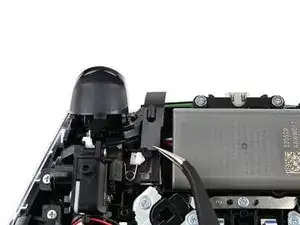
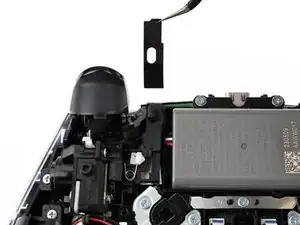
Use a pair of tweezers or your fingers to lift the cover from the controller.
-
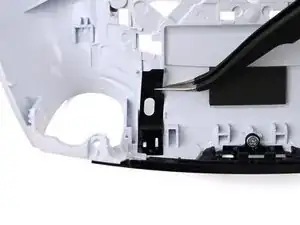
Slide the flat end of the cover under the plastic tab in the rear case.
-
-
-
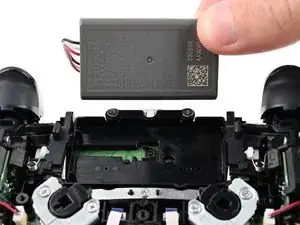
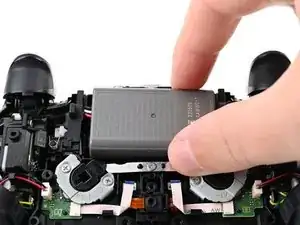
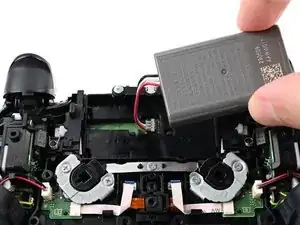
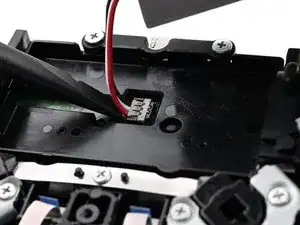
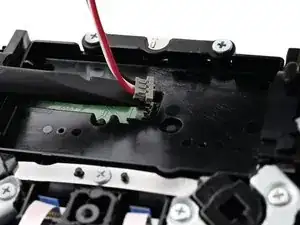
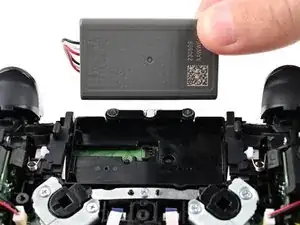
Lift the battery and move it to the right, so the connector underneath the battery is accessible.
-
To reassemble your device, follow these instructions in reverse order.
For optimal performance, calibrate your newly installed battery.
Take your e-waste to an R2 or e-Stewards certified recycler.
Repair didn’t go as planned? Try some basic troubleshooting, or ask our Answers community for help.
