Introduction
Follow this guide to replace, change, or upgrade the rear trim on your Sony DualSense Edge controller.
Note: This guide recommends removing the joysticks before removing the rear trim. While you can leave the joysticks in, removing them is simple and makes the rear trim removal process easier.
-
-
Place the controller on a work surface with the joysticks facing down.
-
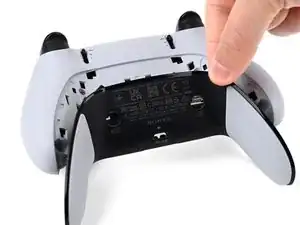
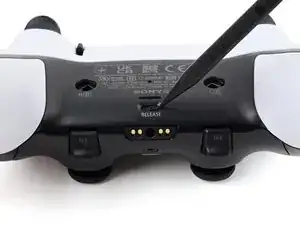
Use a spudger or your finger to slide the Release tab to the left. The front trim should fall to the table.
-
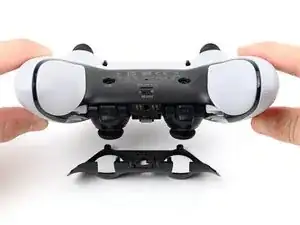
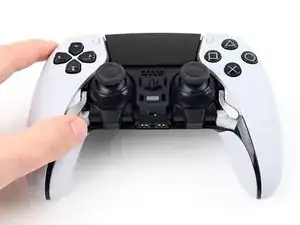
Lift the controller up, leaving the front trim on the table.
-
-
-
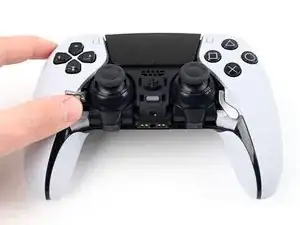
Flip the controller over so the joysticks are facing up.
-
Lift the metal lever that holds the joystick in place until the joystick slides out slightly.
-
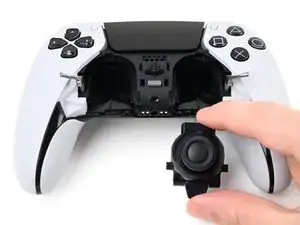
Slide the joystick out from its slot.
-
-
-
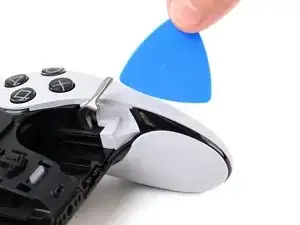
Insert the flat edge of an opening pick between the black portion of the rear trim and the top cover, near the joystick lever.
-
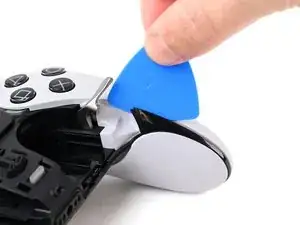
Slide the opening pick towards the bottom of the grip to release the clips.
-
-
-
Slide the pick around to the rear of the controller and flip the controller over so the buttons are facing down.
-
Slide the opening pick around the edge of the rear trim to release the clips.
-
-
-
Slide the opening along the edge of the trim on the other grip.
-
Once all clips are released, remove the trim.
-


To reassemble your device, follow these instructions in reverse order.
Repair didn’t go as planned? Try some basic troubleshooting, or ask our Answers community for help.

One comment
Wo kann man eine Zierblende kaufen?
Nic Ley -