Introduction
The D-Pad is central to many game experiences, and due to use can begin to fail over time. This guide will instruct the user in the process of replacing the D-Pad for the EasySMX-15.
-
-
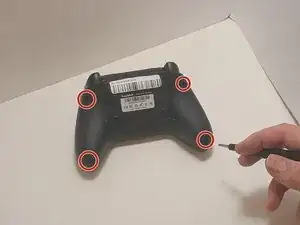
Use a Phillips #00 screwdriver to remove the four 9 mm screws from the bottom of the EasySMX X15.
-
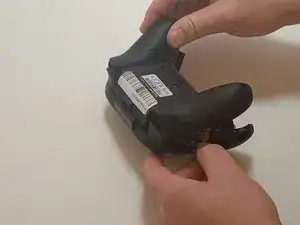
Use an opening tool to gently pry between the seams of the controller to separate the lower and upper casings.
-
-
-
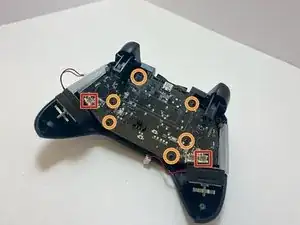
Disconnect the vibration motor cables from the connectors on the circuit board.
-
Use a Phillips #00 screwdriver to remove six, 6mm screws from the board.
-
-
-
Gently lift the board away from the upper casing, maneuvering it around the triggers by lifting it from the bottom, away from the upper casing.
-
-
-
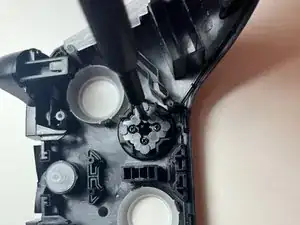
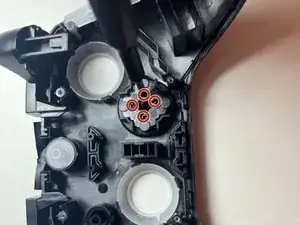
Use the Phillips #00 screwdriver to remove the four 4 mm screws securing the D-pad to the controller casing.
-
Lift the back of the D-pad, along with the membrane, to remove them from the controller.
-
Lift up the case, allowing the D-pad to detach from the top of the casing.
-


To reassemble your device, follow these instructions in reverse order.