Introduction

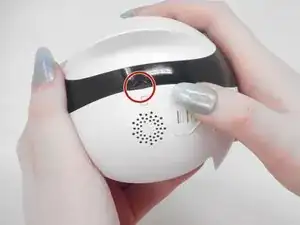
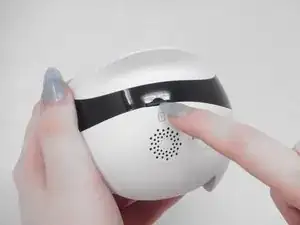
Replacing the battery in the Enabot EBO SE can be essential in prolonging the lifespan on this product. Overcharging or a faulty battery can drastically impact the ability of the Enabot EBO SE to function. Replacing the battery when damaged or worn down can revitalize your robot pal and help prevent unnecessary e-waste. In these following steps we will show you how to replace your battery.

  1. SosCchgNH3uj4RyT
    • Gently turn the robot upside down.

    • Place the robot on a stable surface to prevent it from rolling or falling.

  2. lbH6WhbIxBq1FlxD
    lbH6WhbIxBq1FlxD
    Zkwk5aWeWHnsPMCa
    ehFtFeoqZJZriEZf
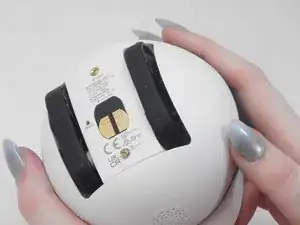
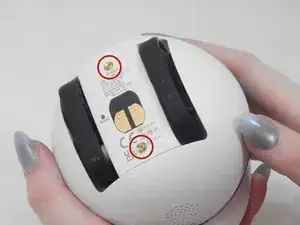
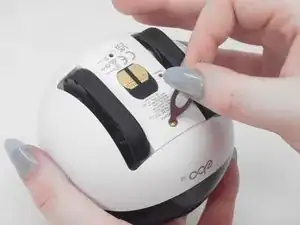
    • Use a flathead 2.5 mm screwdriver to remove the 5.7 mm screw from the wheels.

    • A tool should have been provided in the box for this purpose.

  3. bnVuQfKUKIXNe21s
    bnVuQfKUKIXNe21s
    LtgxdREiK4jj5Pq4
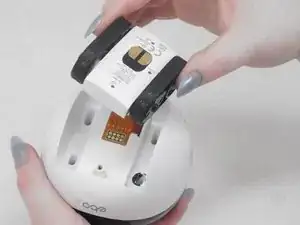
    • Pull the wheel assembly towards you so it comes straight off without resistance.

    • If there is resistance, make sure to apply gentle force when pulling as it can get damaged with too much force.

  4. 1iN3LwROkDBrULHQ
    1iN3LwROkDBrULHQ
    SSK61XH5LYpfklZ4
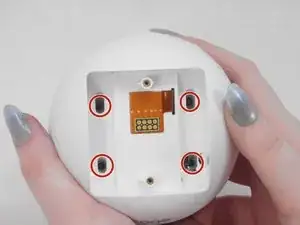
    • Use a Torx screwdriver to remove the four 9 mm screws from the assembly.

  5. 4BTAEjda5AMx4dUR
    4BTAEjda5AMx4dUR
    CeiTWTaBZHJJfV3f
    bWG3phMxZXB26PHq
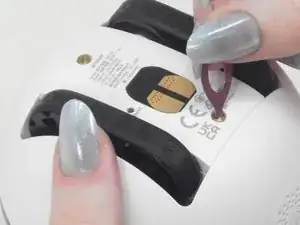
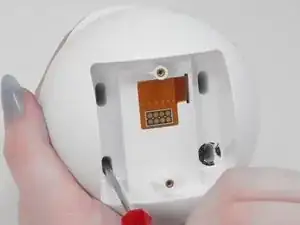
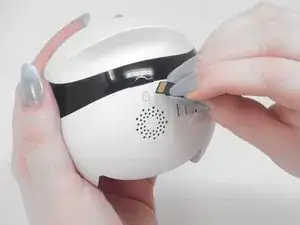
    • Use your fingernail to carefully press down and eject the Micro SD Card from the back of the Enabot.

    • Keep the Micro SD Card in a safe spot for later.

  6. YIIsIFRNRwmUEnZS
    YIIsIFRNRwmUEnZS
    oWoFVXhjDtQPPcE5
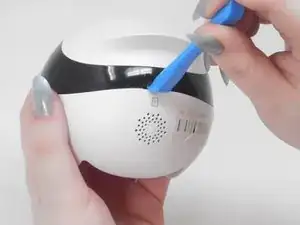
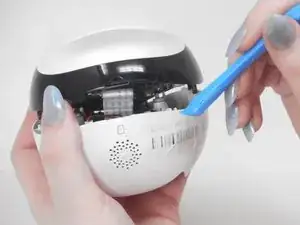
    • Place the iFixit opening tool inside the Micro SD slot.

    • Very carefully apply pressure to the top of the slot and pry open the casing to separate the upper and lower housing.

  7. qY4w2Krj6GV2EQE4
    qY4w2Krj6GV2EQE4
    cS6MAPbEuxeepkFW
    BRupX5cEXsiPFTxd
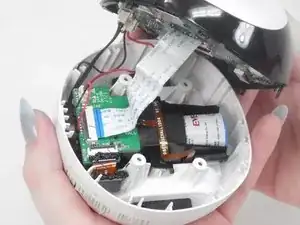
    • Using the iFixit opening tool or your fingernail, place it underneath the gray tab on the lower housing.

    • Lift the tab up and pull out the ribbon cable to disconnect it from the lower housing.

  8. lAZVpKqtx3Dl2eVg
    lAZVpKqtx3Dl2eVg
    nKiONmRPKIL6QGMU
    IyUcEwya5FxgZFvd
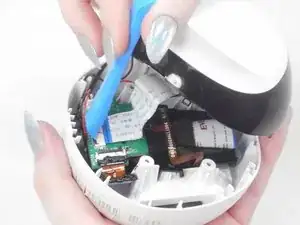
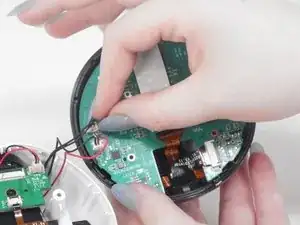
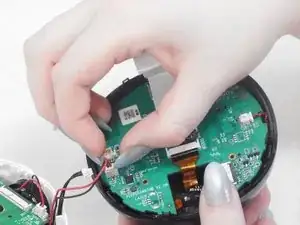
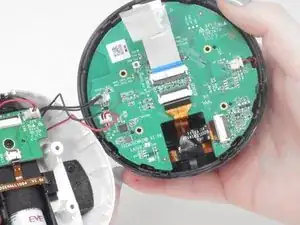
    • There are two black and red wire connectors attached to the upper and lower housing.

    • Gently use your finger nails to lift up and disconnect both wires to fully separate the upper and lower housings.

  9. qBFLaeHl5XHLIxuA
    qBFLaeHl5XHLIxuA
    gh33qwVnREbPN5Nh
    pnKVP5gnXj263fLM
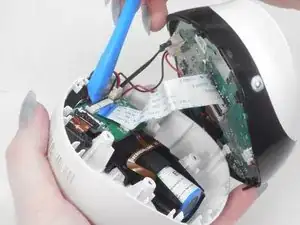
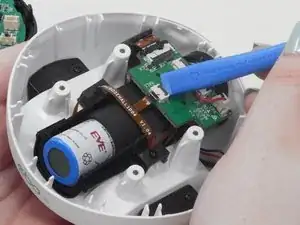
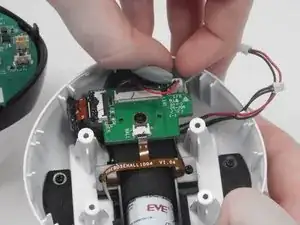
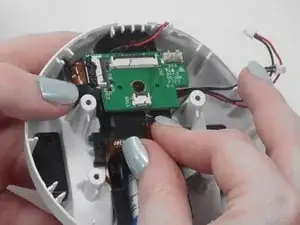
    • Use the iFixit opening tool or your fingernail to disconnect the cable by placing the edge underneath the gray tab.

    • Flip the tab up and pull the ribbon cable out.

    • Disconnect the red and blue wires from the daughterboard by using your finger nails to pull up on the connector to disconnect.

  10. gmpU2Hbxn6paGEgi
    gmpU2Hbxn6paGEgi
    X3YKxoxCVUWIrE3W
    XRqh3aJ5jcCMSE2h
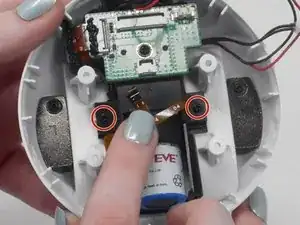
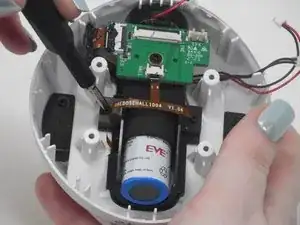
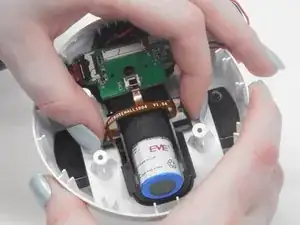
    • Use a Phillips #00 screwdriver to remove both 7.4 mm screws from the side of the battery's casing.

  11. mD2LedXduyWaNlDn
    mD2LedXduyWaNlDn
    GO3TofDYHTdplHWE
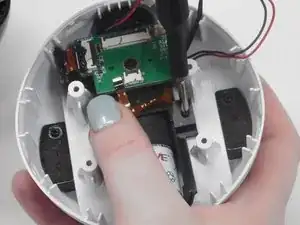
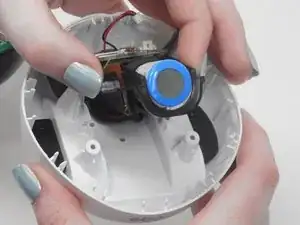
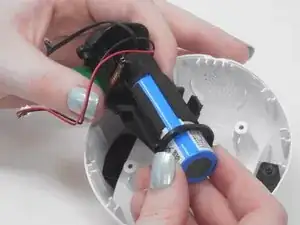
    • Pull the battery casing upwards from the lower half of the assembly to remove it.

  12. AsiL2NECio5hHXmg
    AsiL2NECio5hHXmg
    cyXxJxtNGSxGSBNv
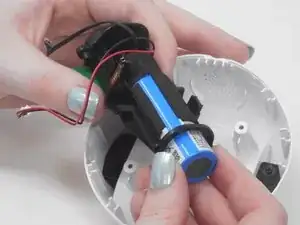
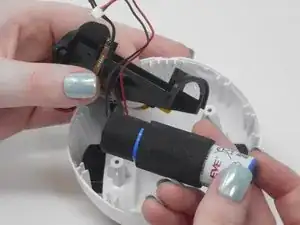
    • Carefully remove the battery from the casing in order to replace.

    I did this manual, but I don't know the right battery connection type. Who knows?

    Ben0815 -

Conclusion

To reassemble your device, follow these instructions in reverse order.

Kevin H.

Member since: 15/02/24

680 Reputation

5 comments

Una guía fantástica, pero no puedo seguirla porque no encuentro el recambio de la batería ¿Se puede usar una genérica? ¿Alguna referencia que me ayude a encontrar el recambio?

Rubén Belmonte -

tengo la misma duda, entendí perfecto el tutorial, que tipo de batería lleva?

Marina Daniela Regali -

What type of battery?
Commissioner Gordon -

18650 battery with ph2.0/2p connector

Camilo Jiménez -

Do you know what's the original battery capacity in mah?

wcy pierre -