Introduction

  1. GAB31IUS1UwNdE6E
    • Before you begin your repair, perform the following:

    • Turn off your main water supply

    • Unplug your device

  2. uZnovp3POltPPcNl
    uZnovp3POltPPcNl
    EEmEHtDyinkLLTC6
    NpS45AODrJVIyexU
    • Depending on your repair, open one or both doors.

  3. hkAwPUpRPNIPxRGV
    hkAwPUpRPNIPxRGV
    L4ikmh2NQXFogcpt
    • Remove the drawers and shelves from the freezer section.

  4. PYjtoq32XfA1ZLfx
    PYjtoq32XfA1ZLfx
    vH1YKrFTgcoJSpj3
    • Remove the screw(s) securing the evaporator cover.

  5. EHSDsDxpXbXtjjSW
    EHSDsDxpXbXtjjSW
    Wf2DVMGatSZhfSRa
    2oHDgU6UMdQXqWmO
    • Lift the bottom of the evaporator cover up and over its lip in the chassis.

    • Pull the cover toward yourself to release its top clips.

    Those fins are sharp....wear gloves!

    David B Hinton -

  6. YeaE3oqkUY5iSaJh
    YeaE3oqkUY5iSaJh
    TdRPKBwJHWNGAEoK
    41LUePiTbxqKJb1K
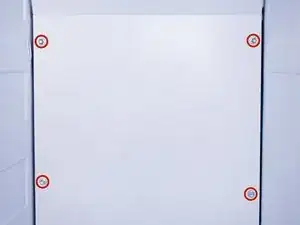
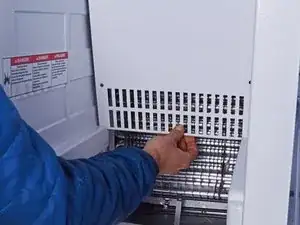
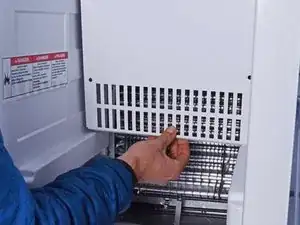
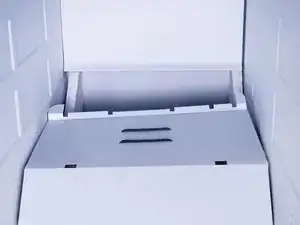
    • Continue pulling the evaporator cover towards yourself to unclip its metal prongs from the chassis.

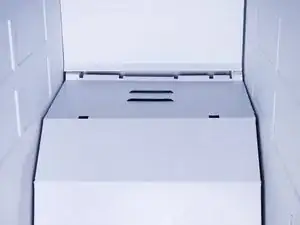
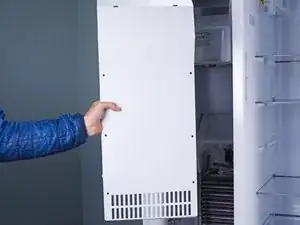
    • Remove the evaporator cover.

Conclusion

To reassemble your device, follow these instructions in reverse order.

nicO

Member since: 14/04/15

15927 Reputation

0 comments