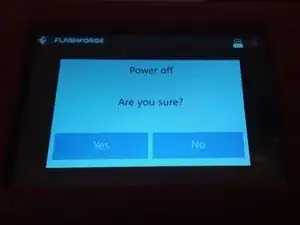
Introduction

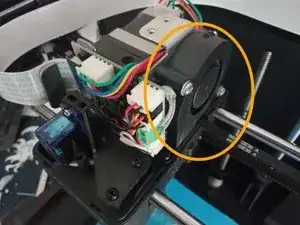
Fan cleaning is part of the preventive maintenance of a 3d printer. Approximately every 300 printing hours, disassemble and clean it to prevent fan blockages and subsequent printing errors. This guide can also be applied to fan replacement.

  1. dWIrfgAfRpniSFSI
    • Shut down the back switch and disconnect the printer power supply

    • If used recently wait for the extruder to cool down

  2. UqlMGNRhWWKjMZj2
    UqlMGNRhWWKjMZj2
    uVGiNuieYICEsJgX
    Jwatu2QJCTnFUtMZ
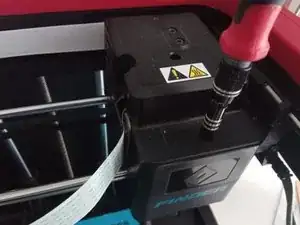
    • Remove the three screws on the extruder top with a 2.5 Allen key or an appropriate screwdriver bit

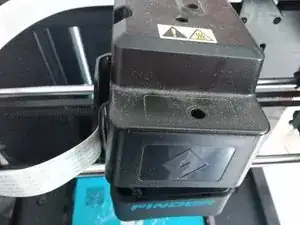
    • Gently lift up the extruder cover

    • Pay attention to the flat cable while lifting the cover

  3. mvKUAOXoRmMQZMY2
    • Using a spudger, disconnect the fan connector

    • Route the cable to free it

  4. 4nqXwSwWKcbKVvVf
    4nqXwSwWKcbKVvVf
    YWGEyTu4MRdnQnSF
    • Remove the two Phillips screw holding the fan

  5. LSUGKIPHQCbtgrnf
    LSUGKIPHQCbtgrnf
    BJYNQloYaWpVQ1Go
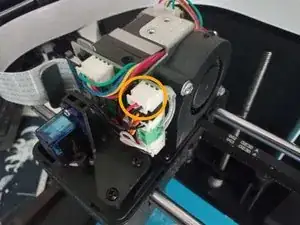
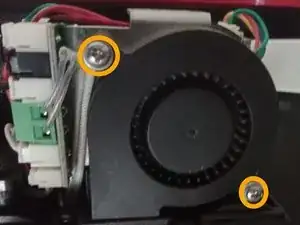
    • The fan can now be removed from the extruder. If you need to replace it, just follow the steps in reverse order with the new fan

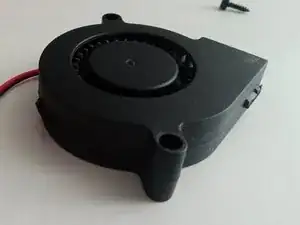
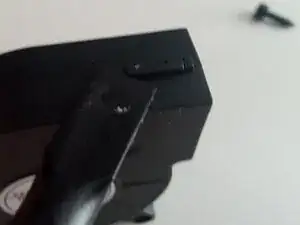
    • If you are cleaning the fan, release the three clips holding it together with a spudger

  6. Q1pV2bxwrOlmnlaD
    • Using compressed air and a brush, clean the fan from dust and debris

Conclusion

To reassemble your device, follow these instructions in reverse order.

dinoo_fixit

Member since: 22/03/22

1386 Reputation

0 comments