Introduction
Use the diagnostics or cleaning guide to test the braille cells to determine which, if any, need to be replaced or deep cleaned. Remember to check all buttons too.
-
-
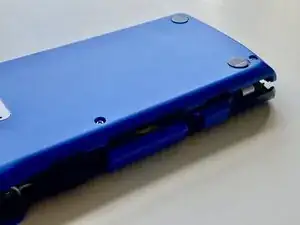
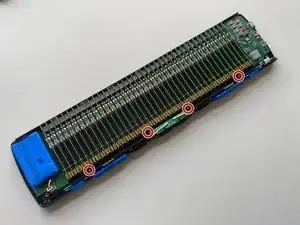
Remove the 4 PH1 bolts from the bottom of the device.
-
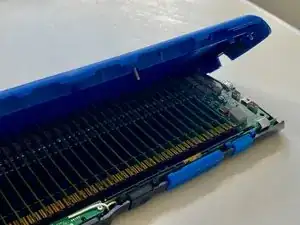
The back plate is hinged at the top of the device back. Carefully rotate the back plate upwards and remove.
-
Note: All 4 bolts are the same size.
-
Note: The buttons will fall out if the device is rotated upside down.
-
-
-
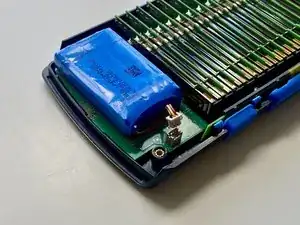
Disconnect the battery by unplugging it.
-
Note: The battery is usually stuck to the motherboard with double sided tape.
-
-
-
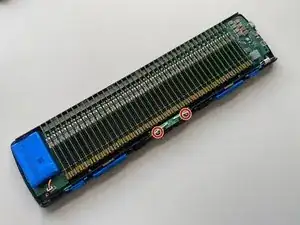
Remove the 4 PH00 bolts securing the front buttons circuit board.
-
Remove the 2 T5 screws securing the spacebar switch.
-
-
-
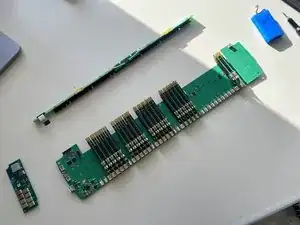
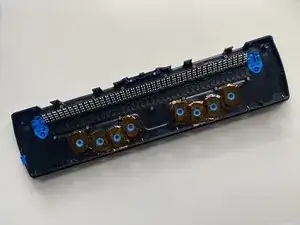
Gently using a Size 1 Flat Head lever remove the cells from their sockets as shown to access the mainboard screws below.
-
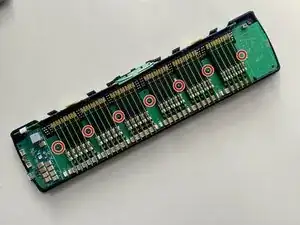
Remove the 7 PH00 screws from the main circuit board.
-
Note: To reinstall the cells insert it back between the pins and gently push down on the connector.
-
-
-
Carefully lift out the main board. Be careful with the power supply daughter board which is slotted in place to the case.
-
Disconnect as necessary.
-


To reassemble your device, follow these instructions in reverse order.