Introduction

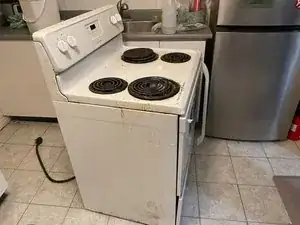
This is the Frigidaire Electric Stove CFEF3012PWC. When the burner is broken, the heat switch may be at fault. After checking the control switch and terminals, the heat switch is usually not considered.

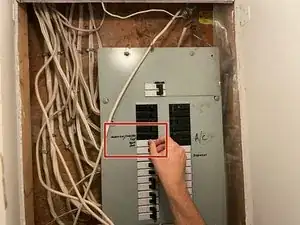
Be sure to be aware that everything should be turned off in the stove, to avoid any kinds of problems. Be sure to keep the manual with you while doing this to see what parts of the stove you need to look at.

  1. VYCPAeJPoXqcyPSM
    • To be safe, disconnect the power at the breaker. This avoids electrical injury when working with the oven.

  2. MIahnQ4h1tYwxvJJ
    MIahnQ4h1tYwxvJJ
    XwHRCoEJQSNtoQRb
    • Unplug the oven from the receptacle to be safe.

    • Move it to an open area so there is enough space to work with.

  3. gWw3K4MP5Ri4wvss
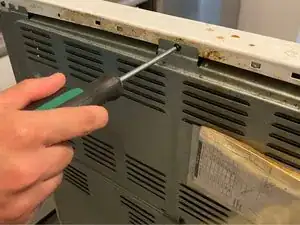
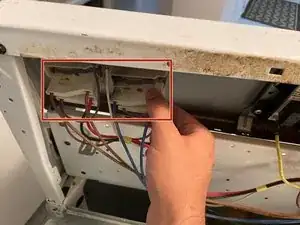
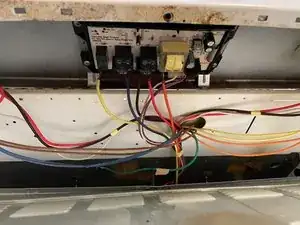
    • Unscrew the panel from the back. You may have a top or bottom cover, depending on your model.

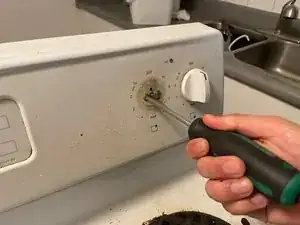
    • The screwdriver used should be a square head.

    • If the screws are tight, use pliers to remove them.

  4. bOeF6J6fBdiCkaK6
    • Set the multimeter to ohms. Otherwise, you may generate a short circuit if you do not have the correct setting.

  5. XWHJqYcTHh2Ltf2N
    XWHJqYcTHh2Ltf2N
    OWYGyKTnKGNw3hll
    • You must disconnect the wires to prevent electrical issues from occurring.

    • Remember where the original wires were placed. It's good to take a photo before doing so.

  6. t6YcBtsYNUhyNGa4
    t6YcBtsYNUhyNGa4
    OjQkUhpZeyvGVAuc
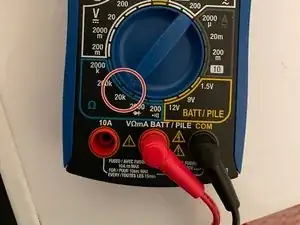
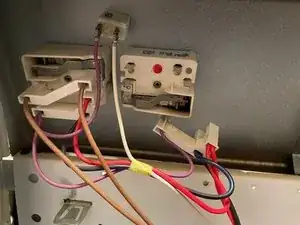
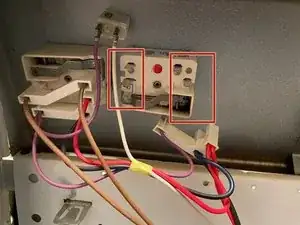
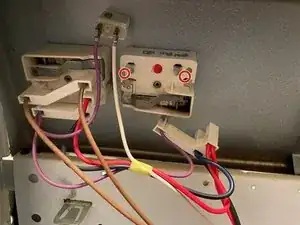
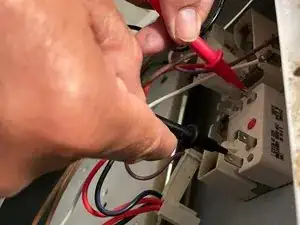
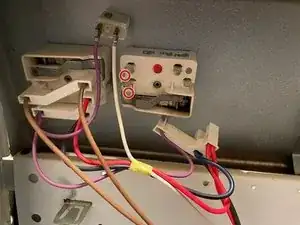
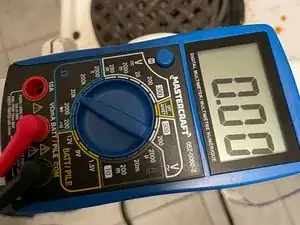
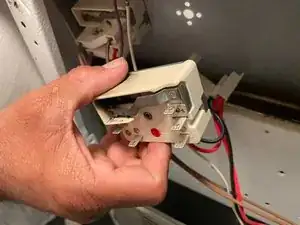
    • Look at the switch for the terminals. This differs depending if you have a standard surface element or a dual ring element(dual burner). But, it will be labeled.

    • In this case, the L1 to H1 and L2 to H2 terminals will be checked. (L=line, H=heat). Black goes on L and Red goes on H. The position may differ depending on your switch. Read the label on your switch.

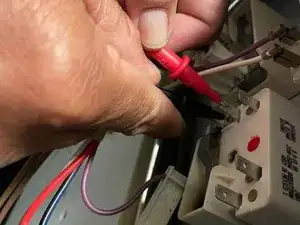
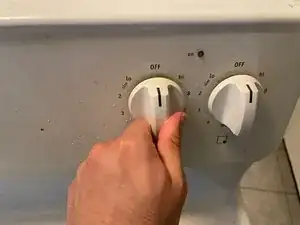
    • Once you've figured that out, make sure to turn your heat dial to HI

  7. YRJAHSYi5dPuViWj
    YRJAHSYi5dPuViWj
    HJIB5g1ZNSWnYcTe
    • Check the switch for the L1 to H1 terminals

  8. ZZEahUdXMuMiyxBQ
    ZZEahUdXMuMiyxBQ
    PGSAivSgDxCR4bZK
    • Check the switch for the L2 to H2 terminals.

  9. mi33uDXfe6AZWdFv
    • If it does not read from 0 to 1, you must replace the switch because there is no continuity.

  10. 1o6U4KpO3eoWbFnP
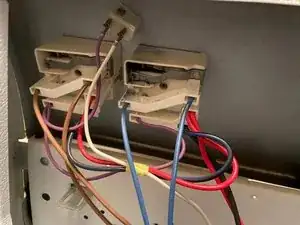
    • If you have a dual ring element then you can check the connectivity between the pairings for it. In this case, it is not present in either side of the back.

    • You may have other power models, but the process remains the same. If there is no connectivity, it has to be replaced.

  11. J62cuYcUIRGlGQC3
    J62cuYcUIRGlGQC3
    FmyaXYfNDxa6t5Mc
    • Once the switch has been confirmed to be faulty, Pull the heat dial out and remove the screws.

  12. uKQUhPTGarmRgFWV
    uKQUhPTGarmRgFWV
    GPLiWXIkpHYQrHVT
    pVnFdG6ZpnxWHFbr
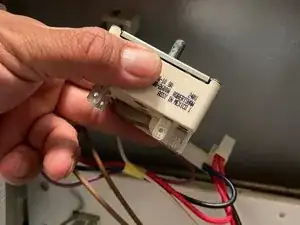
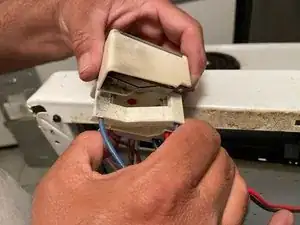
    • Now that the heat dial is removed, you can easily remove the switch and then connect the new switch to the dial.

    • Connect the wires in the same position you had seen with the old switch.

  13. F5iIvfBuExfNQTWW
    F5iIvfBuExfNQTWW
    WlsAmwkVwgNJ4b1J
    YtnJuxS5U6TZWfCA
    • Reconnect the remaining components

Conclusion

To reassemble your device, follow these instructions in reverse order.

Saad

Member since: 10/09/23

217 Reputation

0 comments