Introduction
Use this guide to replace the run capacitor on your Frigidaire refrigerator. This guide will work for most models that have the run capacitor attached to the motor starting and thermal protection device also known as a control unit or start relay.
The run capacitor allows the compressor to both start and run properly.
If the capacitor is failing, the ability of the refrigerator to cool its interior will be decreased, because the compressor may run poorly. The compressor will not run if the capacitor has failed completely, as it will be unable to start.
This guide was created using a Frigidaire model FFSS2614QS6A side-by-side refrigerator. Other side-by-side units should be similar as will most other Frigidaire refrigerators.
Tools
-
-
Unplug your refrigerator before you begin your repair.
-
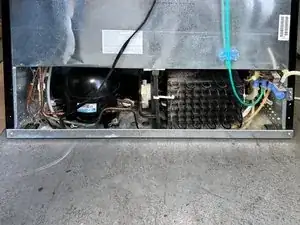
Condenser fan motor
-
Compressor motor and thermal overload device
-
Water supply valve assembly
-
-
-
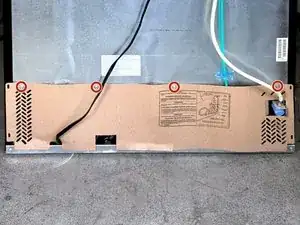
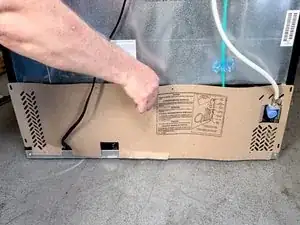
Lift the rear cover until it is free of the tabs.
-
If the water supply hose is not used, pass it through the hole in the cover.
-
-
-
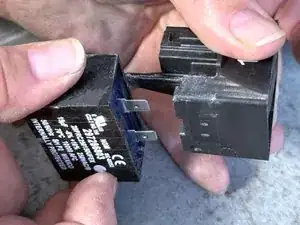
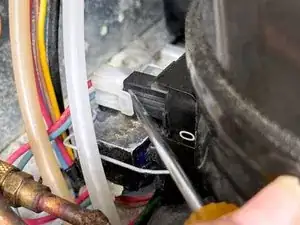
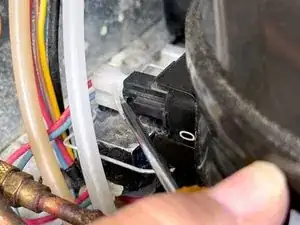
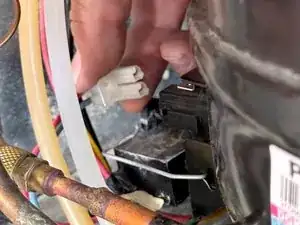
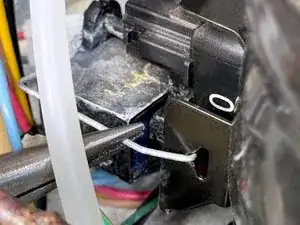
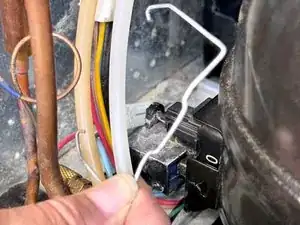
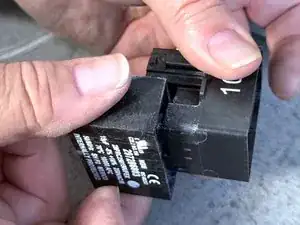
Use a pair of long nose pliers to grip the retaining clip near the attachment point on the start relay.
-
Pull the clip toward the compressor so the hook on the clip can be moved through the hole on the start relay.
-
Move the hook out of the hole to release the clip
-
-
-
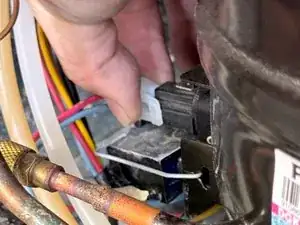
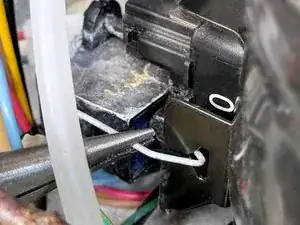
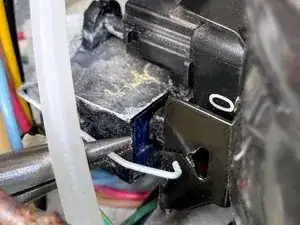
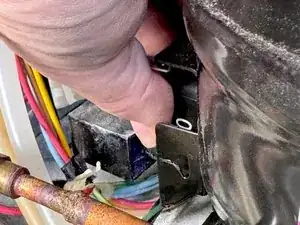
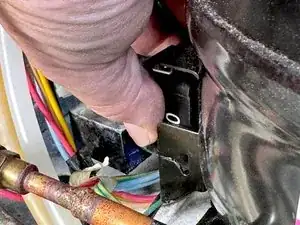
Once one side of the retaining clip is released, use your fingers to remove it from the mounting hole on the other side of the start relay.
-
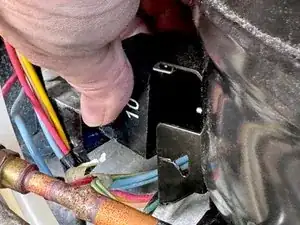
Remove the clip and set it aside.
-


To reassemble your device, follow these instructions in reverse order.
Take your e-waste to an R2 or e-Stewards certified recycler.
Repair didn’t go as planned? Try some basic troubleshooting, or ask our Answers community for help.