Introduction
Use this guide to remove the evaporator fan cover in your Frigidaire side-by-side refrigerator. There are two pieces to this assembly
The evaporator fan circulates air past the cold evaporator to cool the inside of the freezer compartment. The airflow from the fan is also channeled by this cover to the fresh food compartment through a damper which controls it to maintain the selected temperature.
When the evaporator fan cover fails, or is leaky you may find the interior of the fresh food compartment becomes warm as cold air isn't properly directed.
This guide was created using a Frigidaire model FFSS2614QS6A side-by-side refrigerator. Other side-by-side units should be similar.
Tools
-
-
Unplug your refrigerator before you begin your repair.
-
Condenser fan motor
-
Compressor motor and thermal overload device
-
Water supply valve assembly
-
-
-
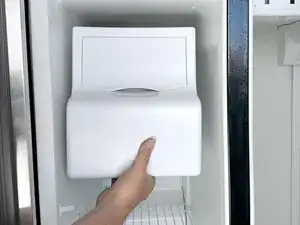
Open the freezer door.
-
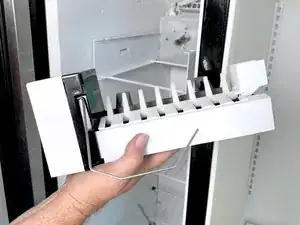
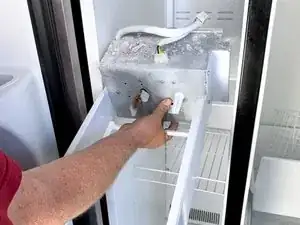
Grasp the lower portion of the front of the ice bin.
-
Lift it slightly and pull it out toward the front of the refrigerator.
-
-
-
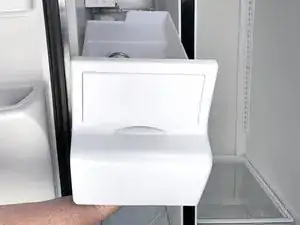
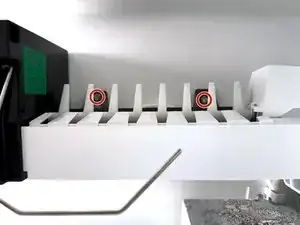
Use a 1/4" nut driver to remove the two screws securing the ice maker to the sidewall of the freezer compartment.
-
-
-
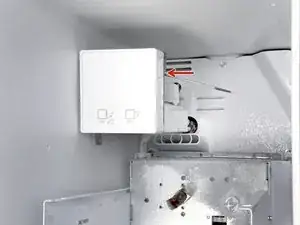
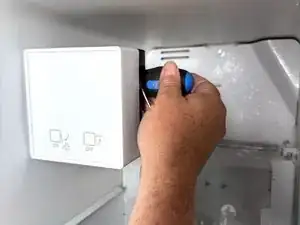
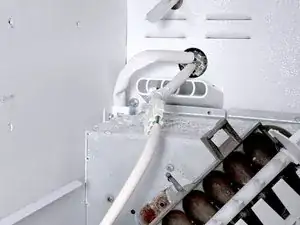
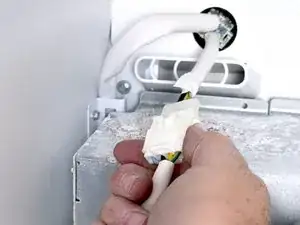
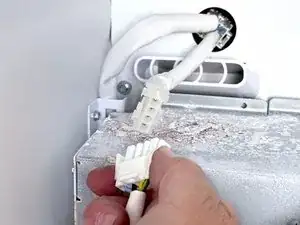
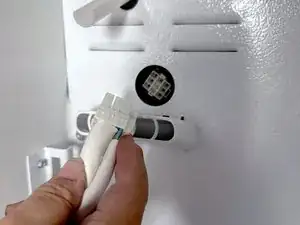
Locate the ice maker connector near the back of the freezer.
-
Squeeze the release tabs on the connector to release it, and pull it out to disconnect it.
-
-
-
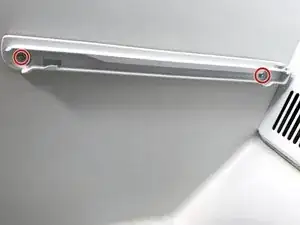
Use a 1/4" nut driver to remove the two screws securing the left side freezer drawer rail.
-
Remove the drawer rail
-
-
-
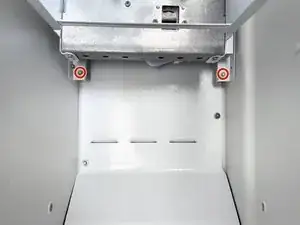
Use a 1/4" nut driver to remove the two screws securing the auger motor assembly to the support brackets located in the rear of the freezer compartment.
-
-
-
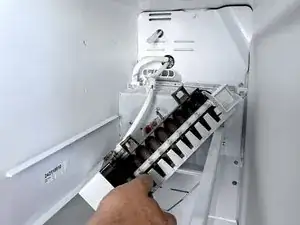
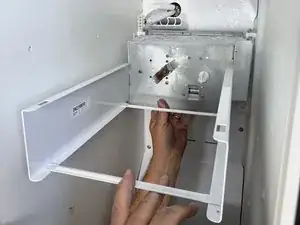
Lift the front end rail tie of the auger motor assembly to release it from the support brackets.
-
Lift the entire assembly upward and move it out toward the front of the freezer compartment.
-
Lower the assembly so it will be supported by the front portion of the assembly resting on a shelf located below. Avoid putting tension on the cable.
-
-
-
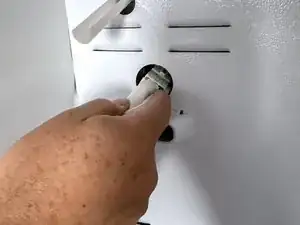
Squeeze the release tab on the auger motor assembly cable and pull the connector out from the socket to disconnect it.
-
-
-
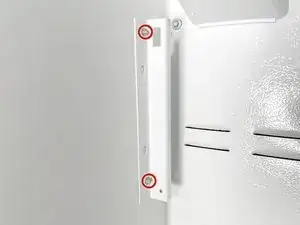
Use a 1/4" nut driver to remove the two screws securing the left-hand auger motor assembly mounting bracket.
-
Repeat the step above for the right-hand bracket.
-
-
-
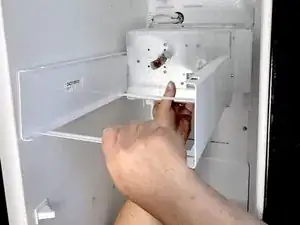
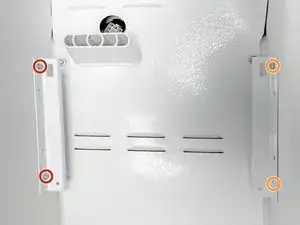
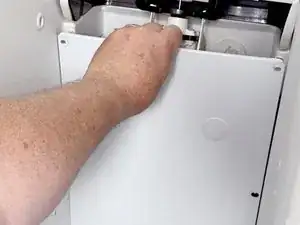
Use a 1/4" nut driver to remove the five screws securing the upper evaporator panel.
-
Use a 1/4" nut driver to remove the two additional screws securing the upper and lower evaporator panels
-
-
-
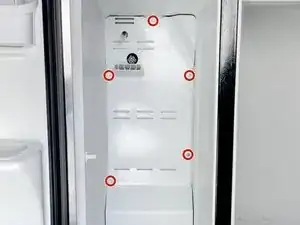
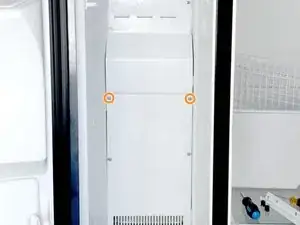
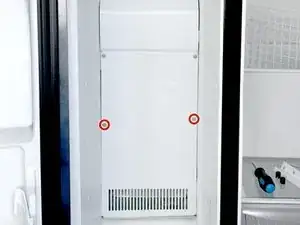
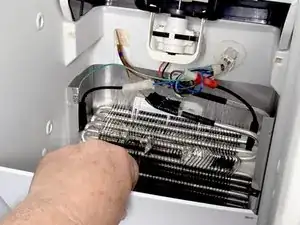
Use a 1/4" nut driver to remove the two remaining screws securing the lower evaporator cover.
-
-
-
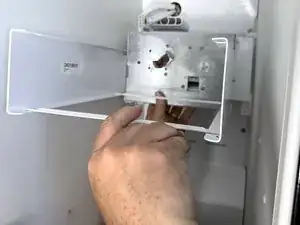
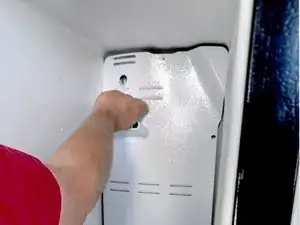
Lift the lower evaporator cover about 1/2" (13mm) to free it from the rear of the refrigerator.
-
Tilt the top of the lower evaporator cover toward the front of the fridge.
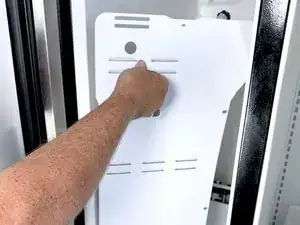
-
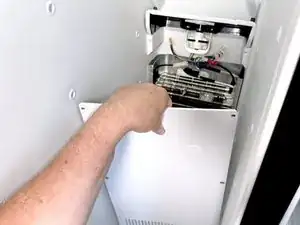
Remove the lower evaporator cover.
-


To reassemble your device, follow these instructions in reverse order.
Take your e-waste to an R2 or e-Stewards certified recycler.
Repair didn’t go as planned? Try some basic troubleshooting, or ask our Answers community for help.