
Introduction
The LCD screen on the Fujifilm FinePix T500 is a crucial component that facilitates viewing images, configuring settings, and selecting various modes. This guide is designed to assist you in replacing the LCD screen, allowing you to extend the life of your camera without having to purchase a new one.
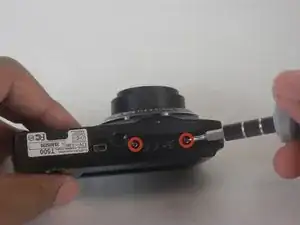
-
-
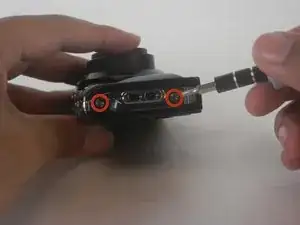
Open the battery compartment and remove the battery.
-
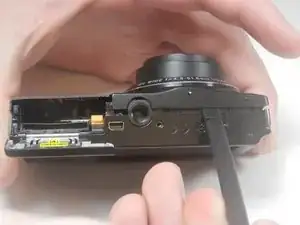
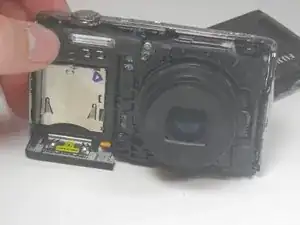
Carefully pry the front half of the casing away from the camera.
-
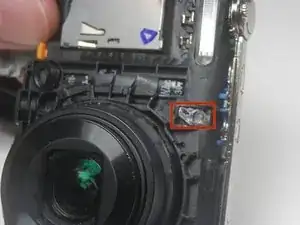
Pay close attention to the sensor cover—a small piece of translucent plastic—as it may fall out of place. If it does, place it back in its original position.
-
-
-
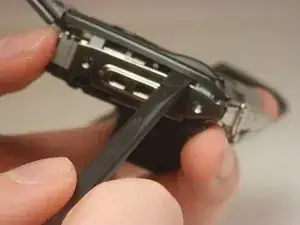
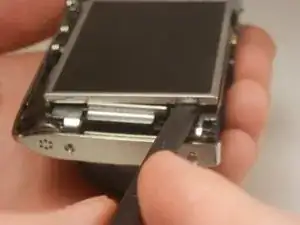
Lift the LCD screen out of the camera.
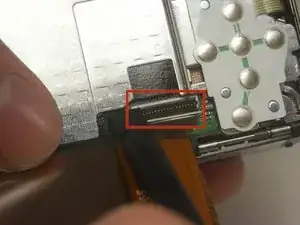
-
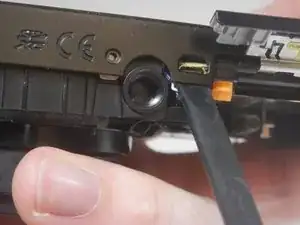
Locate the tab securing the ribbon cable that connects the screen to the motherboard. Using a spudger, gently lift the tab to release the ribbon. Carefully disconnect the screen from the motherboard.
-

To reassemble your device, follow these instructions in reverse order.