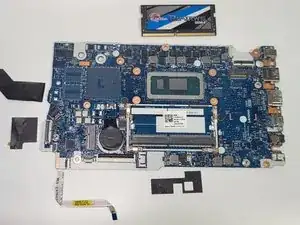
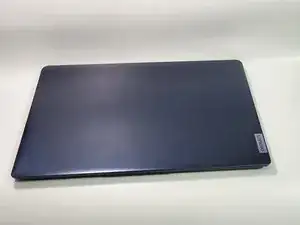
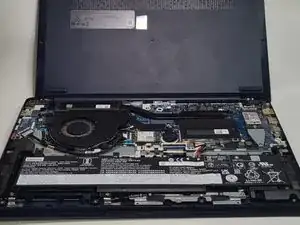
Introduction

  1. gl1QjmXVSIlHIhWg
    gl1QjmXVSIlHIhWg
    ky2YwZJjAIrrnhoD
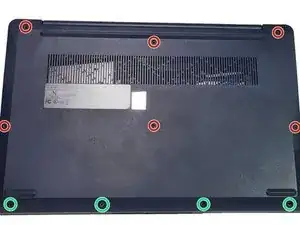
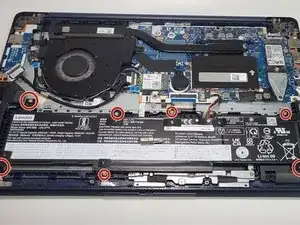
    • Removing 10x Case screws

    • Use a PH#1 driver or bit to remove the 9, 7.5mm, M2 screws

    • Remove, 4, PH#1, 4.5mm, m2 screws.

  2. GQEBolCFoNqrvmLE
    GQEBolCFoNqrvmLE
    fhfbOoOQmrmIuT2d
    WQ2ZkQN6CXwW5rGZ
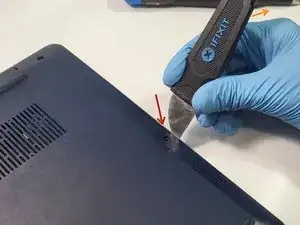
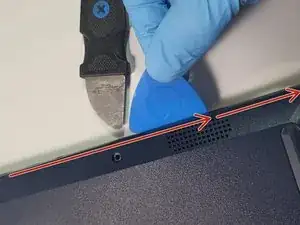
    • insert your jimmy tool vertically in the gap between the side a buttom pannel

    • Use a gentle twisting pressure to create a gap for a plastic opening pick or spudger

    • pry the borders of the back pannel

    • You can gently lift the bottom-most section to assist in separation

  3. eMSNPIE5hQKZV62J
    • remove the back case

  4. mZBBiEnQA4Zj2oUv
    mZBBiEnQA4Zj2oUv
    iPQRJdXbkEHhVlGU
    • disconnect the battery before proceeding

  5. HUD45Ywm3BExTLsN
    HUD45Ywm3BExTLsN
    SDHX5QiAoOUUSDWy
    ovINFSjJmfllmf42
    • remove the 8 ph#1 bit screws from the battery

    • set the battery aside

  6. VHYU4eSFmuhPVAgY
    VHYU4eSFmuhPVAgY
    ssEUCiMUhLgspkxT
    DK1XndWi6RHcS4mB
    • remove 1 more ph1 screw from the m.2 braket

    • lift the bracket and card out gently

    • When reinstalling a m.2 card, insert it into the socket at a 45-degree angle, then tilt it flat with the board by gently pressing the back of the card into place.

  7. 3VBRYoTGn5hteytJ
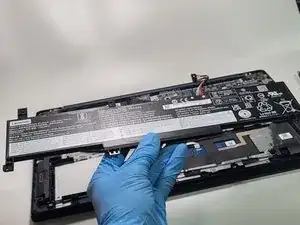
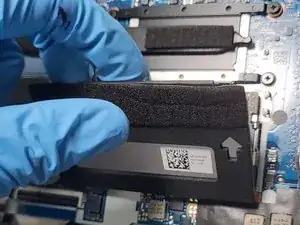
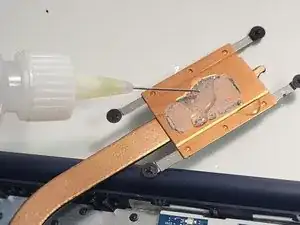
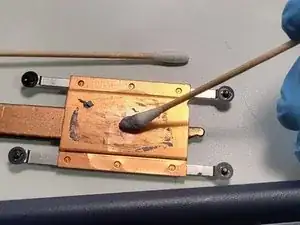
    • this step is optional

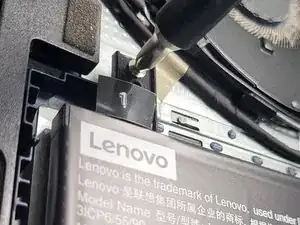
    • removing and reinstalling the CMOS battery will cause a warning on boot however, this step can reset any firmware-related issues. simply press enter to boot past the warning message.

    • CMOS battery removal is a common trouble shooting step as it can solve many software-related failure modes.

  8. jpVPEBYPlxeMRqxP
    • remove the black and white antenna wires from the fan shroud

  9. uCEWguEN2mFhoTcB
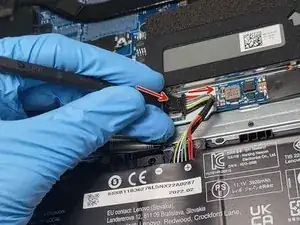
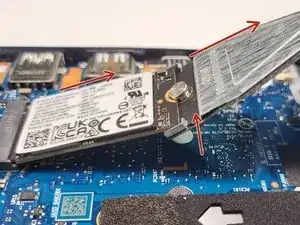
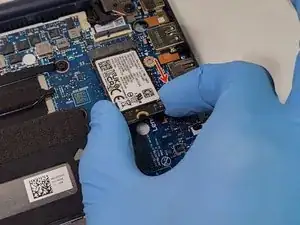
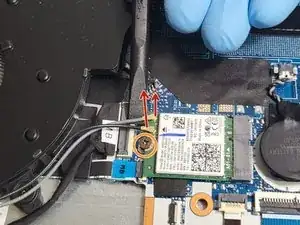
    • unplug the black and white antenna cables from the wifi card

    • unscrew the single ph1 screw from the m.2 wifi card

  10. jZYtD2UBmwVw1CLk
    jZYtD2UBmwVw1CLk
    6K2QGdl5c2sXNpJg
    IRlDitXJfmJIwQ6G
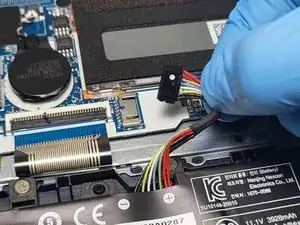
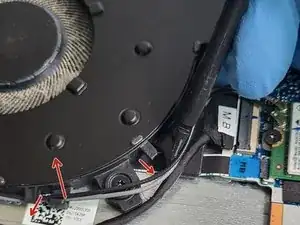
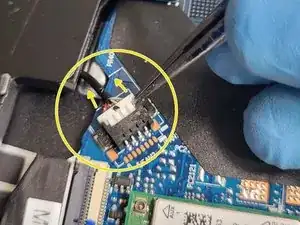
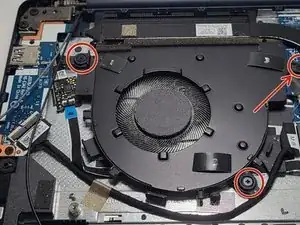
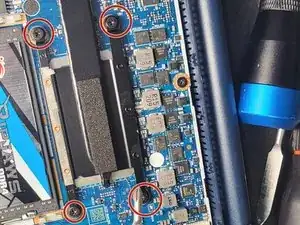
    • unplug the fan connector

    • unscrew 3 ph1 screws from the fan assembly

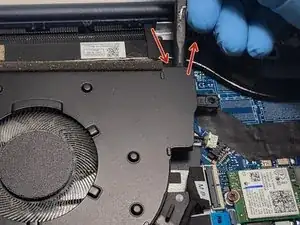
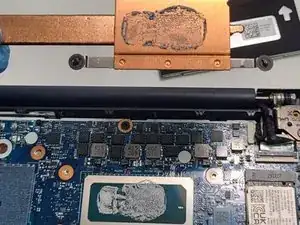
    • gently pry away the blower fan

  11. ZIXGbRidVAqcCCwX
    ZIXGbRidVAqcCCwX
    SGentPZNx2YLH523
    • you got that sucker out clean it up real good.

  12. YVmoyQLTb4Qp14Fl
    YVmoyQLTb4Qp14Fl
    xGne6RAB2ehoseVB
    ARAUEdIjxaPJ5Vce
    • remove the ram cover sticker

    • the next parts of this step are optional

    • remove dram

  13. NBITAsreHVHFiOdv
    • Insert wisdom here.

  14. nLeLHXpnF2Mi6b1G
    nLeLHXpnF2Mi6b1G
    tnYoTtAdgLxaYbMs
    W2qqQMtQKFkudUD5
    • clean off the thermal paste with 99% isopropyl alcohol & a q tip

Conclusion

Guide written by Daniel Layman, CEO & co-owner of Advanced Device Repair, LLC

DanielAdvancedDeviceRepair

Member since: 12/05/18

394 Reputation

0 comments