Introduction
Use this guide to replace the evaporator cover of your freezer.
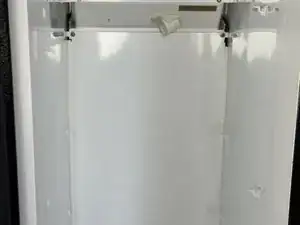
The evaporator cover helps to channel air from various parts of the refrigerator through the cold evaporator and evaporator fan. It also protects the evaporator and fan from damage. It functions as the rear wall of the freezer compartment and has vents to allow for directed airflow.
The evaporator cover does not usually fail, except if it becomes unfastened, or if it is plastic, it cracks. In such case the airflow will be affected and the cooling ability of the refrigerator will be reduced.
This guide was created using a GE model GSH25KGMB BB side-by-side refrigerator. Other GE side-by-side units should be similar.
-
-
Unplug your refrigerator before you begin your repair.
-
Condenser fan motor
-
Compressor motor and thermal overload device
-
Water supply valve assembly
-
-
-
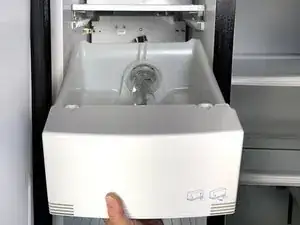
Grasp the ice bin and lift it upward slightly.
-
Pull the bin out of the freezer compartment and remove it.
-
-
-
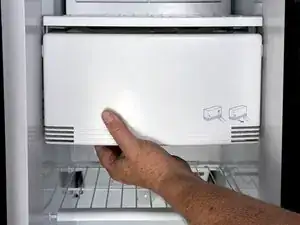
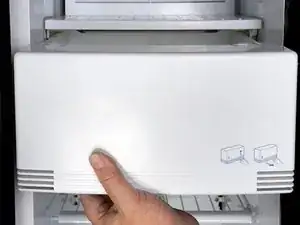
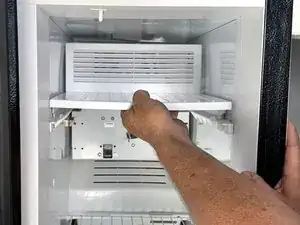
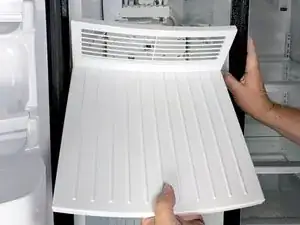
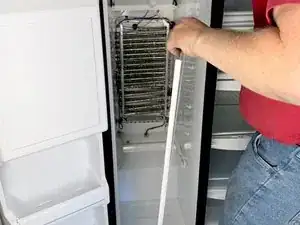
Lift the front edge of the cover 1cm (1/2") and pull the cover out of the freezer compartment.
-
-
-
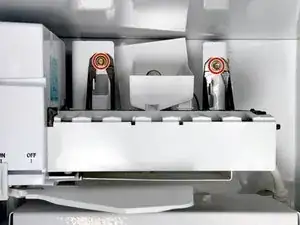
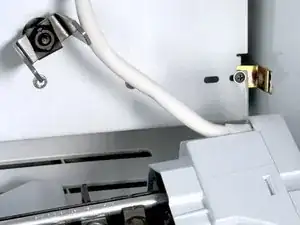
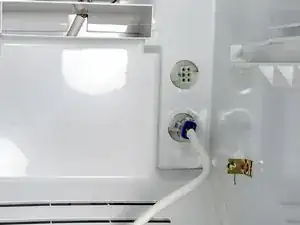
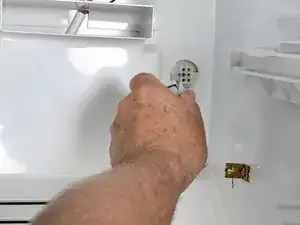
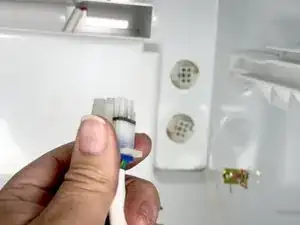
Disconnect ice maker plug by loosening the retainer clips by lifting them if possible and then pulling the plug out of the socket. The socket is shown with the plug removed.
-
Remove the ice maker from the freezer compartment.
-
-
-
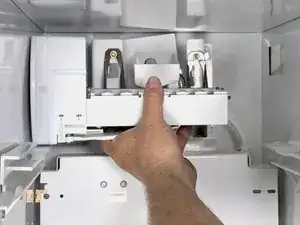
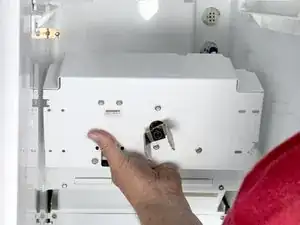
Use a 1/4" nut driver to remove the two screws securing the ice auger motor to its support brackets.
-
-
-
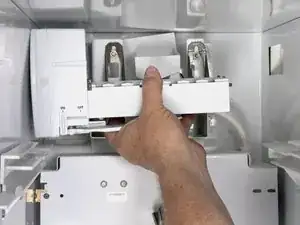
Lift the ice auger motor to the right to free it from the left hand support bracket.
-
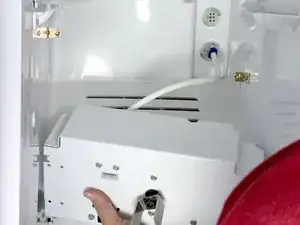
Lower the ice auger motor to the left, forward and down to allow it to clear the right hand support bracket.
-
-
-
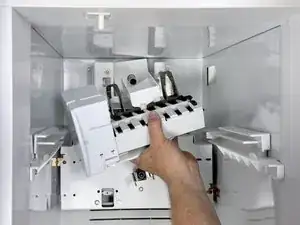
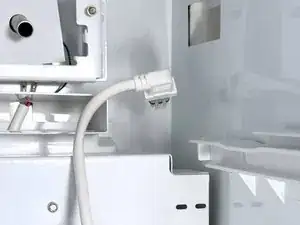
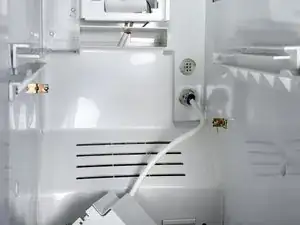
Squeeze the locking tabs on the connector to release it from the socket and pull it out to disconnect it.
-
Remove the ice auger motor assembly.
-
-
-
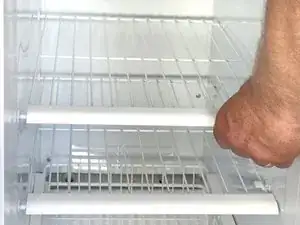
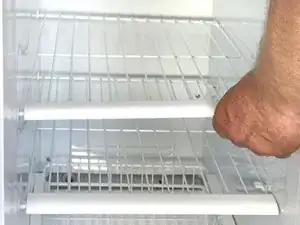
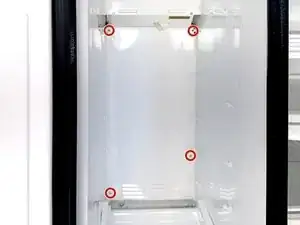
Lift the right edge of the shelf to free it from the clips which secure it.
-
Once the shelf is lifted, move it to the right and free the tabs on the left edge.
-
Remove the shelf.
-
Repeat this for each of the freezer shelves.
-
-
-
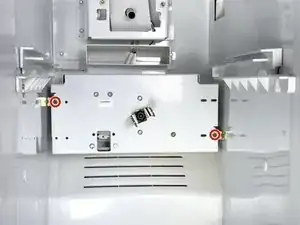
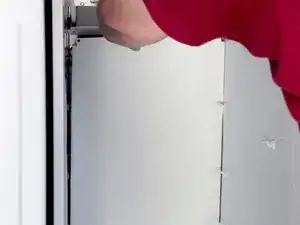
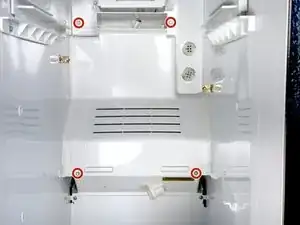
Use a #2 Phillips screwdriver to remove the retaining screws securing the lower evaporator cover.
-
-
-
Remove the lower evaporator cover by pulling it toward you and then rotating it so it will get past the shelf brackets.
-
-
-
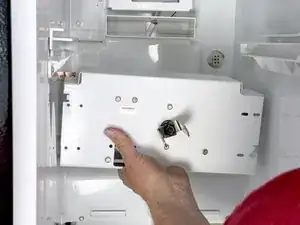
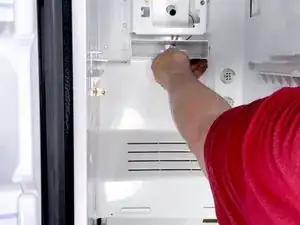
Use a 1/4" nut driver to remove the four screws securing the evaporator fan cover to the rear of the refrigerator.
-
-
-
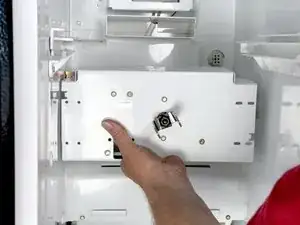
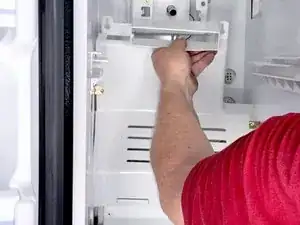
Lift the evaporator fan cover upward to free it.
-
Pull the top of the evaporator fan cover forward.
-


To reassemble your device, follow these instructions in reverse order.
Take your e-waste to an R2 or e-Stewards certified recycler.
Repair didn’t go as planned? Try some basic troubleshooting, or ask our Answers community for help.