Introduction

If your GEHEN Portable Clip-On Fan no longer turns on or the fan doesn't charge anymore, perhaps it is time to replace the battery. Over time, lithium batteries can begin to lose their efficiency or even stop working altogether. A battery change is needed despite the remaining components being fully functional inside the GEHEN Portable Clip-On Fan. Using a couple of tools, we will go over the steps necessary to replace the battery to extend the shelf life of the GEHEN Portable Clip-On Fan. Along with changing the battery, we will also go over how to dispose of the old batteries properly.

Warning: If one or both of the batteries inside the GEHEN Portable Clip-On Fan are visibly swollen when replacing, take the necessary precautions for dealing with a swollen battery as they can be dangerous and potentially cause a fire. For more information on how to deal with a swollen battery, take a look at this blog post on What to Do With a Swollen iPhone Battery.

  1. YCN4GXZhn6I1ZHdj
    YCN4GXZhn6I1ZHdj
    MvajxfvaFGefIiID
    UEKFYPZpYqNQvl4q
    • Flip the fan over so the back panel is facing you.

  2. OUHehITFBcBCiSub
    OUHehITFBcBCiSub
    vCbjkCEdxkMFwTcl
    fAMXgPIH2GOsRV1V
    • Use a Phillips #3 screwdriver to remove the two 20 mm screws from the back panel of the fan.

  3. TW2TorCuGLFaUBvX
    TW2TorCuGLFaUBvX
    MgJCvsCUYWFUPZ6m
    NHRJOZRTChIGFXCG
    • Use a spudger to pry the back panel from the fan.

    • If you can't pry between the seam of the panel and the slats, use the empty screw holes to lift the panel up with the pointed end of the spudger.

    • The battery pack is situated in the back panel of the fan, but it is also attached to the body. When removing it, avoid pulling or yanking on the back panel.

  4. Kviif2f1ZVVEBecF
    Kviif2f1ZVVEBecF
    XYJPev4SfQbaJ3jH
    EycRnbhGo4nOC53b
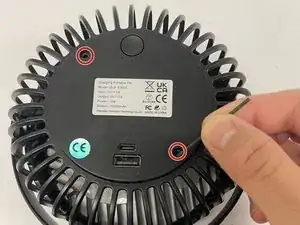
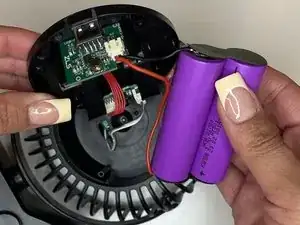
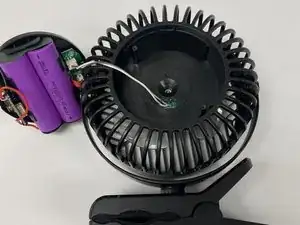
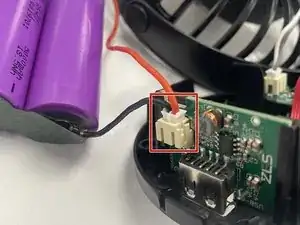
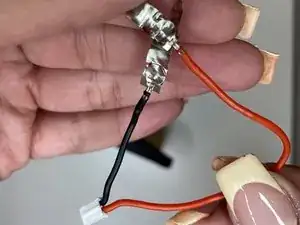
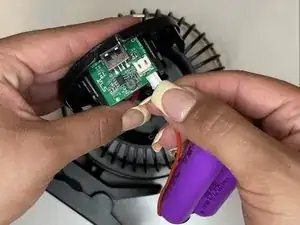
    • Squeeze the tab against the power cable connector, and pull the connector straight up from the socket.

  5. 6xRmM3S4PCXklHGm
    6xRmM3S4PCXklHGm
    IUkkX5uTxyEUtd3R
    UjxGVtFG3x4RHTGT
    • Carefully peel off the tape from both ends of the batteries.

    • Save the battery end protectors to use when reassembling your fan.

  6. CrllDArPtYyRi6OJ
    CrllDArPtYyRi6OJ
    wmYlPZFJ6UNJn5KM
    xMdW6GhYWhM5iuhT
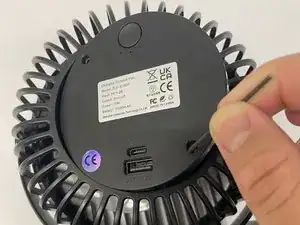
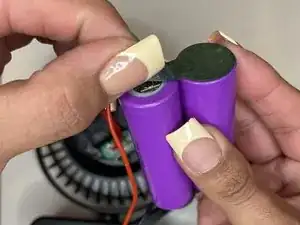
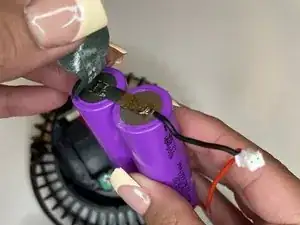
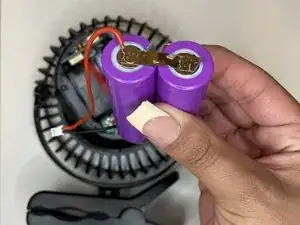
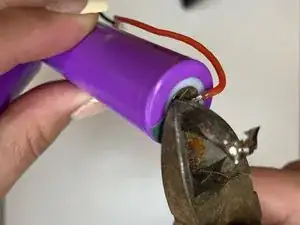
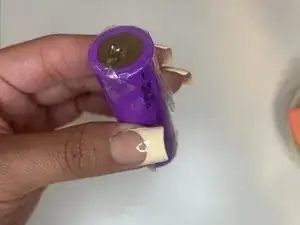
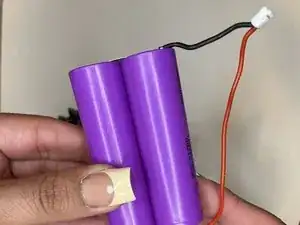
    • Use tin snips to carefully remove the thin piece of metal that connects the ends of the two batteries.

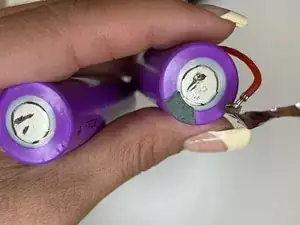
    • Repeat this step on both ends.

    • Since you will need to reuse these metal pieces, be extra careful when cutting them from the batteries. Preserve as much as possible to retain the length of the metal strip.

    • Don't accidentally cut the wires when removing the thing metal!

  7. XWfOD6IGs4y4UrRF
    XWfOD6IGs4y4UrRF
    sPd3XtQoaLC33nEO
    • Once the wires are disconnected, the old batteries can be properly disposed of.

  8. 3dQ1AOJYiXsYQaMS
    3dQ1AOJYiXsYQaMS
    vr3CVV4ghaybxHZL
    FKPLOROGTVqcnFhU
    • Place electrical tape over the ends of each battery.

    • Take it to a hazardous waste collection point or to a store that cooperates with the disposal of industrial waste and battery recycling such as an electronics store or a home center.

  9. EqvTxWHFsYn3rspU
    EqvTxWHFsYn3rspU
    xZNY3Zahu4TiWPsI
    Pw3pON2kaFejkJtd
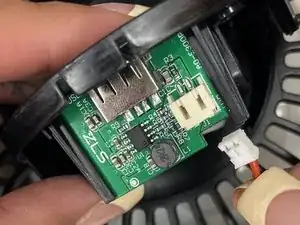
    • Take the new batteries and reattach the connector.

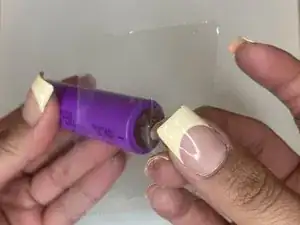
    • Use the tape cover that was set aside earlier and apply one on each end of the batteries.

    • If necessary, use additional electrical tape to secure the connectors on the ends of the battery pack.

    • Try to not pull or push on the red and black wires to avoid disconnection.

    • Place the battery pack back into the holder on the back panel.

  10. lpLXKcloEXVEffPH
    lpLXKcloEXVEffPH
    1MnvnKFetsnEAdEO
    3dDtjbDIn2DSwbfc
    • Replace the back panel the two 20 mm screws using the Phillips #3 screwdriver.

  11. XSM6YWZX2OaCAYGg
    XSM6YWZX2OaCAYGg
    UxaUpAFLhUh4Qxxd
    BZfqaPGE3xb2Alpc
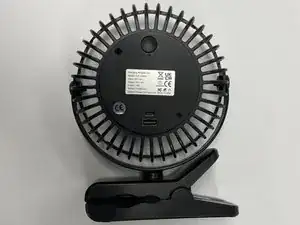
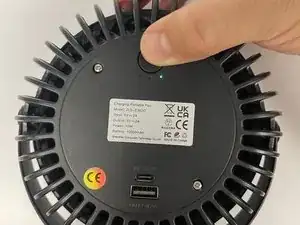
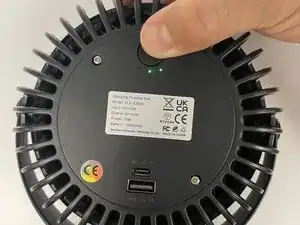
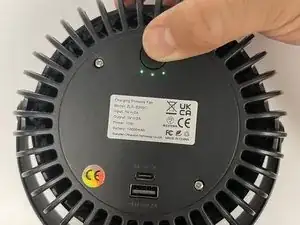
    • Once the back panel has been fastened, ensure that the fan works by pressing the button repeatedly until all the LEDs turn on.

Conclusion

To reassemble your device, follow these instructions in reverse order.

Regina Ramirez

Member since: 05/03/24

193 Reputation

0 comments