Introduction
-
-
WARNING: REMOVE BATTERY AND ALL POWER SOURCES BEFORE BEGINNING WITH THE DISASSEMBLY
-
GoPro Hero 9 & 10 Black were not made to be disassembled
-
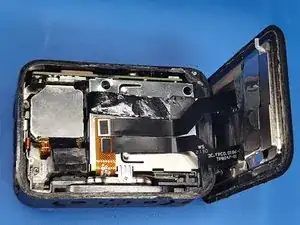
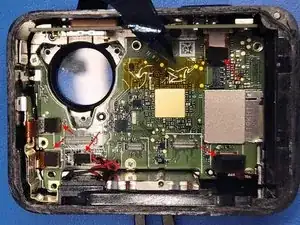
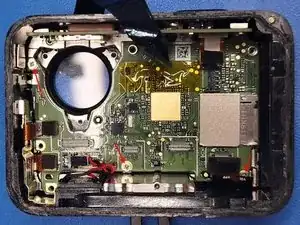
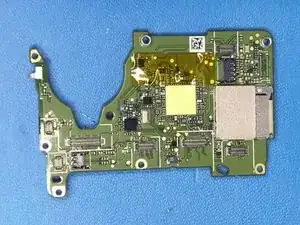
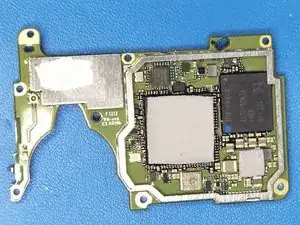
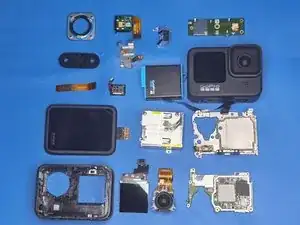
In the picture below, the GoPro Hero 9 is completely disassembled.
-
Since GoPro Hero 9 Black and GoPro Hero 10 Black are almost identical, the disassembling process is the same
-
Please note that you have to cut into the back of your camera and that it will not look the same as it did before.
-
Your camera may not be waterproof after reassembly. Suggested use of waterproof housing if your camera is required to be waterproof
-
-
-
Preheat GoPro (avoid directly heating the screen). Heat up your GoPro to the level that you can still touch it with bare hands.
-
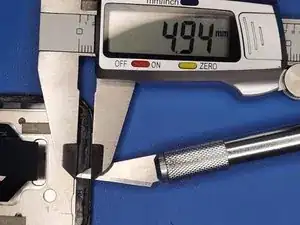
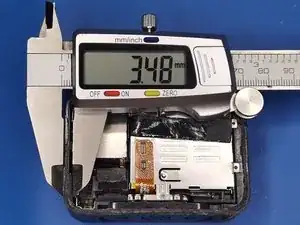
Cut into the side with precision knife approximately 5mm.
-
Recommend heating up the blade of precision knife for easier rear screen removal
-
-
-
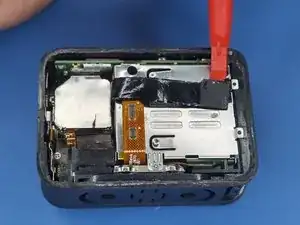
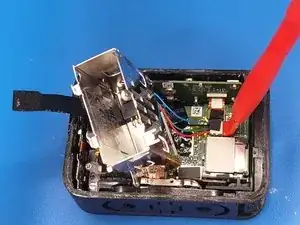
To remove the battery cage you will first need to remove three philips head screws
-
Lift the battery cage and disconnect the cable from the motherboard
-
-
-
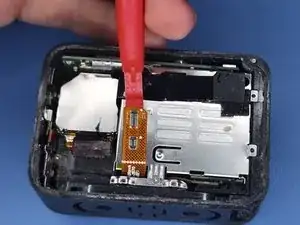
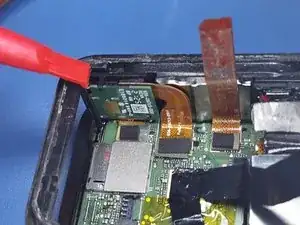
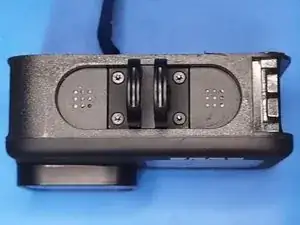
First disconnect power cable
-
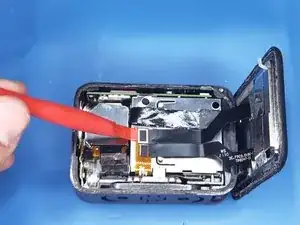
Apply pressure with a pry tool from the position as shown in the second picture (It should come out with minimum force)
-
-
-
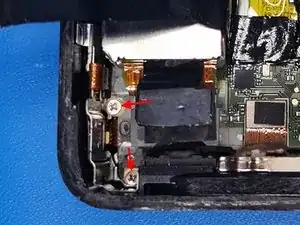
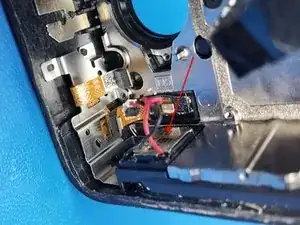
To remove the power button with its support bracket, you will have to twist the thing to the side and then pull. After all the steps taken above, it is only held on by a plastic pin
-
When reassembling, you will probably have to apply glue where the plastic pins were, or you will not be able to press the power button
-
-
-
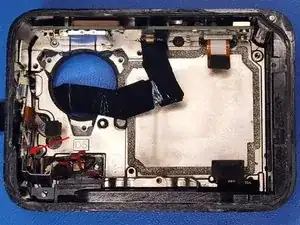
To remove the speaker, I recommend using a thin prying tool to pry from the side and it will pop right out
-
When reinserting the speaker you may need to apply some glue (recommend E6000)
-
-
-
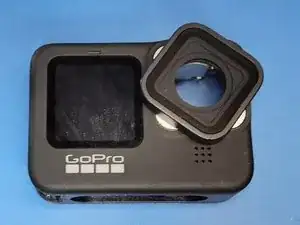
To remove GoPro mounting bracket you have to remove four TX 5 screws
-
When removing lens cover you will have to twist counter clock wise. It can require more strength if you are removing it for the first time
-
-
-
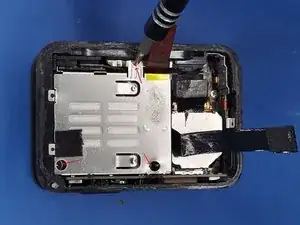
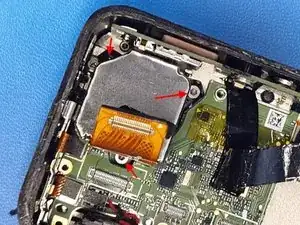
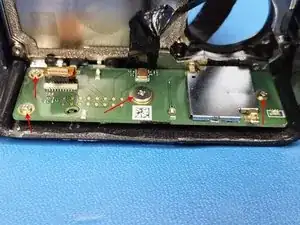
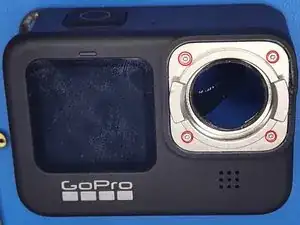
First, remove four TX4 screws from the front of the GoPro
-
Then remove one TX4 Screw from the inside of the GoPro as shown in the picture
-
In some occasions, you can remove the cage by applying enough force from the front of the GoPro where the lens cover was, but in my case i had to use a precision knife to chip away four melted plastic pins for easier removal and then apply force
-
-
-
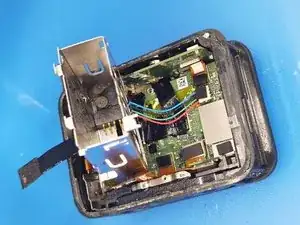
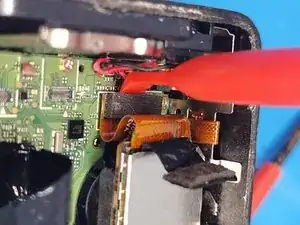
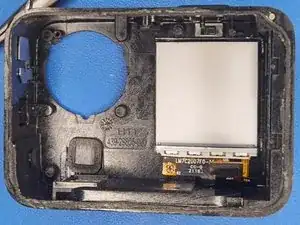
To remove the front screen, I found it to be easier to just pull on the front screen cable and it will pop right out
-
-
-
Follow the steps above in reverse direction for reassembly
-
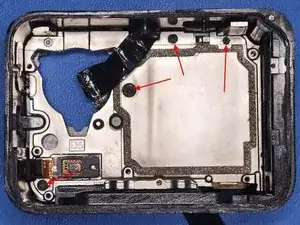
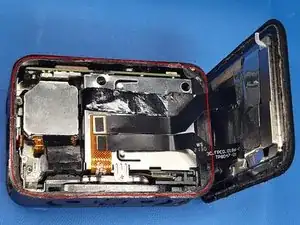
Apply glue on the borders of the camera as shown in the first picture with red line [Recommended glue: E6000]
-
Recommend you to use some sort of clamp to pressure togather screen and the GoPro frame
-
E6000 ADHESIVE can take anywhere from 24h up to 72h to reach its maximum bond
-
In the second picture you can see how the GoPro looks after
-
Suggested use of waterproof housing if your camera is required to be waterproof
-