Introduction
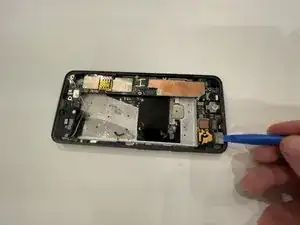
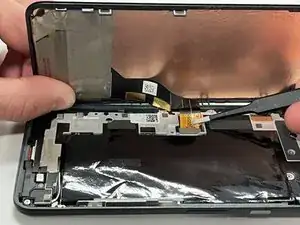
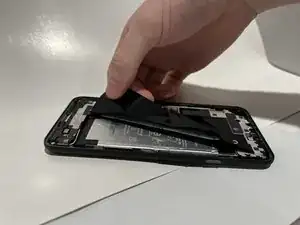
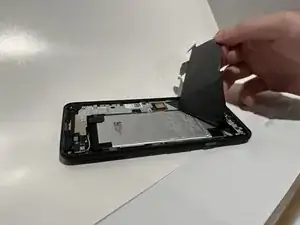
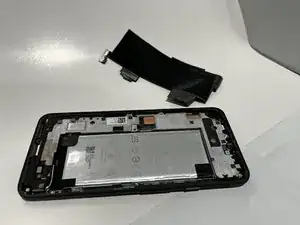
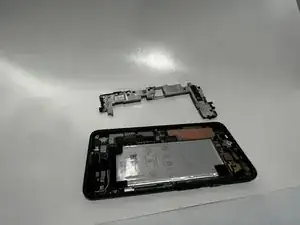
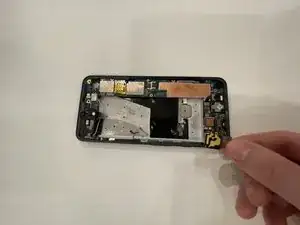
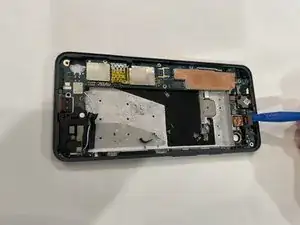
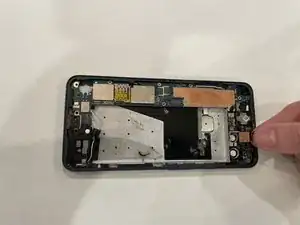
Use this guide to remove and replace the rear-facing cameras in a Google Pixel 5a. The rear-facing cameras can get damaged and result in blurry pictures. If you plan on reusing the old screen, please remove the screen with extra care to prevent damage.
Before starting the guide turn off your device.
Tools
-
-
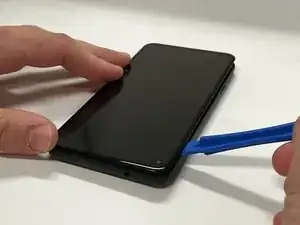
Shut down the device before starting screen removal.
-
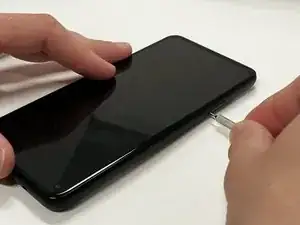
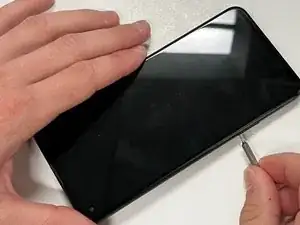
Insert a paper clip or SIM card removal tool into the SIM card tray hole.
-
Apply a small amount of pressure until the tray pops out.
-
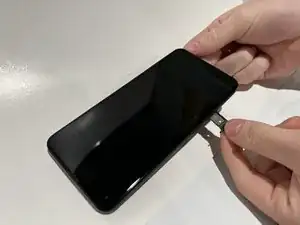
Slide the SIM card tray out of your Google Pixel 5a.
-
-
-
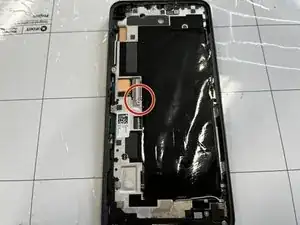
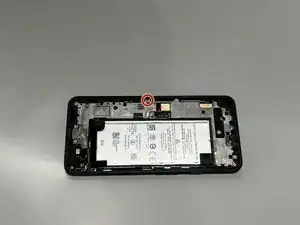
Remove the 4 mm screw using a T4 Torx screwdriver.
-
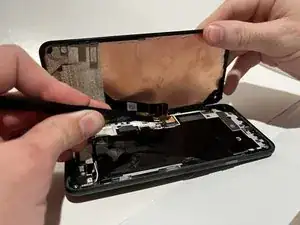
Disconnect the ribbon cable holding the screen in place.
-
Remove the screen from the rest of the phone.
-
-
-
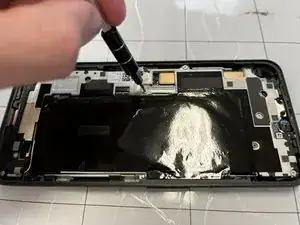
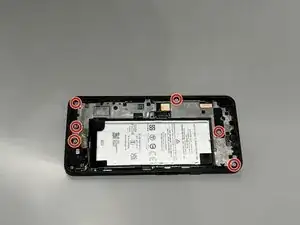
Using a T4 screwdriver, remove the six 4 mm screws.
-
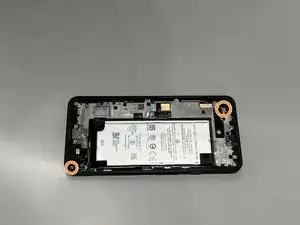
Using a T4 screwdriver, remove the two 3 mm screws.
-
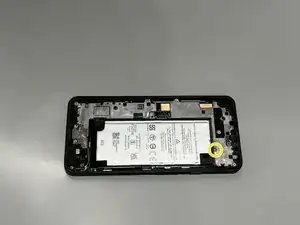
Using a T4 screwdriver, remove the 5 mm screw.
-
-
-
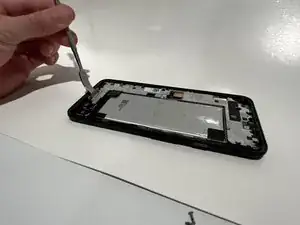
Place a spudger under the metal bracket that covers the charging port.
-
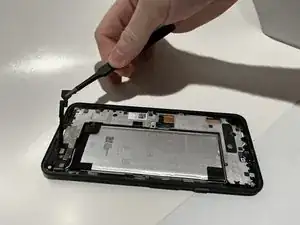
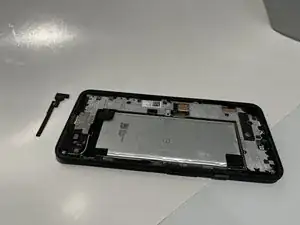
Pry the metal bracket upwards, and remove it from the phone.
-
-
-
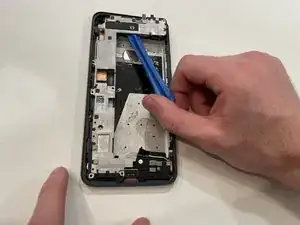
Place an opening tool under the midframe.
-
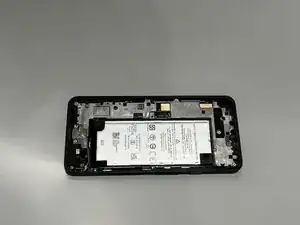
Pry the midframe up, and remove it from the phone.
-
-
-
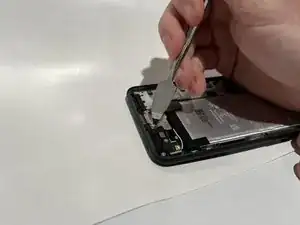
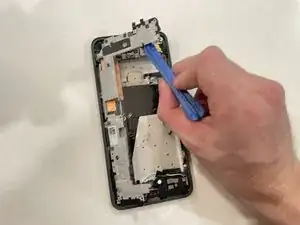
Place an opening tool under the camera connector and pry upward.
-
Carefully remove the camera connector from the phone.
-
-
-
Place an opening tool under the camera and pry upward.
-
Carefully remove the camera from the phone.
-
To reassemble your device, follow these instructions in reverse order.
