
Introduction
The speakers are an important aspect of a computer. They provide a lot to the user experience, such as Music, Videos, and Games. With faulty speakers, you may notice dampened sound, distortion, or no sound at all.
We will provide an easy and efficient way to replace your speakers. Before starting the guide be sure the laptop is powered off and the AC adapter is unplugged.
For this guide, we will be using the iFixit Precision Bit Driver, 15 Philips Screwdriver Bit(1.4 mm), and an Anti-Static Wrist Strap.
-
-
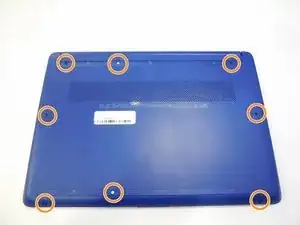
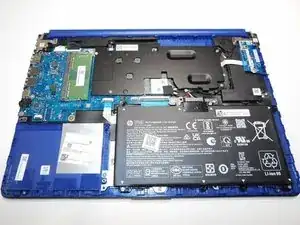
Turn laptop upside down exposing the screws.
-
Gently remove the rubber grips to reveal the remaining screws.
-
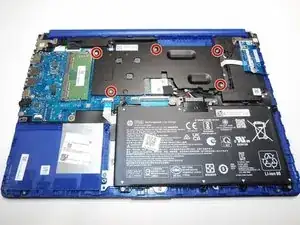
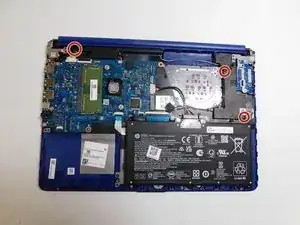
Using a Phillips head #1 screwdriver, remove all eight 2.5 mm screws.
-
-
-
Turn the laptop back over and open the screen.
-
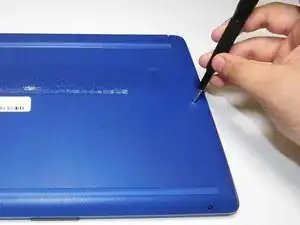
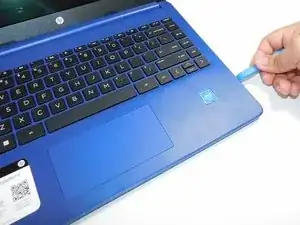
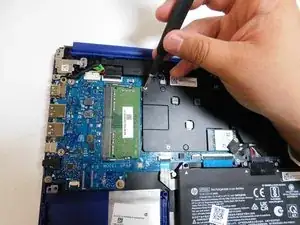
Insert an opening tool into the seam between the keyboard and the bottom panel.
-
Run the opening tool along the seam to separate the back panel from the keyboard.
-
-
-
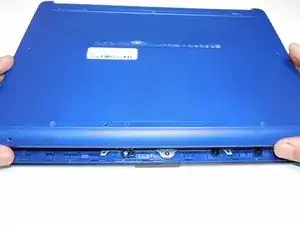
After the bottom panel has been separated from the laptop, close the laptop.
-
Flip the laptop back over.
-
Carefully place hands on either side of the laptop's back panel.
-
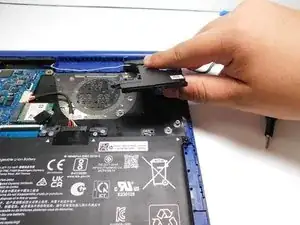
Lift up to remove the panel.
-
-
-
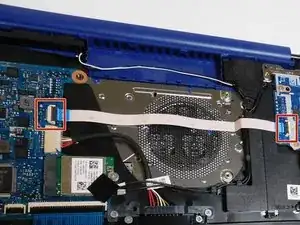
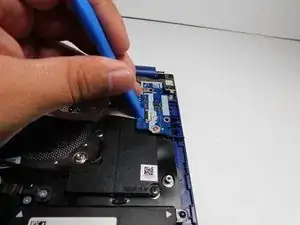
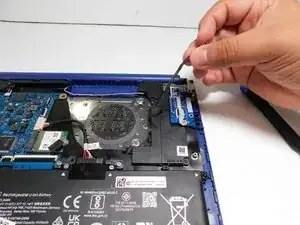
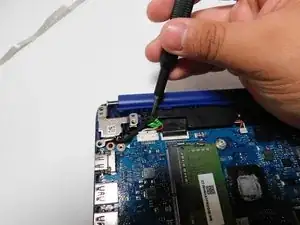
Lift the black adhesive square card covering two small cables connected to the WIFI card.
-
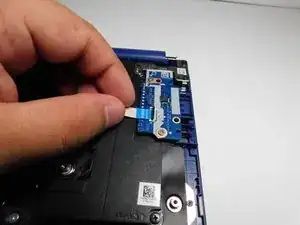
Unplug the small wires one and two with your fingers.
-
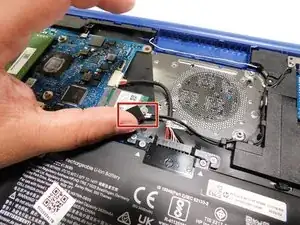
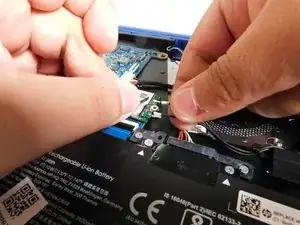
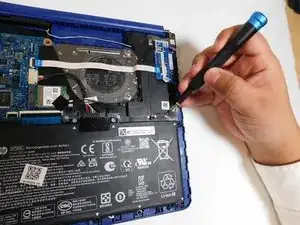
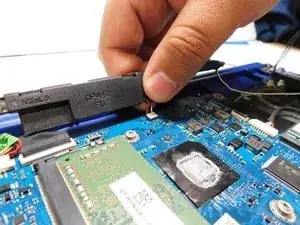
Unravel the cable from the right speaker.
-

To reassemble your device, follow these instructions in reverse order.