Introduction
If you're dealing with a cracked screen or a fading display on your HP 15-g071 nr laptop, replacing the screen yourself is a cost-effective and straightforward solution. Rather than relying on expensive repair services, you can tackle the job on your own with the help of this step-by-step guide. Whether your issue is a physical crack, a damaged display, or just a malfunctioning screen, this guide will show you how to replace the screen on your HP 15-g071 nr.
- Alternate Names/Model Numbers: HP 15-g071nr, HP 15-g series
- Part Being Replaced: Laptop Screen
- The laptop screen is responsible for displaying visual output from your computer. A faulty screen can result in distorted images, fading, or total blackouts, significantly affecting the usability of your device.
- Symptoms of a Faulty Screen:
- Cracked or shattered display
- Fading or dim display
- Unresponsive screen
- Distorted images or color issues
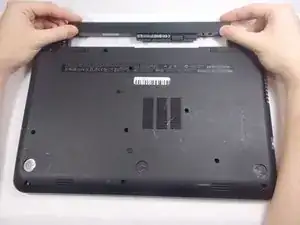
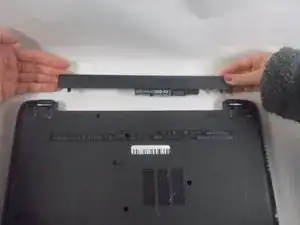
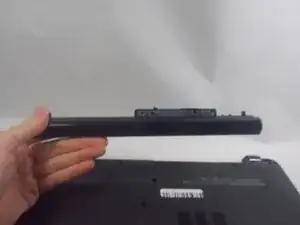
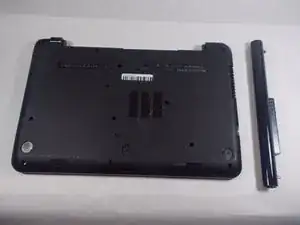
- Safety: Always disconnect the laptop from power and remove the battery (if removable) before working on any hardware.
- Proper Disposal: Responsibly dispose of any damaged components, such as the old screen. Electronics contain materials that can be harmful to the environment.
- Hard Drive Backup: Before beginning any repair, it’s a good idea to back up your important data to avoid potential data loss.
By following this guide, you will be able to replace your HP 15-g071 nr screen without needing professional repair services. So, let’s dive in and get started!
-
-
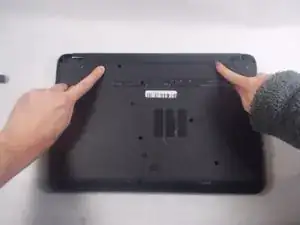
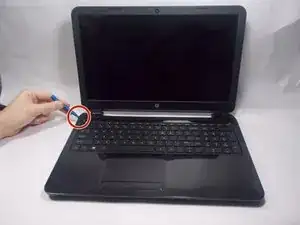
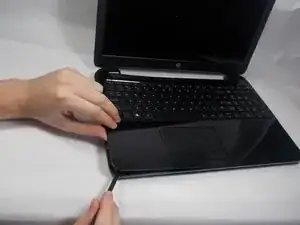
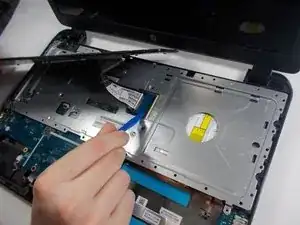
Carefully move the iFixit opening tool along the seam of wrist rest until you can remove it.
-
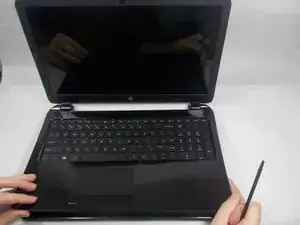
Remove the wrist rest once it comes loose from the body.
-
-
-
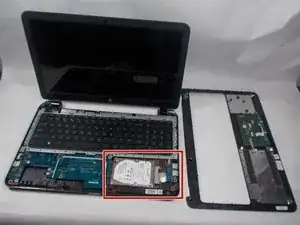
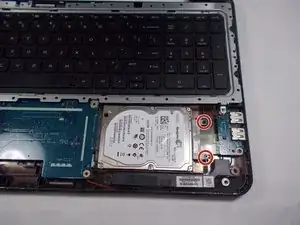
Remove the two screws with the Phillips #0.
-
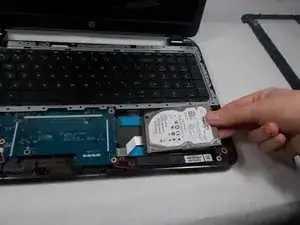
Gently pull the hard drive out of its SATA connection to the motherboard.
-
Attach the loose data cable to the new drive.
-
-
-
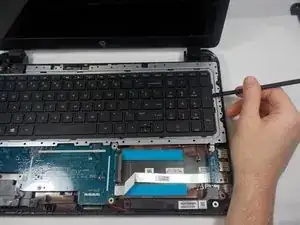
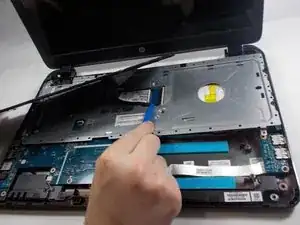
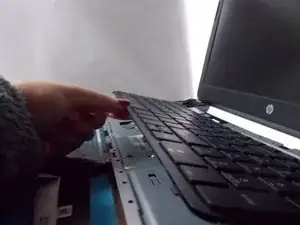
Use one of the plastic opening tools or spudger to lift the keyboard from its housing.
-
Slowly lift the keyboard at angle toward the left.
-
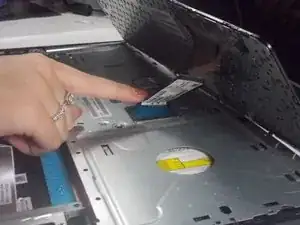
Just above the blue plastic connection to the motherboard is a clamp . Use your finger to lift this bar and release the cable.
-
-
-
Lift the keyboard with your hand being careful to unseat the ribbon cable with the blue tab.
-
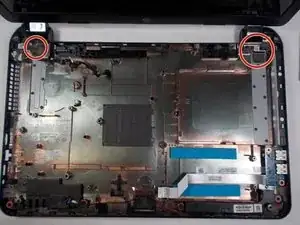
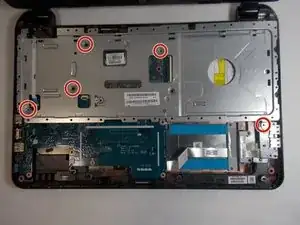
Use the Phillips #0 to remove the five highlighted screws.
-
Lift the plate off of the back of the motherboard.
-
-
-
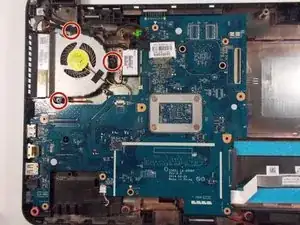
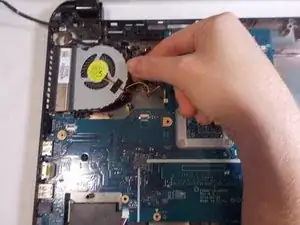
Remove the three screws connecting the fan to the motherboard with the Phillips #0.
-
Remove the fans connection to the motherboard.
-
-
-
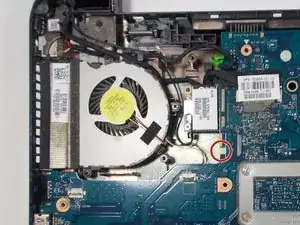
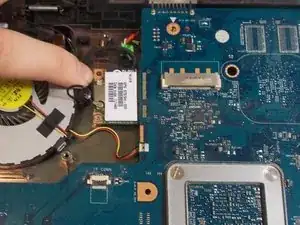
Carefully pull the wireless card from its interface with the motherboard.
-
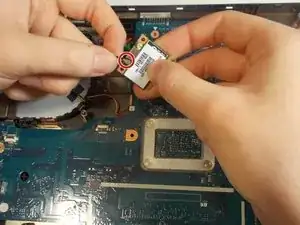
The marked connector is the antenna's connection. Use two fingers to wiggle the connector loose from its fitting.
-
-
-
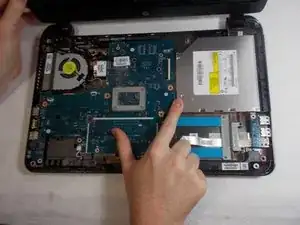
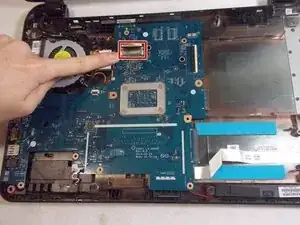
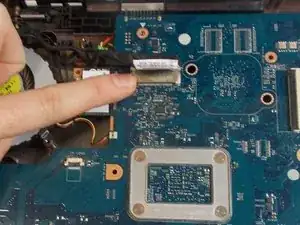
Remove the screen connector by pulling on the plastic tab.
-
Gently wiggle the connector side to side while pulling toward the battery.
-
-
-
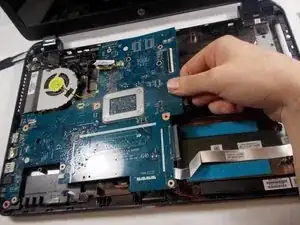
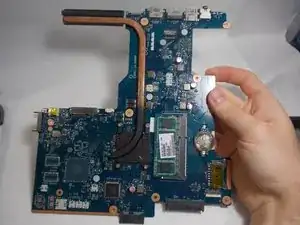
Slowly lift the motherboard by pinching on the middle of its right side.
-
Wiggle the motherboard side to side to remove.
-
-
-
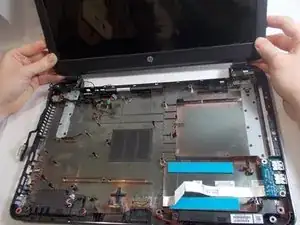
Remove three screws at the base of each hinge with the Phillips #0.
-
Bend the screen back as if you were opening it. The goal is to over-extend the hinges.
-
-
-
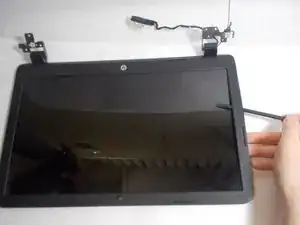
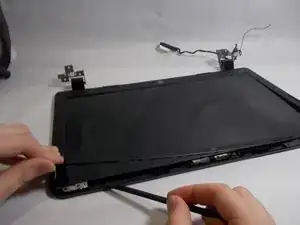
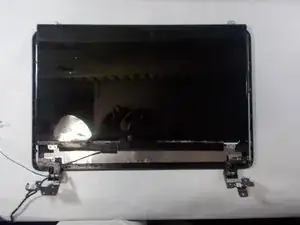
Find the seam that separates the black plastic covering the outside of the screen.
-
Using a plastic opening tool, spread the cover apart until you reach where you started.
-
-
-
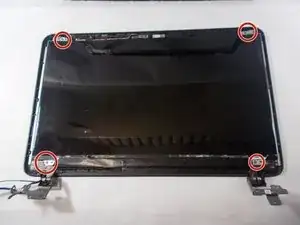
Remove four screws— one at each corner of the screen.
-
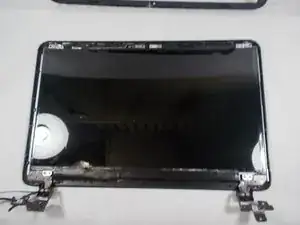
Place the screen face down on the nearest surface to the laptop.
-
A ribbon cable is plugged into the center of the screen that must be removed.
-


To reassemble your device, follow these instructions in reverse order.