Introduction
Use this guide to replace a faulty battery in your HP Chromebook 14 G4.
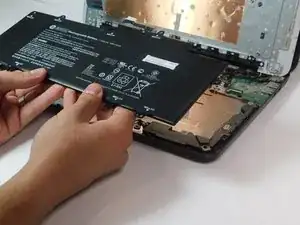
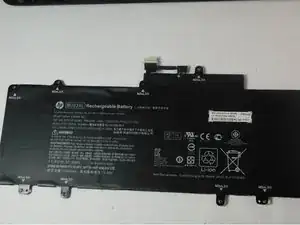
The battery is the power source of your Chromebook. A faulty battery can cause your Chromebook to power down irregularly and cause your Chromebook to age faster. If these issues persist then it may cause the Chromebook to not function.
Make sure to troubleshoot your issue before following the guide as replacing the battery may not be the solution.
Power tools are not recommended for this type of repair because an excessive amount of force can break the computer's parts.
-
-
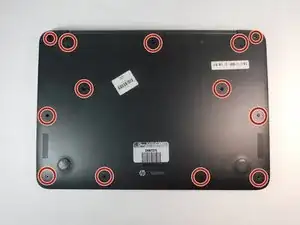
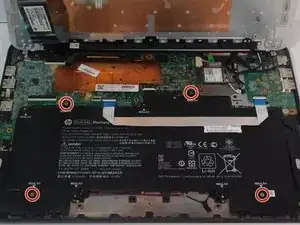
Remove the thirteen 2.5 mm Phillips #0 screws on the underside of the laptop that secure the keyboard assembly.
-
Flip the laptop over and open the lid.
-
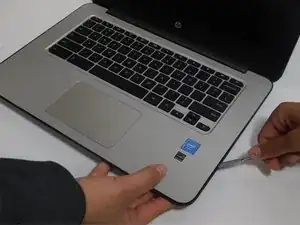
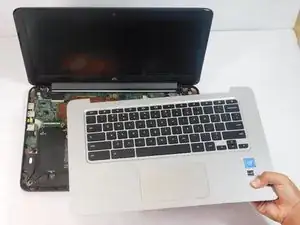
Insert a nylon spudger in the gap between the keyboard assembly and lower case.
-
Gently pry around the entire perimeter until the keyboard assembly fully releases.
-
-
-
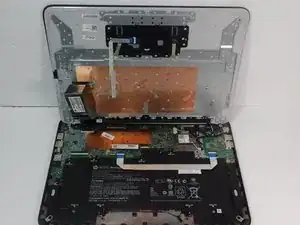
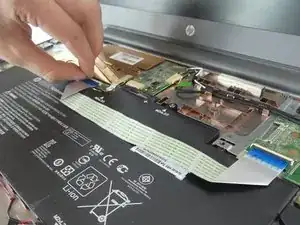
Slightly lift the keyboard assembly with care not to strain the attached ribbon cables.
-
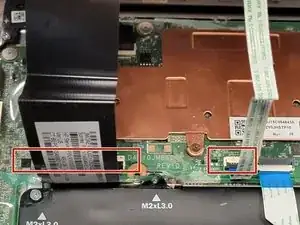
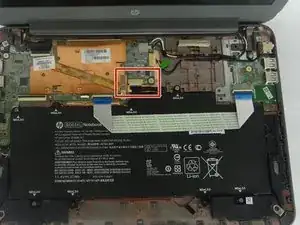
Flip up the two black ZIF locking flaps that secure the keyboard and touchpad ribbon cables to their motherboard sockets.
-
Gently pull the keyboard and touchpad ribbon cables out of their motherboard sockets.
-
-
-
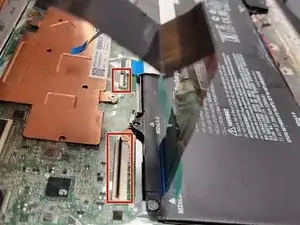
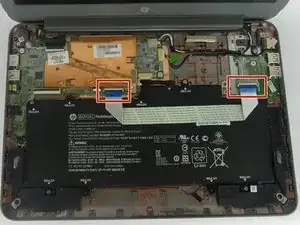
Use a nylon spudger or your fingernail to flip up the two black ZIF locking flaps that secure either end of the ribbon cable.
-
Grip each blue pull tab and gently remove the ribbon cables from their sockets.
-


To reassemble your device, follow the above steps in reverse order.
For optimal performance, after completing this guide, calibrate your newly installed battery.
Take your e-waste to an R2 or e-Stewards certified recycler.