Introduction
USB ports are an essential comment to any laptop or computer. Over time, the USB port on the HP Chromebook 14-ak013d could be damaged due to wear and tear, physical impacts, or internal hardware issues. If your laptop has problems like trouble connecting, or total failure to charge or transfer data, you may need to replace the port. Another typical cause for this repair is physical damage, like bent pins or a loose connection. A faulty USB port can prevent you from connecting important peripherals, potentially disrupting your daily workflow.
This guide provides step-by-step instructions to replace a malfunctioning USB port and restore full functionality to your Chromebook. This repair method does not require advanced technical skills, but basic knowledge of electronics and safe handling of internal components will assist you.
Working with the internal components of any laptop can be extremely hazardous. Ensure that your laptop is turned off, and the power adapter is unplugged to avoid any electrical discharge. Be careful to handle components gently to avoid damaging delicate circuitry, and watch out for sharp edges inside the laptop casing.
If possible, use anti-static gloves to prevent electric shock. Before opening the back panel, allow the laptop to cool down completely. Handle the components by their edges to avoid damaging circuits. Avoid forcing connections during reassembly to prevent additional damage.
-
-
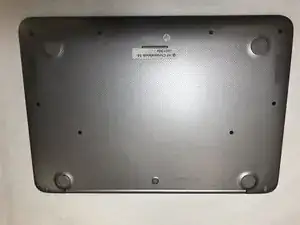
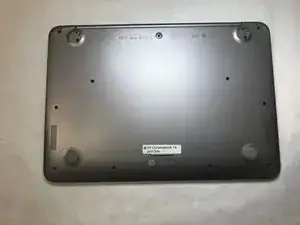
Turn the Chromebook upside down, as shown in the first image.
-
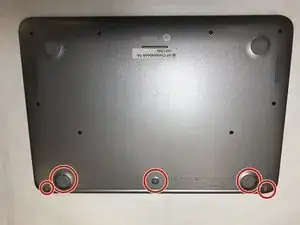
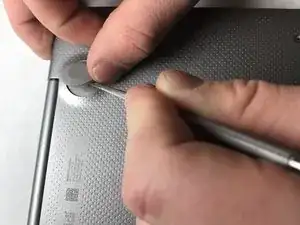
Remove the five rubber feet pieces as shown using a metal spudger.
-
-
-
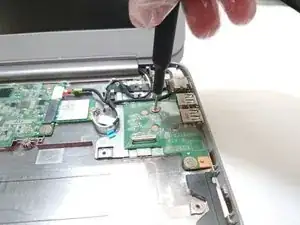
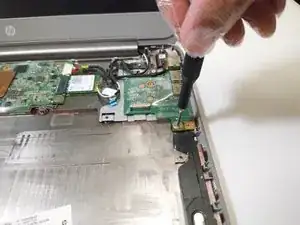
Begin removal of the back panel by unscrewing all exposed screws using a small Phillips screwdriver.
-
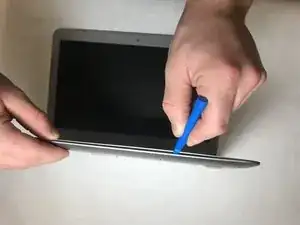
Use a plastic prying tool to split the back panel from the keyboard.
-
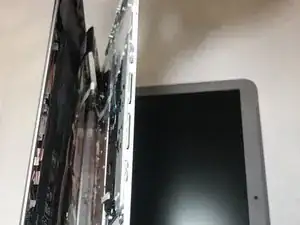
Move the prying tool around the sides of the back panel to detach it. Do not fully remove the panel, taking note of the two ribbon cables.
-
-
-
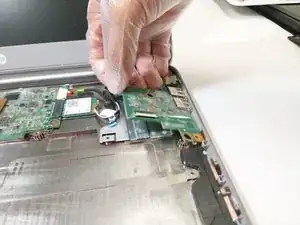
Remove both ribbon cables attaching the separated keyboard to the motherboard.
-
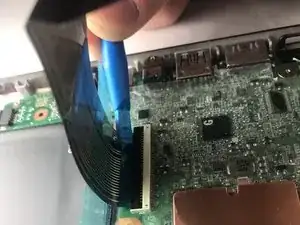
The large black ribbon cable was a tab that should be pried open to loosen the ribbon from its hub. Use the plastic opening tool as shown.
-
Gently pull out the short white ribbon cable out of its hub.
-
-
-
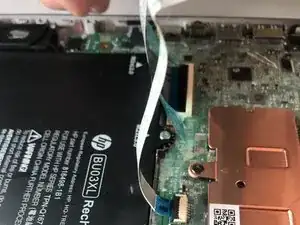
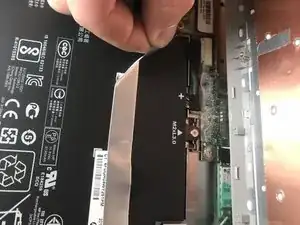
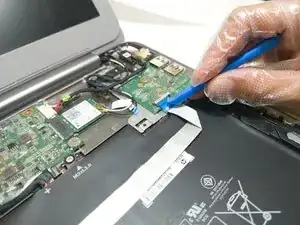
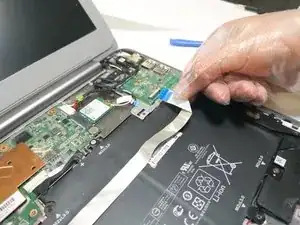
Peel up the adhered ribbon cable. This cable does not need to be detached from the motherboard.
-
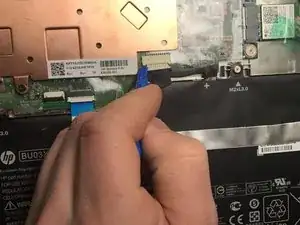
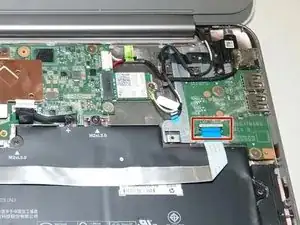
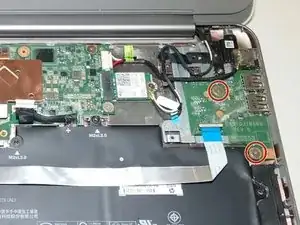
Use a plastic opening tool to disconnect the battery before going any further by inserting the tool between the plug and the hub where the recesses are on either side of the plug.
-
-
-
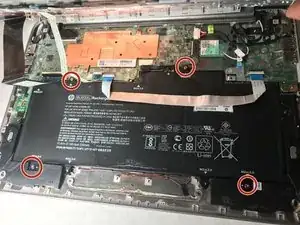
Unscrew the four M2xL3 screws , shown in the picture, using a Phillips screwdriver.
-
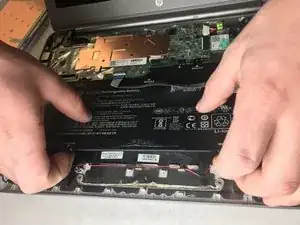
Carefully lift the battery out of its place, avoiding the previously adhered silver ribbon cable in the process.
-


To reassemble your device, follow these instructions in reverse order.