Introduction

The front-facing camera is an important of any modern tablet or laptop . This guide shows how to replace a broken or malfunctioning webcam on the HP Elite x2 1012 G2.

  1. TU5jECsBEI1ToHJp
    • Make sure the device is turned off before starting.

    • Orient the device so the back is facing you, with the kickstand up.

  2. h5PWrA5KwlTIS62m
    h5PWrA5KwlTIS62m
    XvFKKMvUY56INjhU
    WmgDV2Olel2GAvQq
    • Remove the six 3mm Torx T5 screws underneath the kickstand.

  3. WW3R6CeCJypilTrW
    WW3R6CeCJypilTrW
    dGWPUtl2LeVrVURx
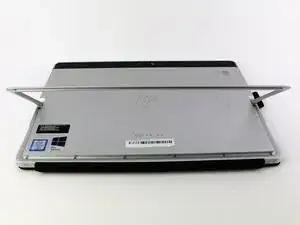
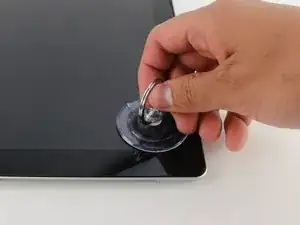
    • Turn the device over so the screen is facing you.

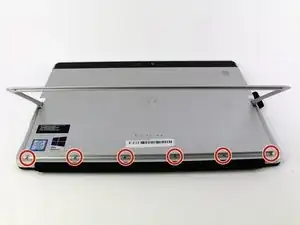
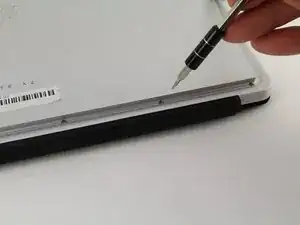
    • Place a suction cup firmly onto a corner of the screen.

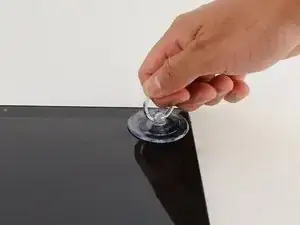
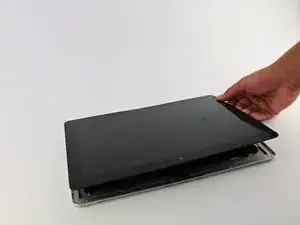
    • Lift up gently until you see the screen separate from the casing.

    • Repeat this process for all four corners.

    • During reassembly, certain clips/edges may not snap into place properly even with a lot of force. To counteract this, lift the edge up, place the suction cup further inwards on the screen and pull it slightly upwards while pressing the edge of the screen downwards. The edge should snap correctly into the housing.

  4. 6gh3ZVmk3Bqqx34R
    • Lift the screen up and off of the device.

    • Pry each corner up first, otherwise you may damage or crack the screen.

  5. hIdxdeIxeTqapWHl
    hIdxdeIxeTqapWHl
    KGjyvHT2ReFYrgFa
    HmwRQqKkTp1cBsKl
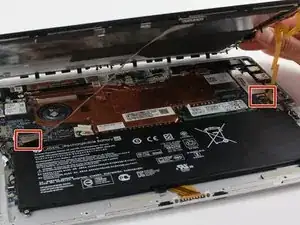
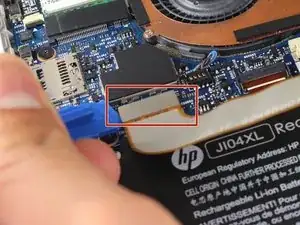
    • Remove the two connectors on the back of the screen by lifting the connector tabs on the motherboard with a plastic opening tool and pulling gently.

  6. R6smdUh1OOgK6ULi
    R6smdUh1OOgK6ULi
    eN1myo6VPvkajva3
    • Remove the screen by gently lifting it off of the device.

  7. RVI6KxQDZGFxt6YP
    • Orient the device so that the battery is closest to you.

    • The battery is the large, black rectangle at the bottom of the device.

  8. AUcveEqxg5pZHV1t
    AUcveEqxg5pZHV1t
    mhhnfbupxf1rrNJf
    nxKlcjeigGLFtWTy
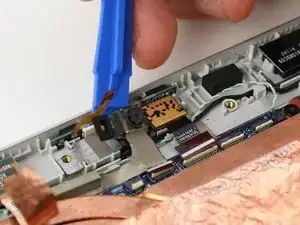
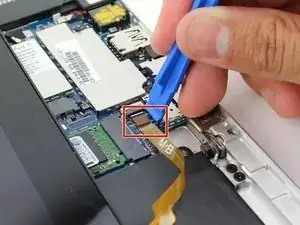
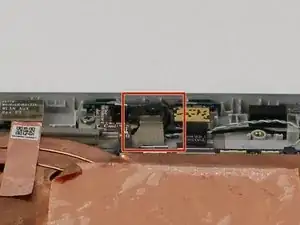
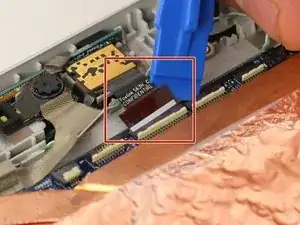
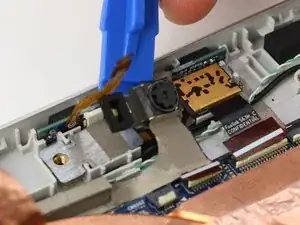
    • Remove the wire connector to the front webcam using a plastic opening tool. Hook the tool underneath the connector and pull up and back.

  9. ZS5H1uoXE16rvTJp
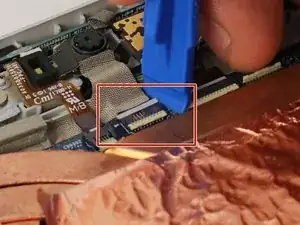
    • Remove the connector immediately to the left of the front webcam's connector. Use a plastic opening tool to gently lift the connector up and out.

  10. SjQBKLwSFshJmqBG
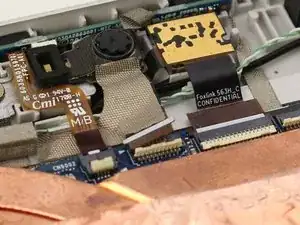
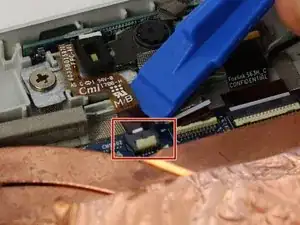
    • Remove the connector immediately to the right of the front webcam's connector. Use a plastic opening tool to gently lift the connector up and out.

  11. EfbIFbWhxqs2NrEo
    EfbIFbWhxqs2NrEo
    nNxe4OYDSygLBSNQ
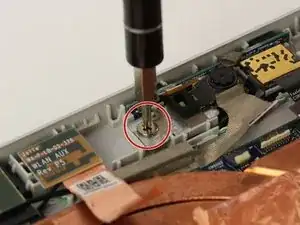
    • Use a Phillips screwdriver to remove the Phillips M2.0x2.0 screw to the left of the webcam. Turn the screwdriver counterclockwise to remove the screw.

  12. vvUoF3InMCcQ4BVH
    • Remove the webcam using a plastic opening tool to lift it up and off.

Conclusion

To reassemble your device, follow these instructions in reverse order.

Noah Stapp

Member since: 18/04/18

770 Reputation

0 comments