Introduction
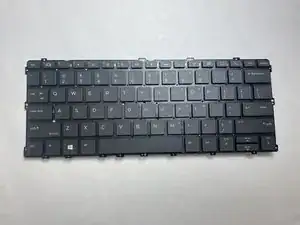
This guide is to show how to replace the keyboard for the HP EliteBook x360 1030 G3. A broken keyboard makes the computer essentially useless and replacing it can allow you to extend the life of your computer.
-
-
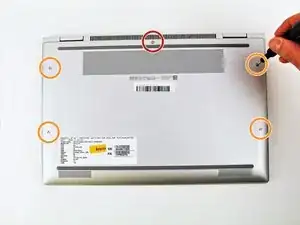
Close the laptop and flip it so that the screen is on the surface of the table and the back plate is facing you.
-
Remove the 3.3 mm screw near the top of the hinge using a T5 Torx screwdriver.
-
Remove the remaining four 7.3 mm screws using the same screwdriver.
-
-
-
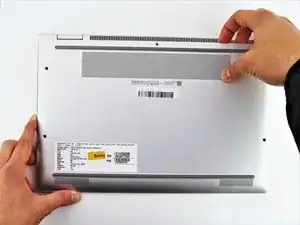
Separate the bottom cover from the laptop, starting from the upper corner and working your way around the edge.
-
-
-
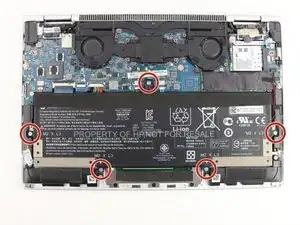
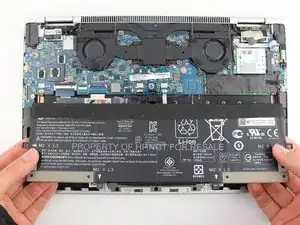
Remove the five 3.7 mm screws that are holding the battery in place using a Phillips #00 screwdriver.
-
-
-
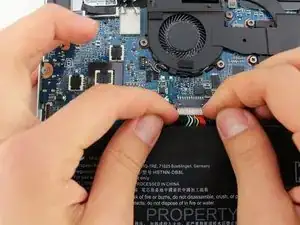
Carefully pull the white plastic battery connector towards you until it is removed from the port.
-
-
-
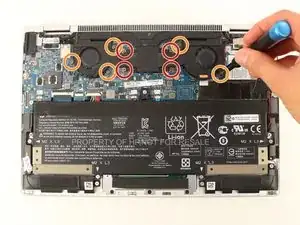
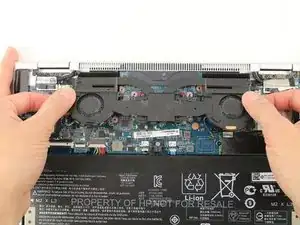
Use a Phillips #1 screwdriver to remove the four 3.5 mm screws near the middle of the fan assembly.
-
Use the same screwdriver to remove the remaining five 3.9 mm screws.
-
-
-
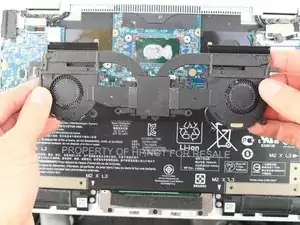
Before pulling the fan out, identify the two wires that are connected to the fan and to the motherboard.
-
For each, use plastic opening tool to lift the black wire housing upward out of its port.
-
-
-
Slide the fan assembly toward you, and when the top edge of the fan is out of the vent grill, the fan is completely removed.
-
-
-
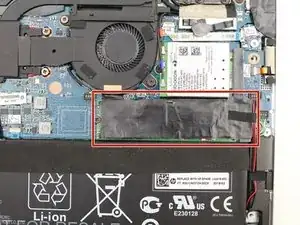
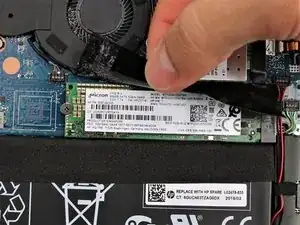
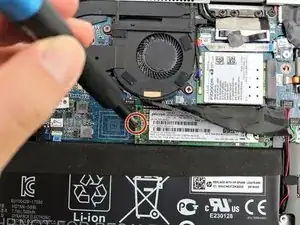
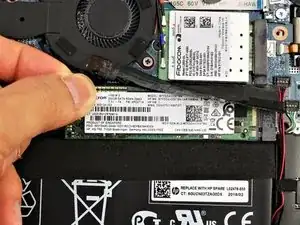
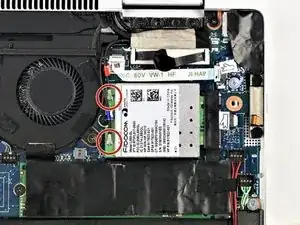
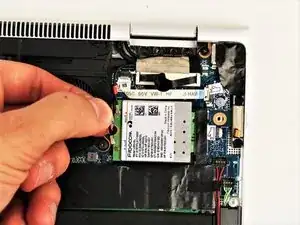
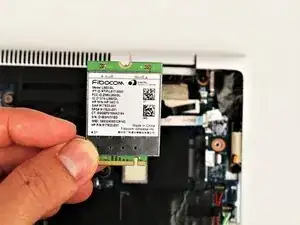
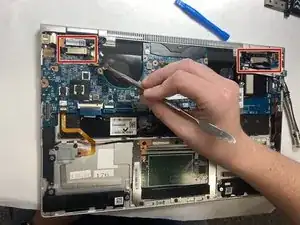
Detach the small wires connected to the card by lifting the ends straight upward. The wires are held in place by friction and should pop right off.
-
-
-
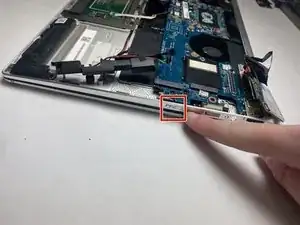
Remove the single 5 mm screw holding the HDMI port cover in place using a Phillips #0 screwdriver.
-
-
-
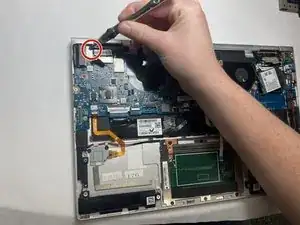
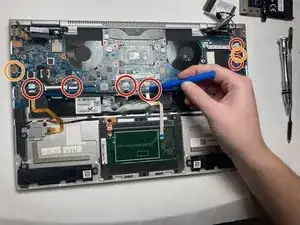
Flip up the five white wire clips and the single black clip using an iFixit opening tool.
-
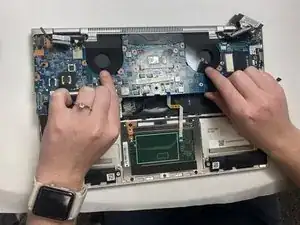
Detach the wires connected to the motherboard.
-
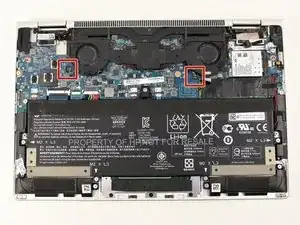
Remove the two 5 mm screws that hold the motherboard in place with a Phillips #1 screwdriver.
-
-
-
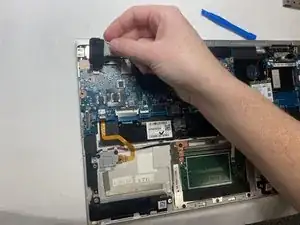
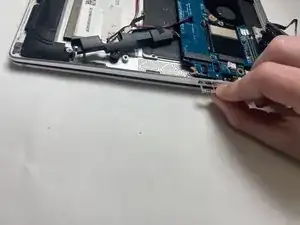
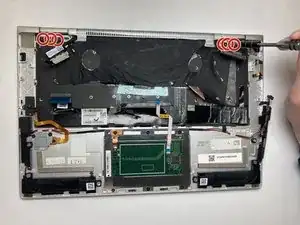
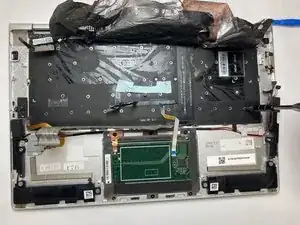
Carefully remove the motherboard from the device by sliding it away from the laptop hinge and lifting upwards. Pull the blue sticky foam off of the back of the motherboard.
-
-
-
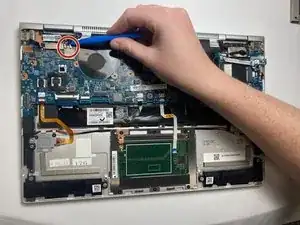
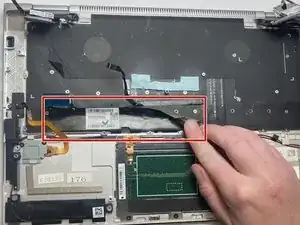
Lift up the black ribbon wire that is attached to the back of the keyboard to reveal hidden screws.
-
-
-
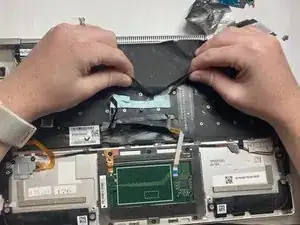
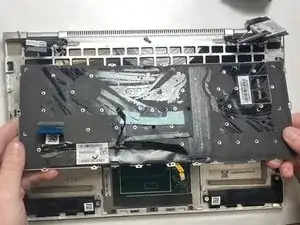
Lift up the black protective layer from the back of the keyboard to reveal more hidden screws.
-
-
-
Remove fifty-seven 1.5 mm screws securing the keyboard assembly in place using a Phillips #0 screwdriver.
-


To reassemble your device, follow these instructions in reverse order.
One comment
Sehr gute Anleitung.
Allerdings sind die 15 Minuten nicht realistisch.
Alleine die Demontage der 57 Schrauben dauert länger.
Zerlegen und wieder zusammenbauen dauert zwischen ein und zwei Stunden.