Introduction

This guide will show you how to replace the battery in an HP Omen 16 laptop. There are clear signs when a laptop battery needs to be replaced. Battery life can be noticeably decreased, charging can be very slow, or the laptop randomly shuts down. If you are experiencing any of these signs, it might be time to replace your battery.

  1. AFIRQdGTaXCPyWKV
    • Remove eight screws from the back panel using a Phillips #00 screwdriver.

  2. RMXINqhURvKwKQCt
    • Gently wedge a Jimmy between the lid of the chassis and the fan exhaust.

    • If you cannot find this gap, use a suction cup to pull the bottom of the chassis upwards.

  3. B3u4yA5NCgf2oQ4H
    B3u4yA5NCgf2oQ4H
    MbJCTr2ZeuRliKNP
    • Use your fingers to pull the bottom of the chassis away.

    • If you hear a loud snapping while pulling the bottom chassis off, this is normal.

  4. UHUiGTXgt5NE1D1f
    UHUiGTXgt5NE1D1f
    M5WRTFOapRYrULkK
    • Use the screwdriver to remove the six screws holding the battery to the case.

    • Separate these screws from the chassis screws in your workstation.

    • Warning: Be extremely delicate with the placement of your screwdriver as not to accidentally poke and damage components of your motherboard.

  5. Qo6uAAQUF2tniVOy
    Qo6uAAQUF2tniVOy
    vOo3e3DndNTVKMfV
    avrk3a4WIiH6iMY2
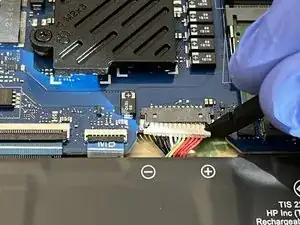
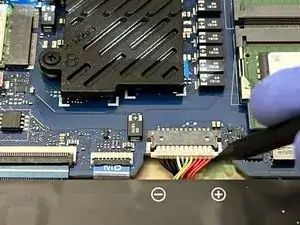
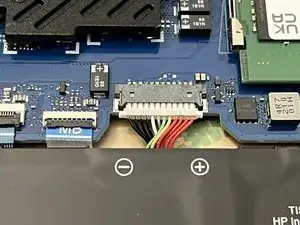
    • Use the flat end of a spudger to pull the right edge of the 12 pin connector towards you. Repeat this same action to the other side of the connector and do so until it is completely free.

    • Warning: Do not try to pull one side completely free without also pulling the other side. This could break the delicate wire connectors and render the battery unusable.

  6. pPI2tcnRtHjQSFCL
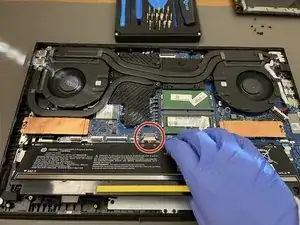
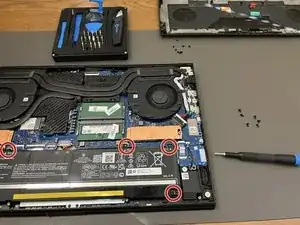
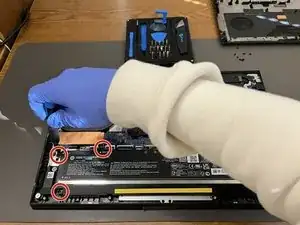
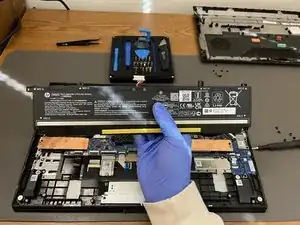
    • Remove the battery from the laptop.

    • Grab your replacement battery and align it in the same way the previous battery was.

  7. 3IBUPnCGr3T4o5ER
    3IBUPnCGr3T4o5ER
    iZMPKGWOuHC46cDN
    DaMwJsKwZRJOpVrK
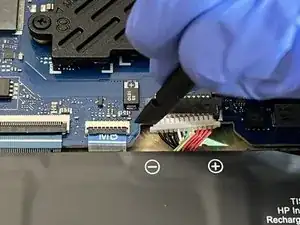
    • Use a spudger to insert the 12-pin power connector from the battery into the motherboard.

    • Push one side of the connector in slightly, then push in the other side. Ensure the 12 pin connector is fully inserted.

  8. c4gInncKRYZEnT6M
    c4gInncKRYZEnT6M
    ghIDKOTdmhXM6S4r
    • Screw the new battery into the case.

  9. WoAaiT3CAGXMOEEy
    WoAaiT3CAGXMOEEy
    ey4BqMPRVCNfYQFU
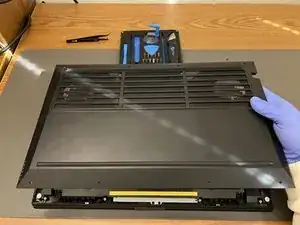
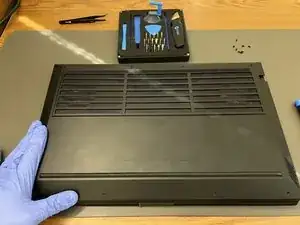
    • Place the bottom of the chassis back onto the laptop and push down on each corner of the laptop until you hear a snap or it is clear that the case has been resealed.

  10. JCvdlq1eETetntii
    JCvdlq1eETetntii
    ZqBY1ftn2XE1Xkn2
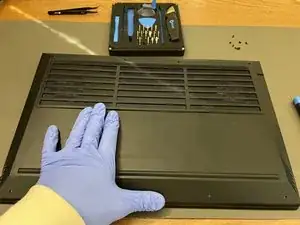
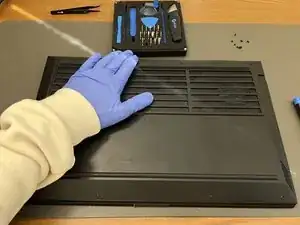
    • Use your thumb and drag it along the outside edge of the bottom of the chassis to ensure all gaps have been closed.

  11. xtNOHRJkVMkEjLjV
    • Screw in the 8 screws at the bottom of the chassis until they are snug.

  12. JpYNbkftYgUAkL2H
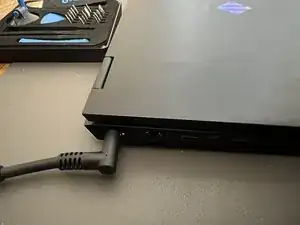
    • Plug in the laptop to check for a charging light to ensure that the system recognizes the battery and that the battery charges.

alexscherber

Member since: 27/02/24

223 Reputation

0 comments