Introduction

Using this guide will help you in replacing the screen in your HP Pavilion 14-bk061st.

The screen is an important part of all laptops. Some may consider replacing the screen once issues arise during use such as cracked screens after a fall or vertical or horizontal lines sometimes caused by a loose or frayed video cable.

  1. FUQCpak5YBTDlmmG
    FUQCpak5YBTDlmmG
    FFZg35mG1p6HjImp
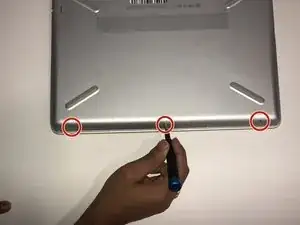
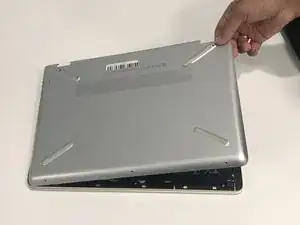
    • Remove the three 5.7 JIS #1 screws from the bottom of the laptop.

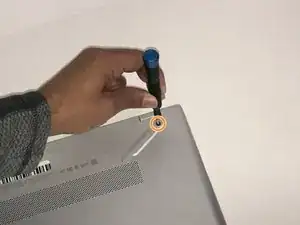
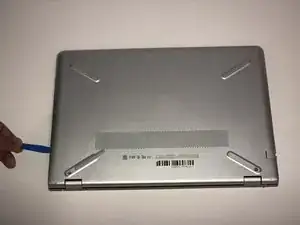
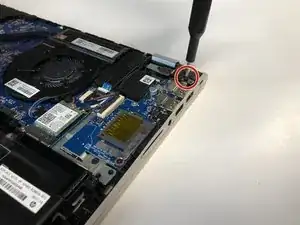
    • Remove the two 6.7mm JIS #1 screws from underneath the feet of the laptop close to the exhaust vent.

  2. 4ISZGc3UuVXcGkce
    • Unclip the back plate using a plastic opening tool.

    https://www.youtube.com/watch?v=xXhVP0Un... This video helped a little. It is very hard to pry the left or right side away as the manual says. The video shows lifting from the center of the back. This bows the lid and consequently pulls the left and right sides inward slightly. I enhanced this movement by pushing inward from the right and left sides with my thumb while pulling up from the center of the back panel. This popped open the clasps on the right. Lifting the right back corner and pulling to the right, I got the clasps on the left to disengage. Once the clasps on the left and right towards the back came loose, the rest was far less stubborn.

    Bill Jacobs -

  3. KllZRJQitapvMEbR
    • Carefully remove the back plate from the laptop.

  4. ZK3poLsbZXsTyGV5
    ZK3poLsbZXsTyGV5
    XMN5a3ZKQabaVTUh
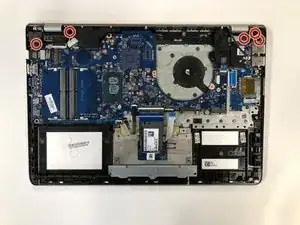
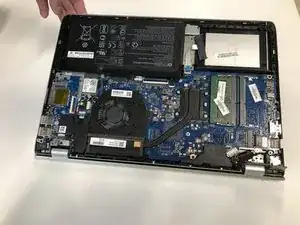
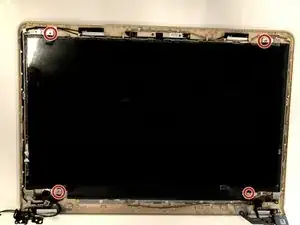
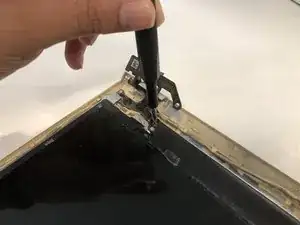
    • Remove the five JIS #1 screws that attach the hinges of the screen to the casing of the laptop.

  5. pnBRtHPIywBJCurm
    pnBRtHPIywBJCurm
    eNNpeLrIPbeXkddr
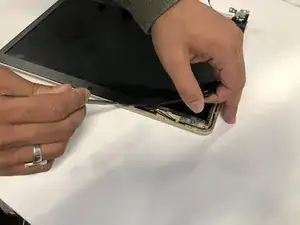
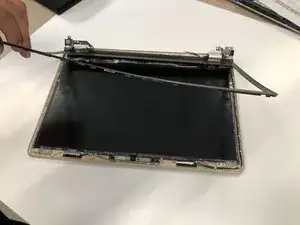
    • Carefully lift the hinges from the encasing and lift the bottom half of the laptop away from the screen.

  6. mQEgDnSfyG3r2vGm
    mQEgDnSfyG3r2vGm
    UybBWsiIwypIrSLa
    HXBQHwQpOEpBwRXa
    • Use the metal spudger to carefully pry off the plastic encasing around the monitor.

    • Use the outside of the screen to remove the plastic encasing to avoid damaging the screen itself.

  7. AYIZODGvEPjChXlv
    AYIZODGvEPjChXlv
    FMOxfS1rTsAeSH3W
    • Remove the four JIS #1 screws holding the screen in place.

  8. XrtpkSwnbNlSKDjG
    XrtpkSwnbNlSKDjG
    nKiIMBSRJ2PcqQ1C
    RMPv6ixq3wLDbU51
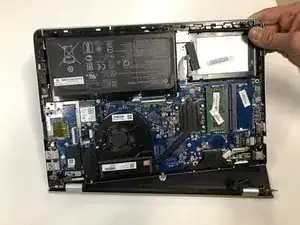
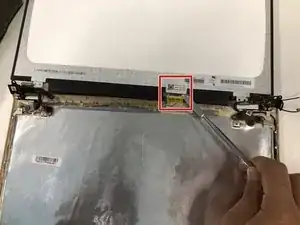
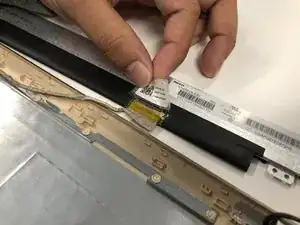
    • Carefully remove the sticker covering the wire that connects the screen to the motherboard.

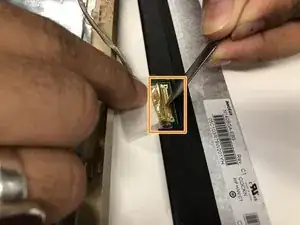
    • Disconnect the cable that is connected to the screen.

  9. 6VyENyEZwKyEwwFU
    • Remove the screen from the laptop.

Conclusion

To reassemble your device, follow these instructions in reverse order.

Mehrab Daemi

Member since: 22/01/20

596 Reputation

0 comments