Introduction
This guide will show you how to replace your HP Pavilion motherboard. The HP Pavilion 14 motherboard is the central hub of the laptop, connecting all the components and enabling them to communicate with each other. It houses the CPU, RAM, storage, and other essential elements. If your motherboard is not working, it could be because of a hardware failure, a power issue, or a software problem.
Before you begin the repair, make sure your laptop is powered off and unplug it from the charger.
-
-
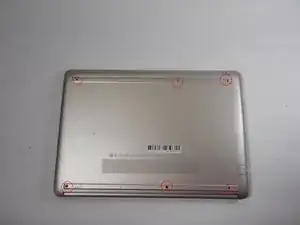
Flip the device over so that the backside is facing you.
-
Remove the rubber feet to expose six screws.
-
Using the Phillips #1 screwdriver, remove six screws securing the back panel to the device.
-
-
-
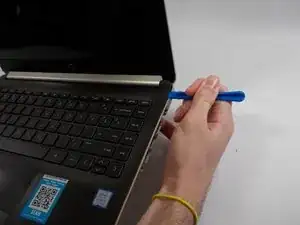
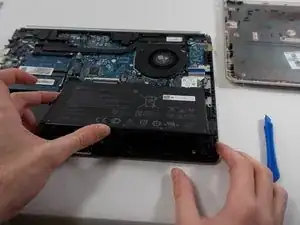
Insert a plastic opening tool and run it along the edges of the laptop.
-
Remove the back panel from the device.
-
-
-
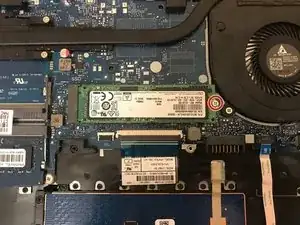
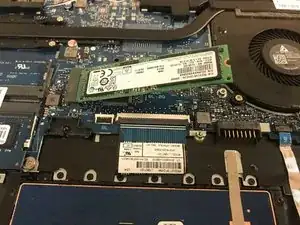
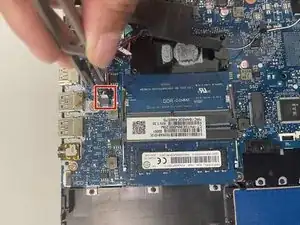
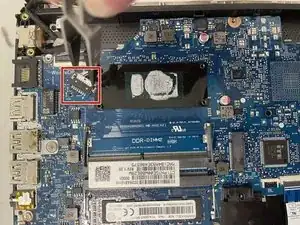
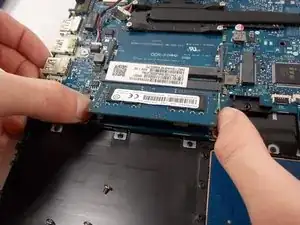
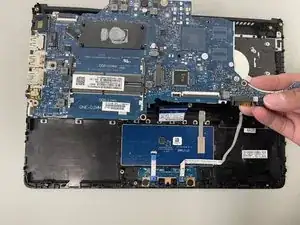
Using the Phillips #0 screwdriver, remove the single screw securing the SSD to the motherboard.
-
-
-
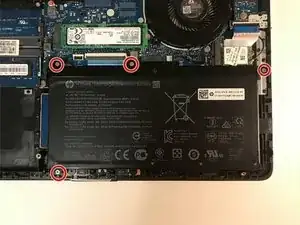
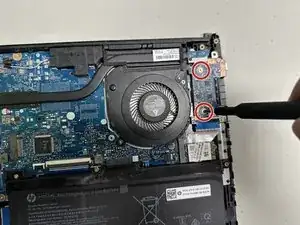
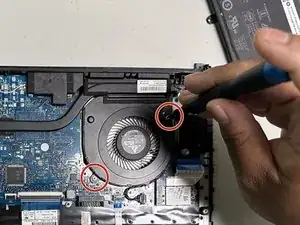
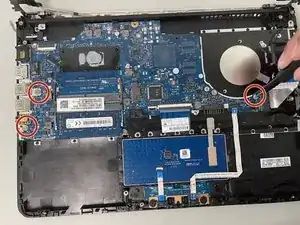
Remove the two 4.2 mm screws with a Phillips #0 screwdriver.
-
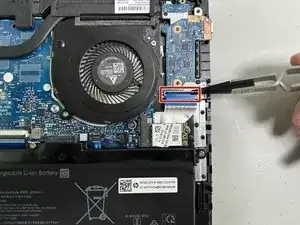
Use a spudger to disconnect the fan connector from the motherboard.
-
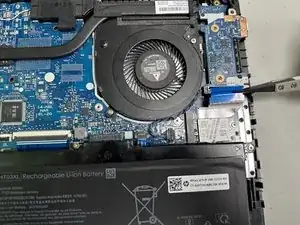
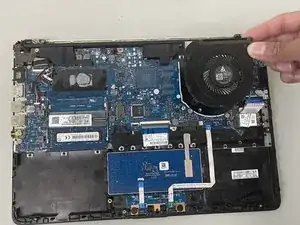
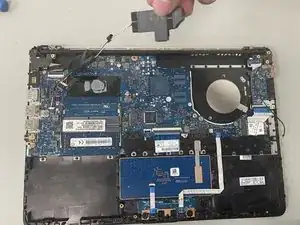
Remove the fan from the laptop.
-
-
-
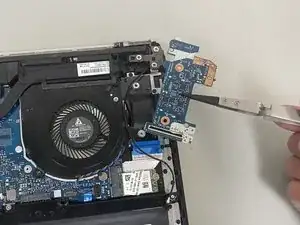
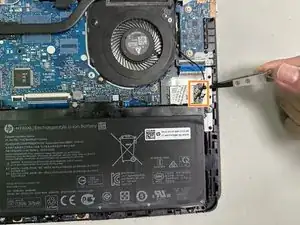
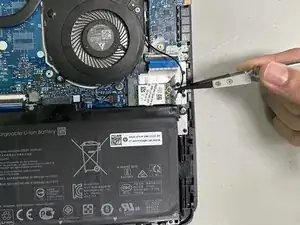
Remove the sliding cable connector with a pair of tweezers.
-
Remove the speakers from the device.
-
-
-
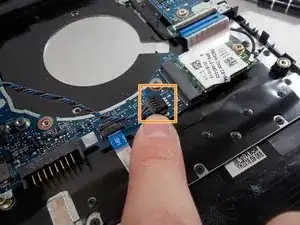
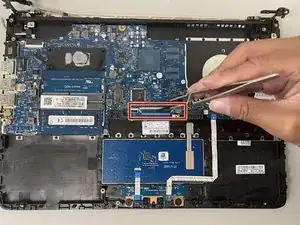
Remove the 4.2 mm screw with your Phillips #0 screwdriver securing the Wi-Fi card.
-
Use tweezers to detach the coaxial cables from the Wi-Fi card.
-
-
-
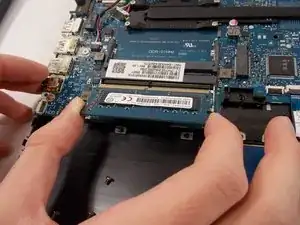
Using your fingers, pull the metal arms (located on both sides of the RAM stick) slightly away from it.
-
-
-
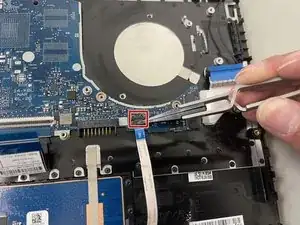
Unlock the ZIF connectors with a pair of tweezers.
-
Remove the ribbon cables by the blue tab.
-


To reassemble your device, follow these instructions in reverse order. Take your e-waste to an R2 or e-Stewards certified recycler.
