Introduction
Laptop screens are one of the most essential parts of a laptop PC. Due to laptop PCs being so easily portable, their display screens can be damaged during transportation. Moreover, unlike computer setups, purchasing an external monitor cannot replace laptop screens.
Thankfully, the HP Pavilion 15 dyl1087nr screen is straightforward to replace. Once you learn how to replace this specific laptop's screen, you can apply these same fundamentals to other laptop PCs.
Before you begin this repair, turn off your laptop and disconnect it from the charging adapter.
-
-
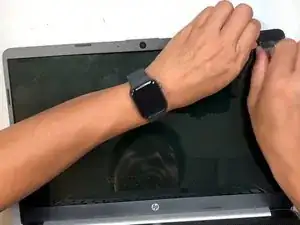
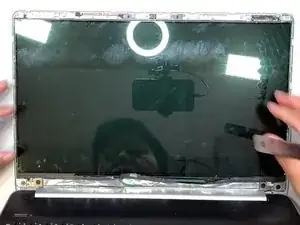
Open the laptop so the screen is in an upright position.
-
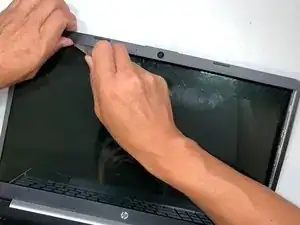
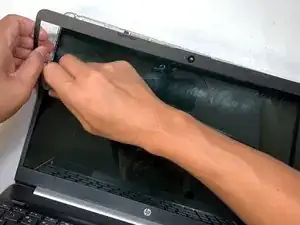
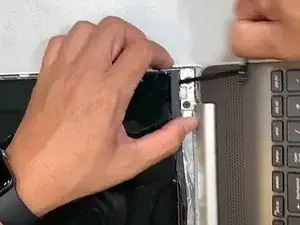
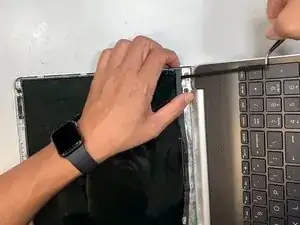
Use a spudger on the underside of the bezel to release the clips securing it to the screen assembly.
-
Work your way around the entire bezel until the bezel is free.
-
-
-
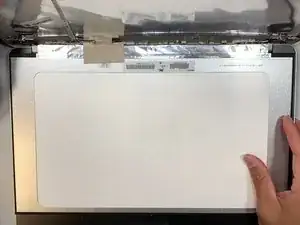
Use tweezers to remove the double-sided tape underneath the four corners of the display screen.
-
-
-
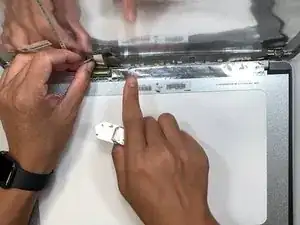
Flip the display screen over facedown to reveal the tape connecting the screen to the rest of the computer.
-
-
-
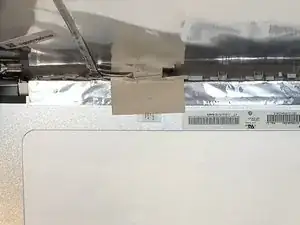
Remove the tape covering the display cable connector.
-
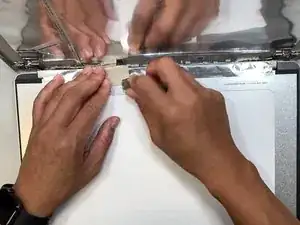
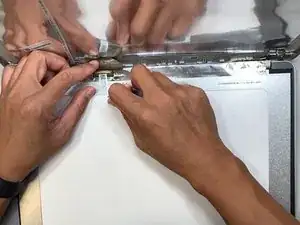
Use your spudger to detach the display cable connector. First, gently push the tip of a spudger under the metal buckle to unclip it, then swing it over the socket.
-
Next, hold the buckle and cable together and gently pull the connector straight out of its socket.
-


To reassemble your device, follow these instructions in reverse order. Take your e-waste to an R2 or e-Stewards certified recycler.