Introduction

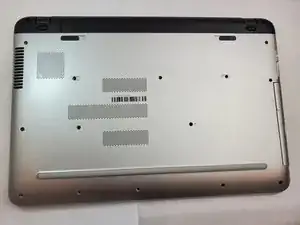
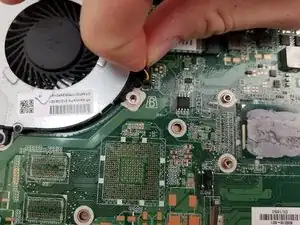
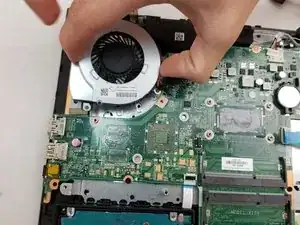
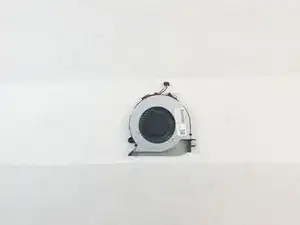
This guide shows you how to replace the cooling fan in an HP Pavilion 17-g192dx laptop.

Cooling fans help keep devices cool, as the name implies, by circulating air to dissipate excess heat. However, cooling fans have an average lifespan of only 3-6 years, and that lifespan can be further shortened by a dusty environment. An old or damaged laptop cooling fan can cause serious issues, from lagging to system crashes to device damage. If you notice grinding noises coming from your laptop, a hotter-than-usual CPU temperature, and/or decreases in system performance, it may be time to replace your cooling fan.

This replacement is relatively fast and easy, though it does require knowledge of How to Apply Thermal Paste. This is because the cooling fan is located on the motherboard and is connected to the heat sink; any time you remove a laptop's heat sink, you must reapply thermal paste during reassembly.

Lastly, ensure your laptop is powered down and unplugged from the charging adapter before you begin the repair.

  1. 2Wl2WeaUL2v2ebBQ
    2Wl2WeaUL2v2ebBQ
    jvv2S4ymsKTCUANk
    SJpg2aSwjZRFYFry
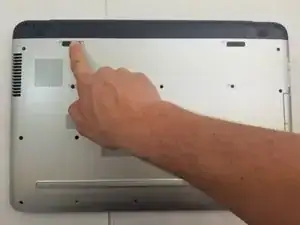
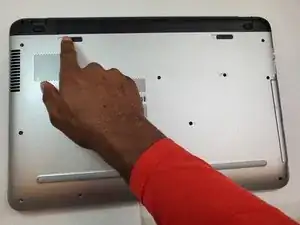
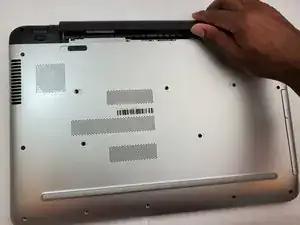
    • Turn off the laptop.

    • Slide the battery lock to the right until you see the open lock symbol.

  2. LDrohS2LUBDBpkr3
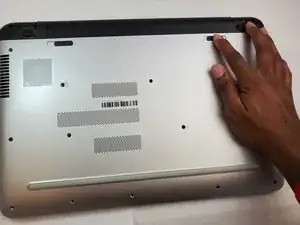
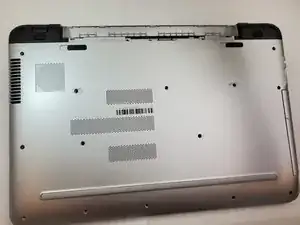
    • Slide the battery release to the left until the battery pops up.

    • This may require significant force.

  3. AIoKqAmoGuVGCjqK
    AIoKqAmoGuVGCjqK
    vPxYNoxbOxdUdYBX
    • Lift the battery up.

  4. mNpQR321VWkdgFAY
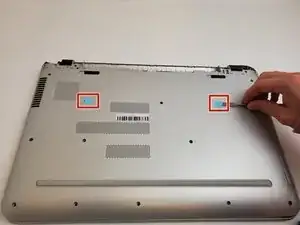
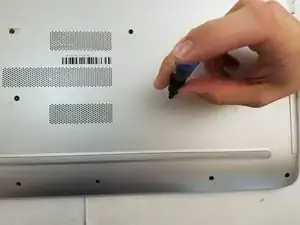
    • Using the metal spudger, pry up the screw covers.

  5. 6HlCEQ1L6uiKuJ2A
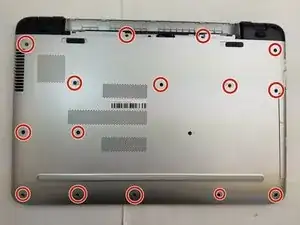
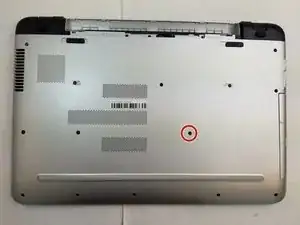
    • Remove the fifteen 7mm screws holding the back casing on using the Phillips #00 screwdriver.

  6. SxsuBkDSgLDKNocM
    SxsuBkDSgLDKNocM
    oAWGhjCYrQTS4kEZ
    • Remove the 7mm screw holding the disc drive in place using the Phillips #00 head screwdriver.

  7. TflhjBA6DjmLNmHi
    TflhjBA6DjmLNmHi
    CpLngel4GPfvYUNK
    hHHnX2QV1eLg5d5v
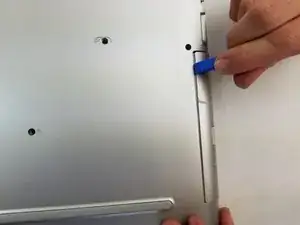
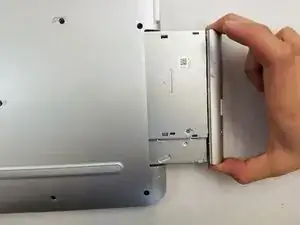
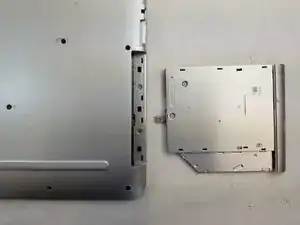
    • Using an iFixit opening tool, push the disc drive away from the outer case.

    • Once the disk drive is out far enough, it easily slides out.

  8. jr3pqFTeHIIERPOQ
    jr3pqFTeHIIERPOQ
    KJLmiESfVWxWbaIx
    alVgE3XaYTkiSHhp
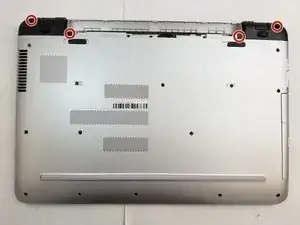
    • Remove the four 7mm screws holding the back resting plates on using the Phillips #00 screwdriver.

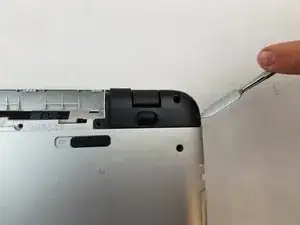
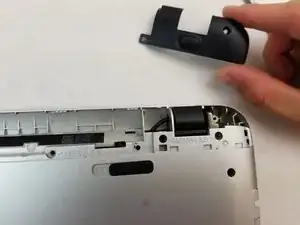
    • Using a metal spudger, lift up on the back resting plate until it pops off.

  9. KWHClhgSJarHBgtY
    KWHClhgSJarHBgtY
    XCBxHGKsr3bQib3G
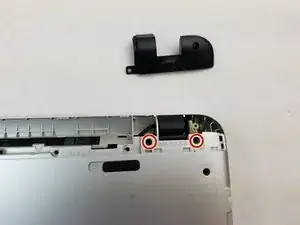
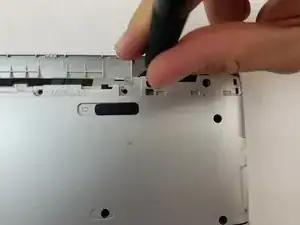
    • Remove the two 7 mm screws behind the plate using a Phillips #00 screwdriver.

  10. dOOGWHGofXOcDfMF
    dOOGWHGofXOcDfMF
    BiraHi4wjbkK6MTW
    vyAaWXbNp5XjnR1C
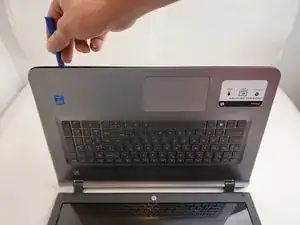
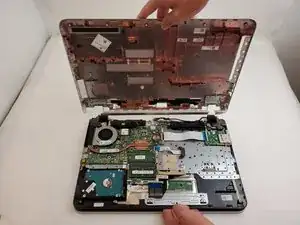
    • Pry up on the case with an iFixit opening tool until you can feel a snap.

    • Pry around the remainder until you can separate the case from the keyboard with your hands.

    • Gently separate the two.

  11. GUQZRABSKXUDlA1p
    GUQZRABSKXUDlA1p
    lyqKgt2dKRNreIKl
    TDBOoxGFLAhmQHdm
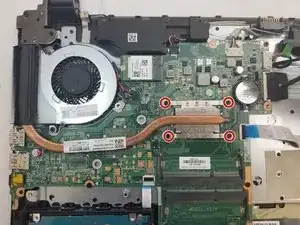
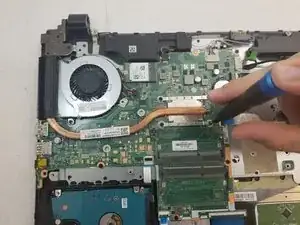
    • Remove the four 2mm screws on the heat sink with a Phillips #00 screwdriver.

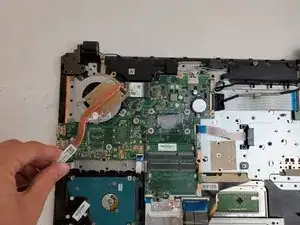
    • Remove the heat sink.

    • When setting the heat sink down, set it face down to avoid putting the thermal paste on the work surface.

    • When reinstalling the heat sink, be sure to clean the contact surfaces and reapply fresh thermal paste.

    Why are the circles significantly differently sized? Try to condense the first step (e.g., Remove the 4 2 mm screws holding the heat sink in place). Also, since you told the user to do that, you don’t need to use transitions, like once removed. Check for commas with introductory phrases. See iFixit’s feedback about links.

    Alex Watkins -

  12. WZXmfdDvxjuBY3A5
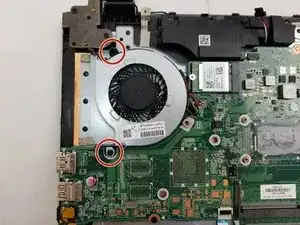
    • Remove the two 5mm screws holding the fan in place using the Phillips #00 screwdriver.

    What types of screws/heads?

    Alex Watkins -

  13. AABAXVCpAnoFqRTb
    AABAXVCpAnoFqRTb
    Ag4dBHBsCfO2PSmT
    • Unplug the cooling fan from the motherboard.

    • Remove the cooling fan.

Conclusion

To reassemble your device, follow these instructions in reverse order.
Dominic Perito

Member since: 20/09/19

616 Reputation

0 comments