Introduction
This guide demonstrates how to replace the touchpad on a HP Pavilion x360 11-p110nr. The entire process is fairly quick and easy, and with a bit of care, it can be completed safely at home.
Caution: Anytime you are working with batteries or power, be sure to take care around electricity and always unplug the battery before you attempt to replace any part of the laptop.
Tools
-
-
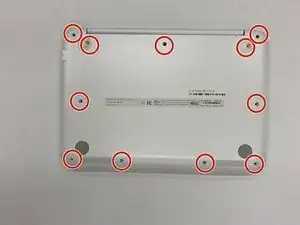
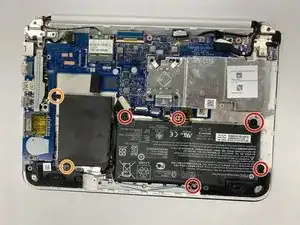
Use a Phillips #0 screwdriver to remove all 6.7 mm screws from the bottom cover.
-
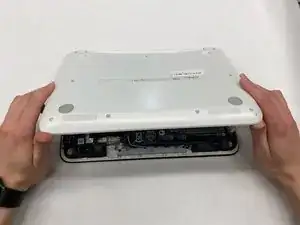
Once the screws are removed, carefully take the bottom plate off.
-
-
-
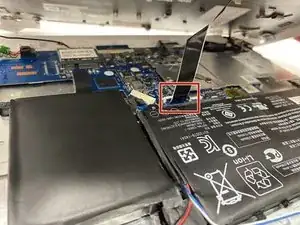
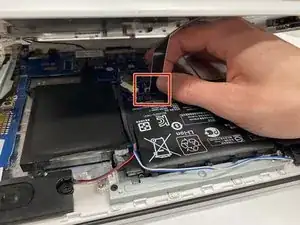
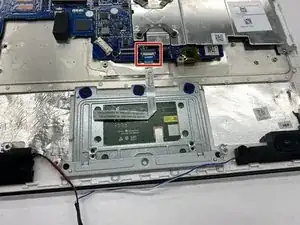
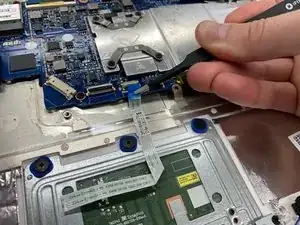
Before fully removing the top cover, locate the cable that connects the audio controls.
-
Once located, lift the small black flap and carefully pull the cable out.
-
-
-
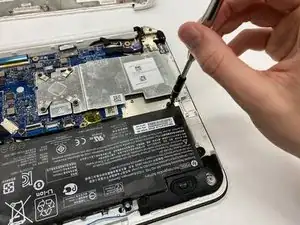
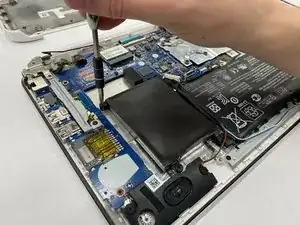
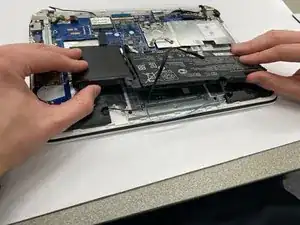
Use a Phillips #0 screwdriver to remove the five 6.7 mm screws that secure the battery.
-
Use a Phillips #0 screwdriver to remove the two 3.2 mm screws that secure the hard drive.
-
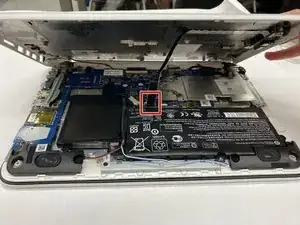
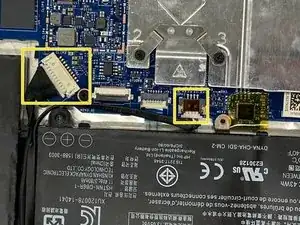
Locate the cable for the battery and the cable for the speakers and unplug those as well.
-
-
-
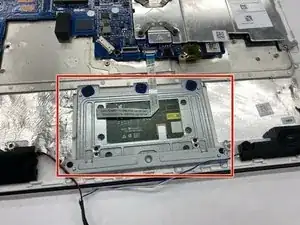
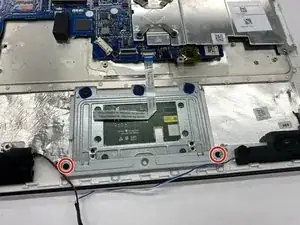
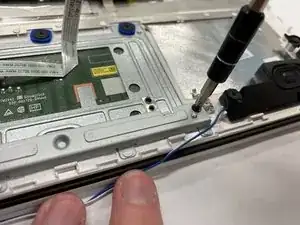
Use a Phillips #0 screwdriver to remove the two 3.2 mm screws that secure the touchpad bracket.
-
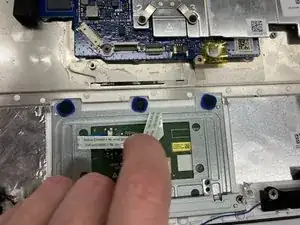
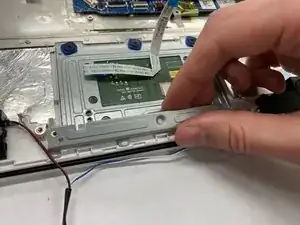
Slowly lift up the bracket and remove it.
-
-
-
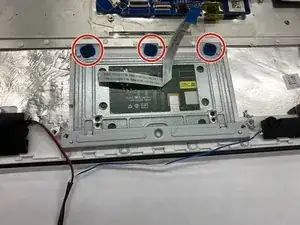
Use a Phillips #0 screwdriver to remove the three 2.35 mm screws that secure the touchpad.
-
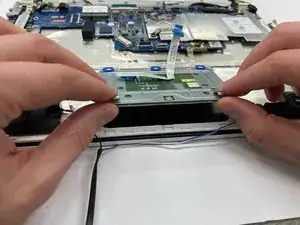
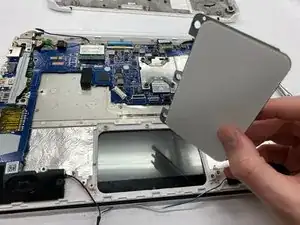
Remove the cover holding the touchpad in place.
-
To reassemble your device, follow these instructions in reverse order.
