Introduction

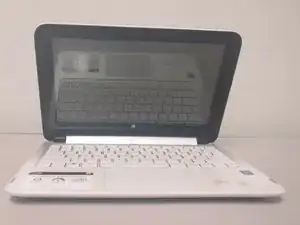
A wireless chip is an integral part of your HP Pavilion x360 operation. It allows for connection to the internet without the use of a wired connection, as well as connection to other wireless devices. This guide will demonstrate step by step how to replace the wireless chip if it were to be damaged or upgraded.

  1. NR6hIQeWbiuROFyq
    NR6hIQeWbiuROFyq
    KJwOZYsUb5C6UA2S
    rLB1CyV4qQwIskkS
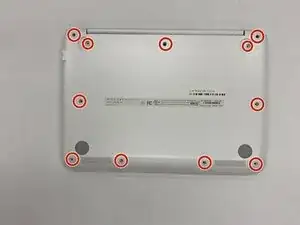
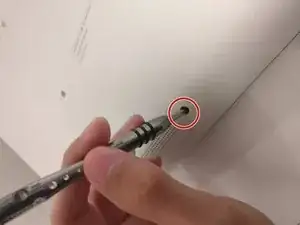
    • Locate and remove all 11 of the screws.

    • Two of the screws will be underneath the rubber feet near the hinged edge of the bottom face

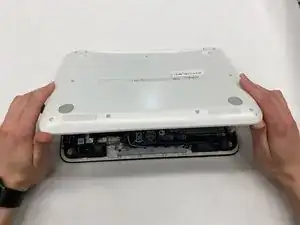
    • Detach the cover by slowly pulling it from the base of the computer.

    • Do not fully pull the cover off because there is a ribbon cable that needs to be removed first.

  2. XoGOJqG1DUIaHB3N
    XoGOJqG1DUIaHB3N
    TRgDZF2LKNwkWbXS
    wxu3VERbwYtPNNSp
    • Locate and pull the ribbon cable.

    • Be sure to use the blue safety pull tab when removing it, as pulling on the cable itself could cause unwanted damage

  3. IVfsLxvCghHwZn3B
    IVfsLxvCghHwZn3B
    pKF1r4AulQ1cVOvR
    o5TFI3bQWG2cIja4
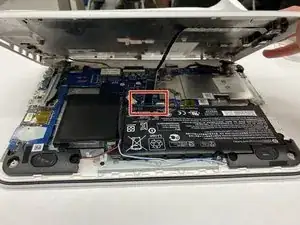
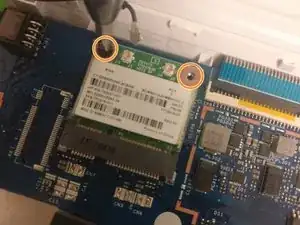
    • The wireless chip is square shaped, with white paper containing bar codes glued to it. The chip is in the top left section of the back (with the hinged edge facing away from you)

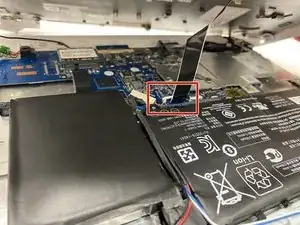
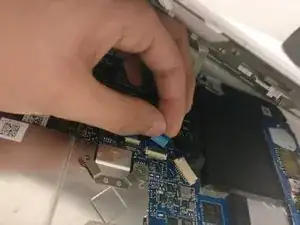
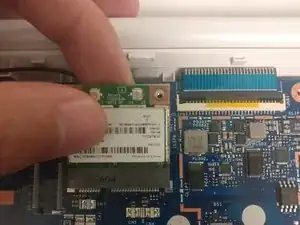
    • The chip will have a single wire connected to it. Carefully remove the wire connected to the chip using tweezers.

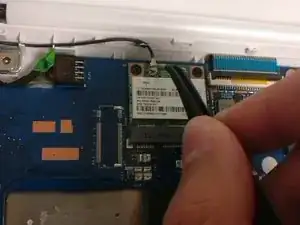
    • Unscrew the two screws near the top.

  4. cDfQKQBSE5pWPdU5
    • Remove the old chip and insert the new one in place.

    • When re-inserting the screws, be cautious as you do not want to strip the screws.

Conclusion

To reassemble your device, follow these instructions in reverse order.

Safe Mustafa

Member since: 20/09/17

124 Reputation

0 comments