Introduction
Whether your laptop’s battery life has dwindled or you’re experiencing issues with charging, this step-by-step tutorial will walk you through the process. By the end, you’ll be equipped with the knowledge and confidence to swap out your old battery for a new one, ensuring optimal performance and extended usage. Let’s get started!
-
-
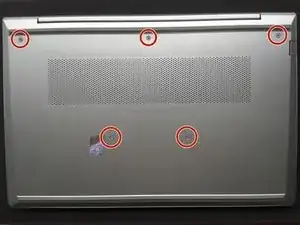
Use Phillips #01 screwdriver to unscrew all 6 threaded screws.
-
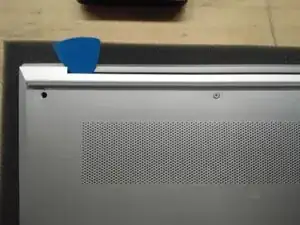
Use guitar pick tool to unclip the back cover all around the edges starting from the top.
-
-
-
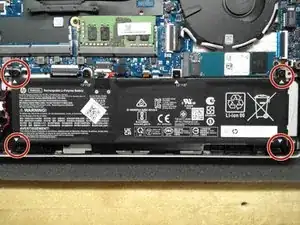
Remove all 4 screws from the battery.
-
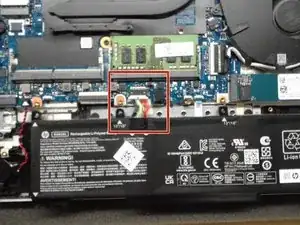
Disconnect the Battery Connector from the motherboard using the side tabs on the connector.
-
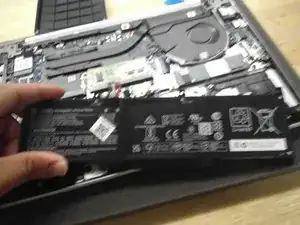
Remove the battery from the laptop.
-
Conclusion
To reassemble your device, follow these instructions in reverse order.