Introduction
Tools
Parts
-
-
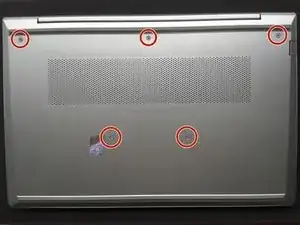
Use Phillips #01 screwdriver to unscrew all 6 threaded screws.
-
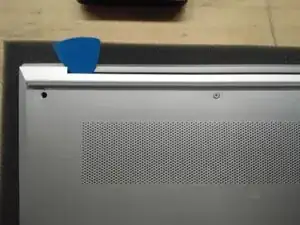
Use guitar pick tool to unclip the back cover all around the edges starting from the top.
-
-
-
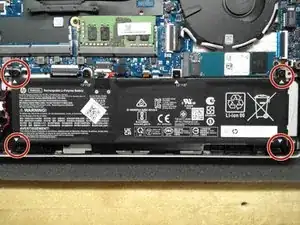
Remove all 4 screws from the battery.
-
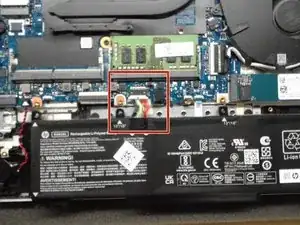
Disconnect the Battery Connector from the motherboard using the side tabs on the connector.
-
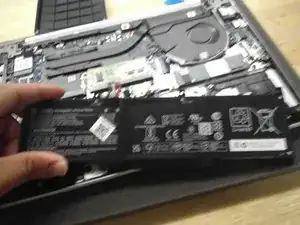
Remove the battery from the laptop.
-
-
-
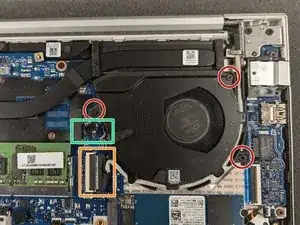
Use Phillips #01 screwdriver to remove the 3 fan screws.
-
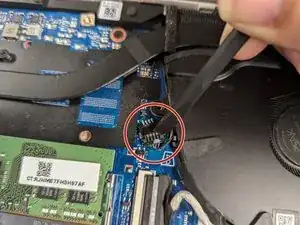
Unplug the fan connection from the motherboard.
-
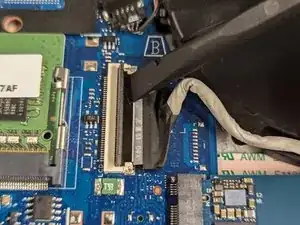
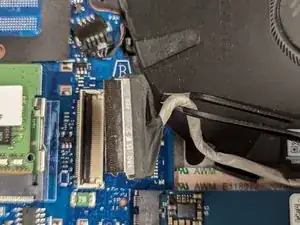
Unlatch the Display cable from the motherboard.
-
Remove the cable from the motherboard and remove the display cable from the fan.
-
-
-
Remove display connector from motherboard and remove the cable from the fan clips.
-
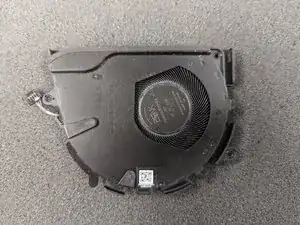
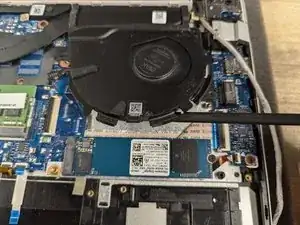
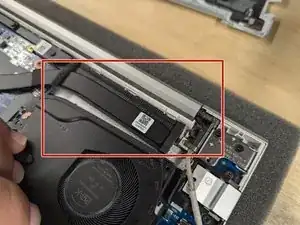
Lift the fan assembly from the bottom and slide the fan towards yourself.
-
Slide fan off the heat pipe and fins being careful not to bend or damage them.
-
To reassemble your device, follow these instructions in reverse order.
