
Introduction
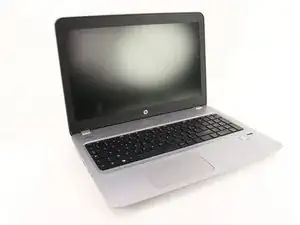
This is a guide to replace the USB Daughterboard on a HP ProBook 450 G4. Some Indications that you need to be aware of to need to replace it consist of no power from the USB, USB Daughterboard is dented or the board is loose.
-
-
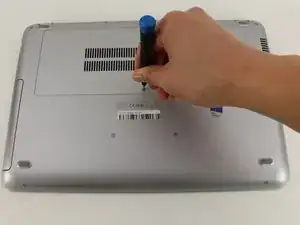
Flip the laptop over.
-
Orient the laptop so the two vents on the bottom face upward and are further away from you.
-
-
-
Use the Phillips #0 screwdriver to remove the 6.8 mm screw that secures the vent panel to the laptop.
-
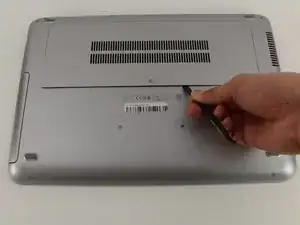
Use the spudger to separate the vent panel from the laptop.
-
Slide the vent panel off the backside of the laptop.
-
-
-
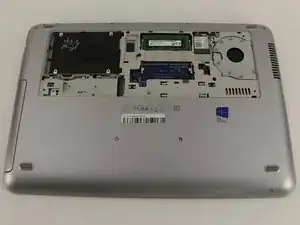
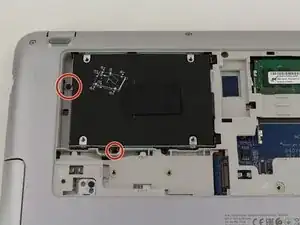
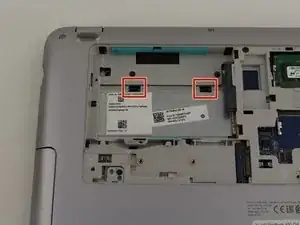
Use the Phillips #0 screwdriver to remove the black 3.2mm screw that secures the hard drive to the left side of the laptop.
-
-
-
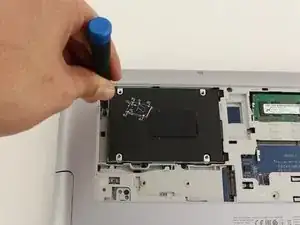
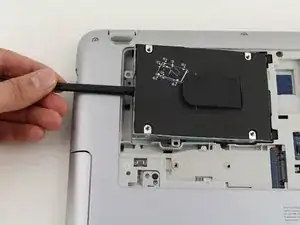
Use the spudger to lift the left side of the hard drive up.
-
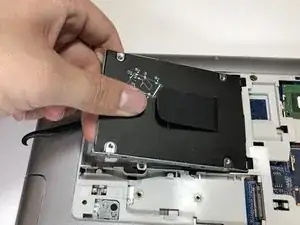
Pull the hard drive diagonally to the left to release the hard drive from the laptop.
-
-
-
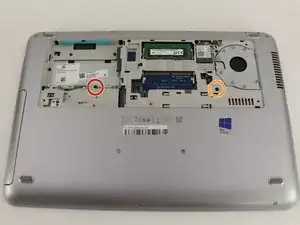
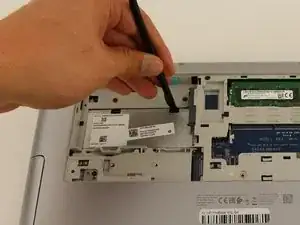
Remove the 6.6mm T8 Torx screw located below where the hard drive used to be.
-
Remove the 6.6mm T8 Torx screw located below and to the left of the circular, silver and black fan.
-
-
-
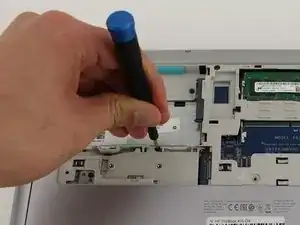
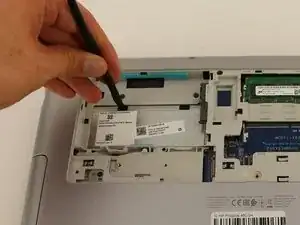
Use the spudger to press down on the two black tabs that are underneath where the hard drive used to be.
-
Apply pressure to the black tabs until they release and pop out.
-
-
-
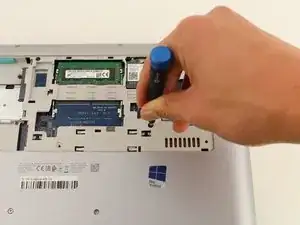
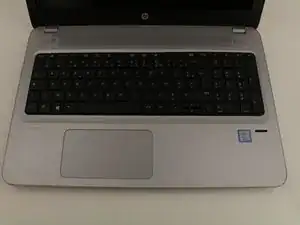
Orient the laptop so the keyboard is facing upwards and towards you.
-
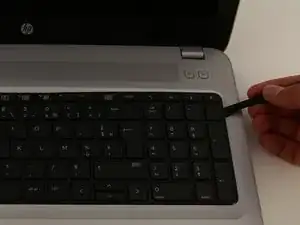
Insert the spudger in between the edge of the keyboard and the computer frame.
-
Slide the spudger around the edge of the keyboard until the keyboard is loose.
-
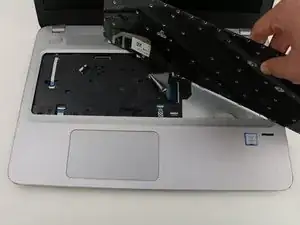
Gently pull the keyboard away from the body of the laptop.
-
-
-
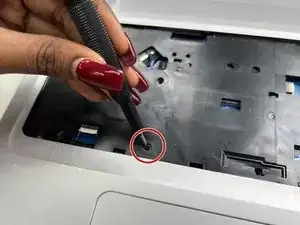
Use a spudger to gently lift up the black locking bar on the keyboard connector.
-
Slide the keyboard ribbon out of the connector.
-
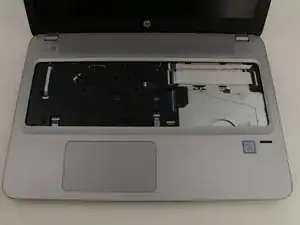
Remove the keyboard.
-
-
-
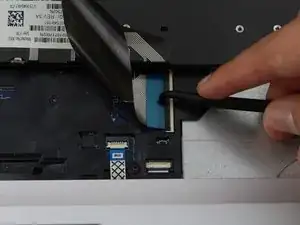
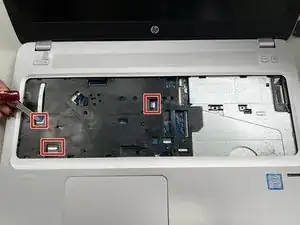
Insert the Jimmy in between the top case of the laptop and its outer frame.
-
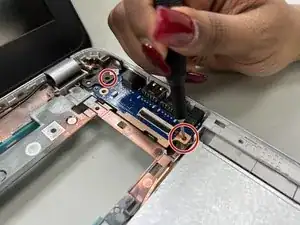
Use a spudger to disconnect the three cable connectors.
-


To reassemble your device, follow these instructions in reverse order.