Introduction

This guide recommends replacing the motherboard in its entirety to replace the charging port.

  1. kduPsBpHAGi2wfqo
    kduPsBpHAGi2wfqo
    ereKkyBUu1xQdZl2
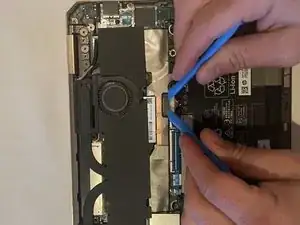
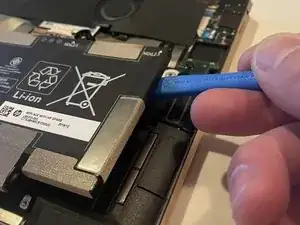
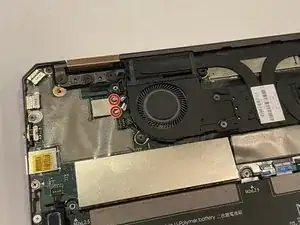
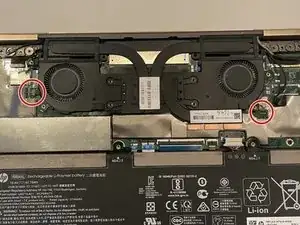
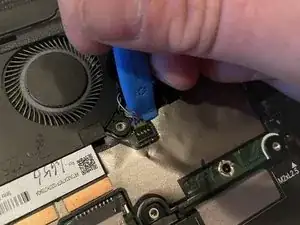
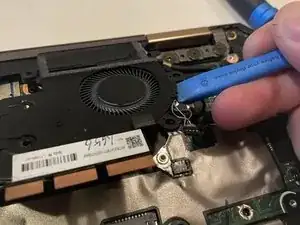
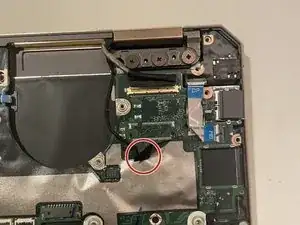
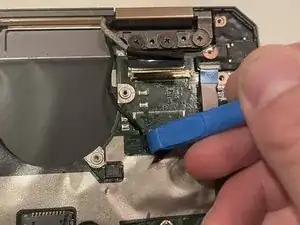
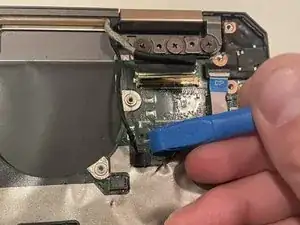
    • Use two opening tools, one on either side of the battery plug, to slowly pull the plug straight out of its port.

    • Alternatively, use your fingernails.

  2. JXlIdePWOILhNsIj
    JXlIdePWOILhNsIj
    lkLTEES1kmY2TNdh
    • Use a Phillips #00 screwdriver to remove the six 2.5 mm screws securing the battery.

  3. nHlaXih4TUpXY1DB
    nHlaXih4TUpXY1DB
    JjK5cSaFTCPwpVn3
    • Carefully lift the edge of the battery with an opening tool.

    • Lift the battery up and out.

  4. ouBaGrwhejOl5UWt
    ouBaGrwhejOl5UWt
    VcduxGYV6HXkGsT2
    umBpSjkIno2WSPlq
    • Remove the black film around the fans.

  5. OEXbXTlpkt6gm6e2
    OEXbXTlpkt6gm6e2
    Y2PjkwSsPeWR3WgF
    • Remove the two Wi-Fi card antenna wires using a small pry tool.

  6. C4DGHoHXGIpkCMWJ
    C4DGHoHXGIpkCMWJ
    fuAX2GtmxufR5AVY
    • Remove the eight 3 mm Phillips #00 screws securing the fan assembly.

  7. EvBZYIh3IJRsrPCR
    EvBZYIh3IJRsrPCR
    ZMCdMfLLAUK5SnQM
    EPmr4PAvebBaVFbs
    • Disconnect the two fan cables using a small pry tool.

    • Be sure not to rip the wires, as they are fragile. It may help to slightly pry on the fans while disconnecting the wires, so the pry bar has enough room.

  8. cNsPFRXvEiOpaHfR
    cNsPFRXvEiOpaHfR
    TVGlrhDLWOMEZd4f
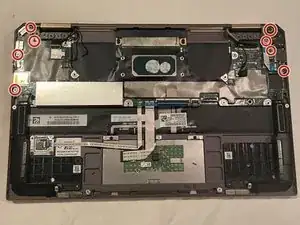
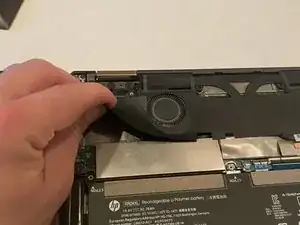
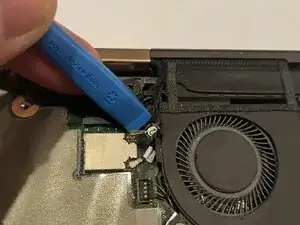
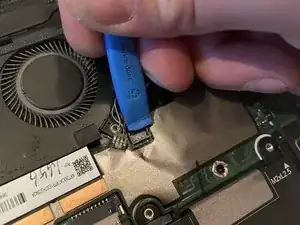
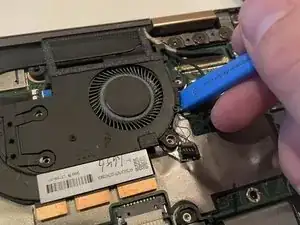
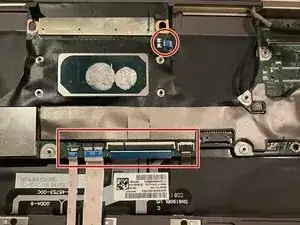
    • Use an opening tool to gently lift the edge of the fan assembly.

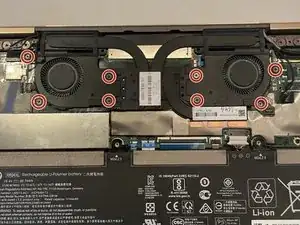
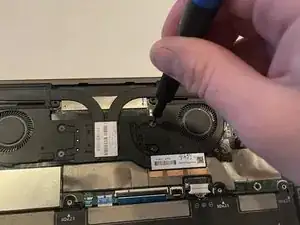
    • Lift the fan assembly up and out.

  9. g4CFMG4I2ZokCAKi
    g4CFMG4I2ZokCAKi
    PPXGMxuAAZZEYQ5L
    • Remove the eight 3 mm screws securing the motherboard using a Phillips #00 screwdriver.

  10. UtxLRe4OkSTgTaKX
    UtxLRe4OkSTgTaKX
    rOWOr4Go1pOmkoU5
    DPR5QCtmaDVnINJh
    • Disconnect the display cable from the motherboard using a small pry tool.

  11. WkBAHp4MDsYMRJTP
    WkBAHp4MDsYMRJTP
    MKfXbvQbeH262UOI
    jUfDSLPiOKVMdKDq
    • Disconnect the smaller flip screen sensor cable from the motherboard.

  12. lF2GO3EQGWwPYqZs
    lF2GO3EQGWwPYqZs
    oMoaOiZVRxbvbSyG
    QLUkget4Rqwg3aDN
    • Flip the ZIF connector lock bars up to release the ribbon cables.

    • Remove the ribbon cables.

  13. VOs3FpVmqWvS1JAL
    VOs3FpVmqWvS1JAL
    EjUmeBY4eKyS4vXl
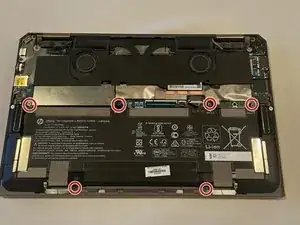
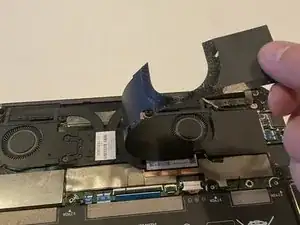
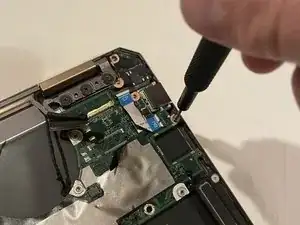
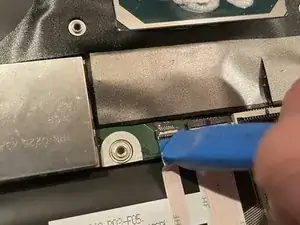
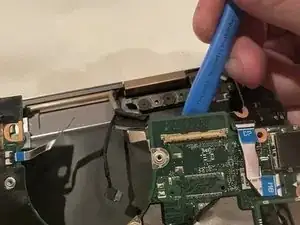
    • Start removing the I/O board by removing the piece in the upper right corner (opposite the charging port side).

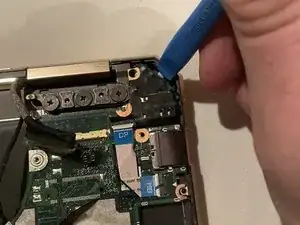
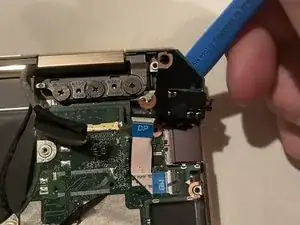
    • Use a small opening tool to remove up the I/O board from the body.

  14. IoCe3FmD6aacsD1y
    IoCe3FmD6aacsD1y
    hlKsLvZaldgeSS43
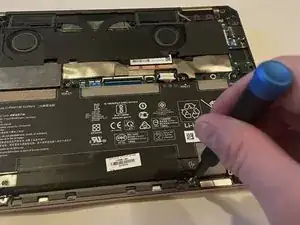
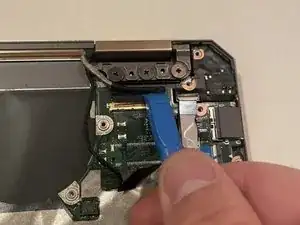
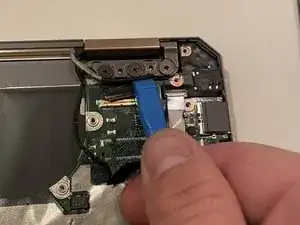
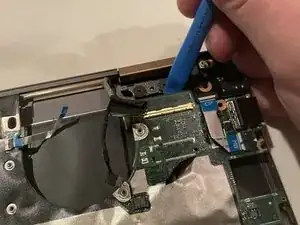
    • Using a small pry tool lift up on the larger portion of the motherboard to remove it from the body of the laptop.

    • The motherboard will be free from the laptop body and the new charging port and motherboard can be inserted.

Conclusion

To reassemble your device, follow these instructions in reverse order.

Jacob Wallace

Member since: 14/02/23

133 Reputation

0 comments