Introduction
This guide will instruct you on how to remove and replace the motherboard. Replacement of the motherboard may be necessary if the laptop is not turning on or booting.
-
-
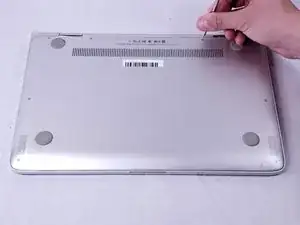
Turn off and unplug the laptop.
-
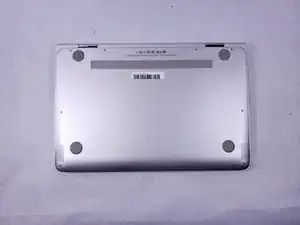
Flip over the laptop so that the bottom backplate is exposed.
-
-
-
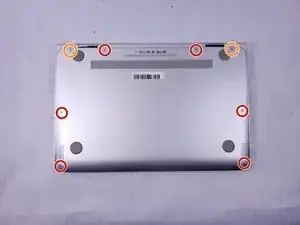
Use a T5 screwdriver to remove the six 3 mm screws that secure the backplate.
-
Use the same screwdriver to remove the two 7 mm screws.
-
-
-
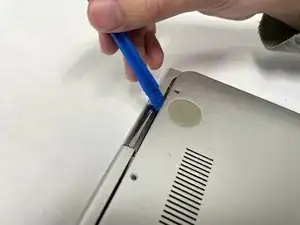
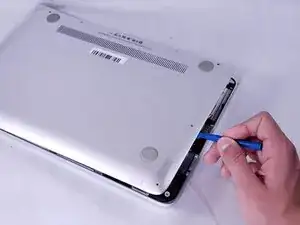
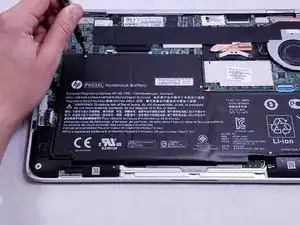
Insert an opening tool under the bottom cover at the screen hinges, and gently pry the cover free.
-
Carefully work your way around the cover's edges to pop it off completely.
-
-
-
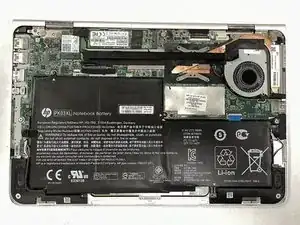
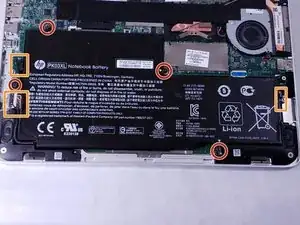
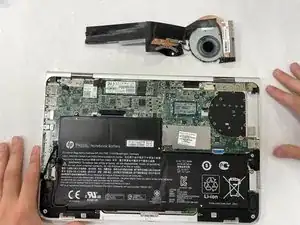
With the backplate removed, remove the four 3 mm screws securing the battery with a Phillips #1 screwdriver.
-
With the screws removed, disconnect the 3 wires connected to the battery.
-
-
-
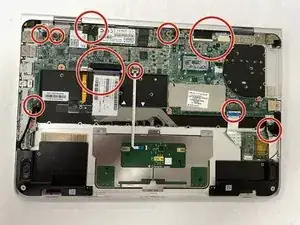
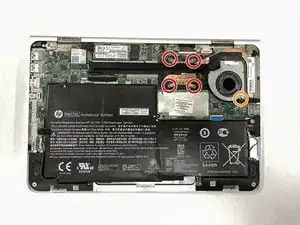
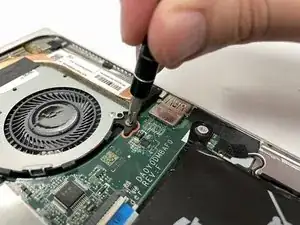
Use a Phillips #0 Screwdriver to remove the four circled 3 mm screws.
-
Use the same screwdriver to remove the circled 4 mm screw.
-
-
-
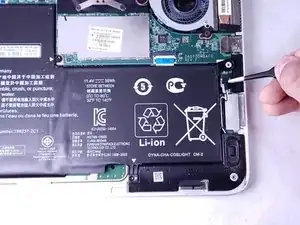
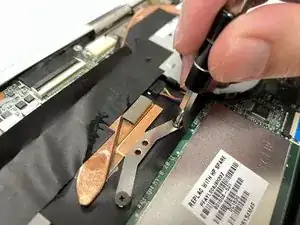
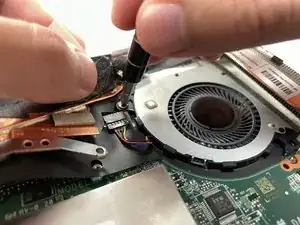
Use a Phillips #0 screwdriver to remove the last 4 mm screw under the black tape.
-
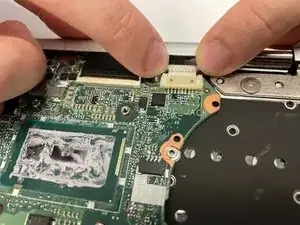
Unplug the cable next to the fan.
-
-
-
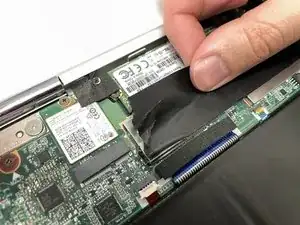
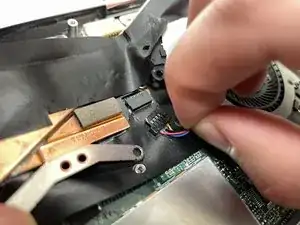
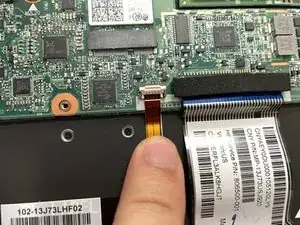
For the strip wires, push the white tab seen in the photo up gently and slowly pull the strip wire.
-
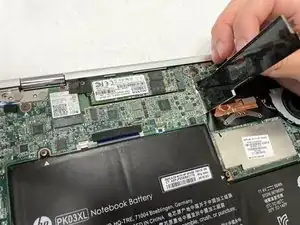
The normal wires can be removed by holding the sides of the connector and gently pulling away.
-
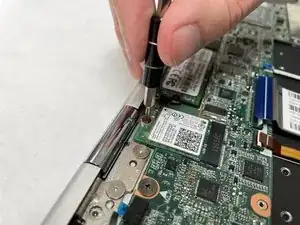
Finally, the screws can be removed.
-
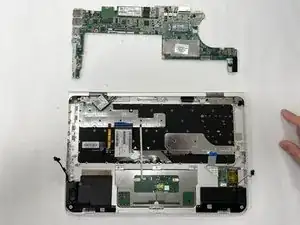
To reassemble your device, follow these instructions in reverse order.