Introduction
If your HP Stream 11-d010nr computer isn't responding correctly, use these guided steps to replace the daughterboard.
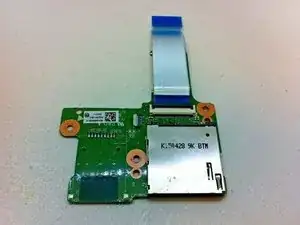
The daughterboard is secondary to the motherboard, as it helps with the functionality and produces added features for a computer. Faulty daughterboard can result in lack of processing power for network connectivity, audio, or even video.
Before using this guide, inspect the daughterboard for debris that may be interfering with the ability for it to operate correctly. Typically, a small buildup of dust can be removed using. Be sure to test the audio, network connectivity, or video to see if the daughterboard is in need of replacement after removing any remaining debris.
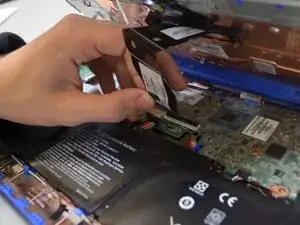
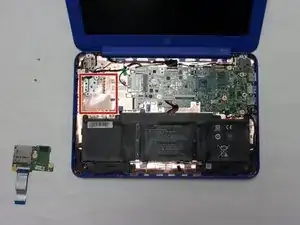
Step 5 requires you to remove the daughterboard from the device. Recommended to use a spudger to lift the ZIF connector to not risk damaging.
Before beginning, make sure to power off your computer completely and disconnect from any external power source.
-
-
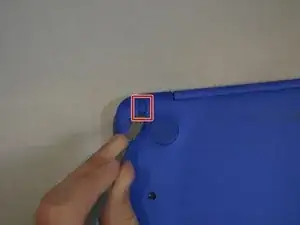
Using a spudger, gently pry off the two elliptical rubber inserts located in the top corners.
-
Carefully remove the two circular rubber inserts positioned beneath the removed elliptical inserts.
-
-
-
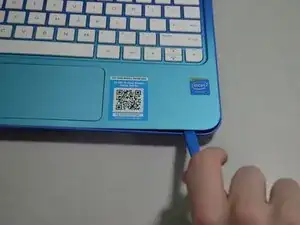
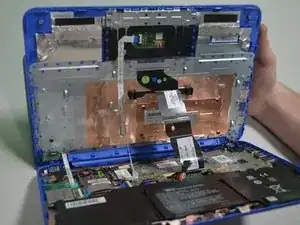
Using an iFixit opening tool, carefully pry open the case to separate the keyboard from the main body. Work slowly to avoid damaging the edges.
-
-
-
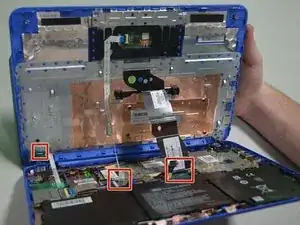
Carefully lift the keyboard and identify the three ribbon cables connecting the main body of the laptop to the keyboard.
-
-
-
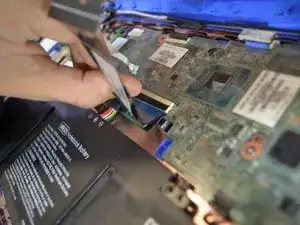
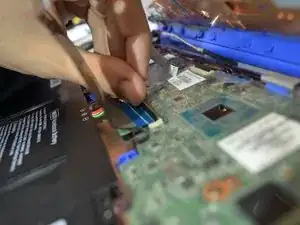
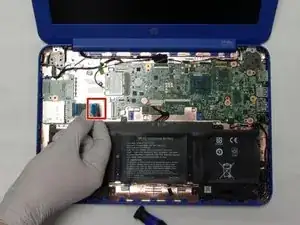
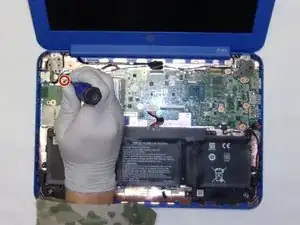
Using a spudger, gently lift the flaps on the ZIF connectors to release the three ribbon cables securely attached to them.
-
Carefully disconnect the three ribbon cables.
-


To reassemble your device, follow these instructions in reverse order.
