Introduction
Is your HP Stream - y010nr screen not working? Did you accidentally drop it and break the screen? This guide will show you the proper steps to remove and replace the screen so it will be back in working condition.
-
-
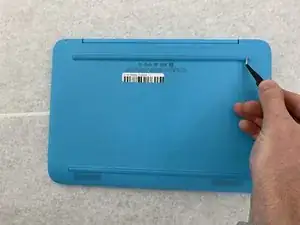
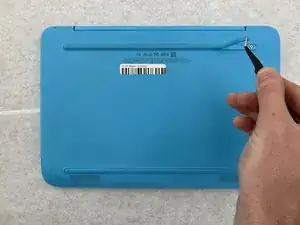
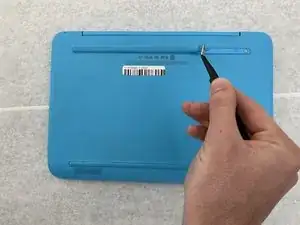
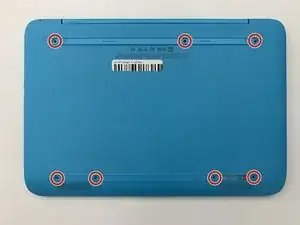
Unscrew the seven 0.4mm screws on the backside of the laptop with the Phillips #0 Screwdriver.
-
-
-
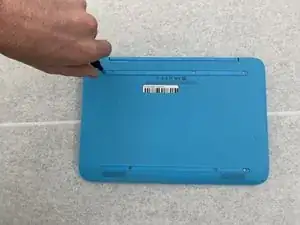
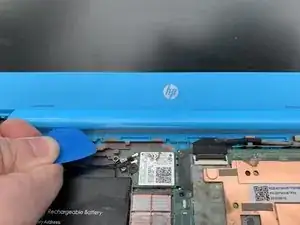
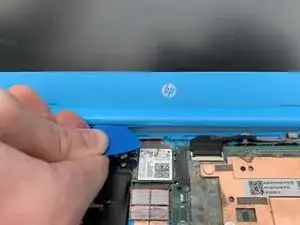
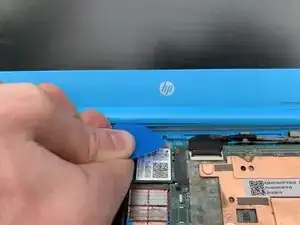
Take the opening picks and push them into the seam between the keyboard and the laptop casing.
-
Go all the way around the laptop.
-
-
-
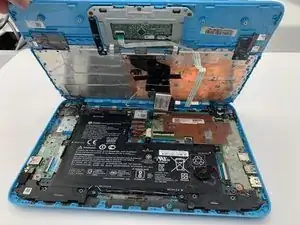
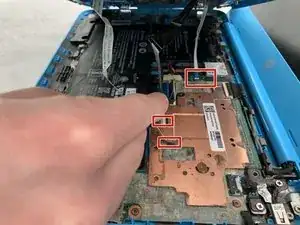
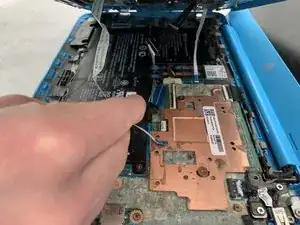
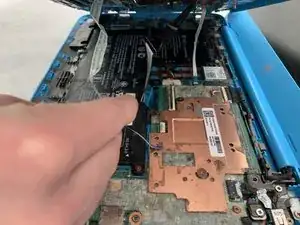
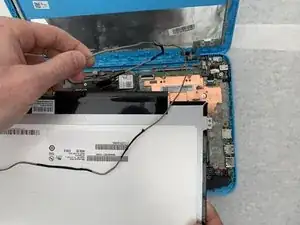
Disconnect the three cables by lifting up on the locking tab of the ZIF connector and pulling the cables out with the needle nose tweezers.
-
Remove the keyboard.
-
-
-
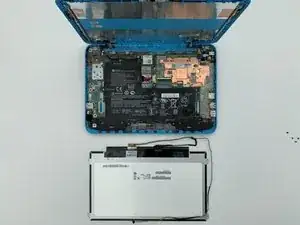
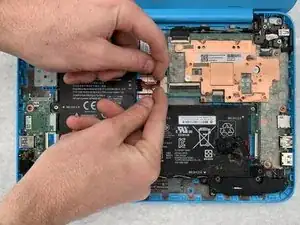
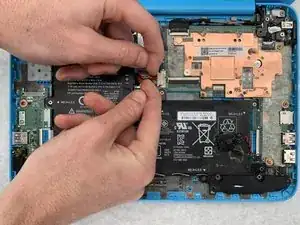
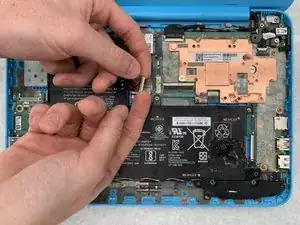
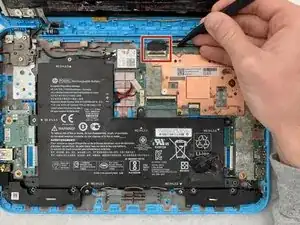
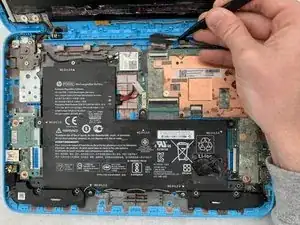
Using your fingers or a spudger, pull the battery cable from its connector to disconnect power from the motherboard.
-
-
-
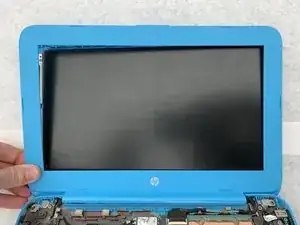
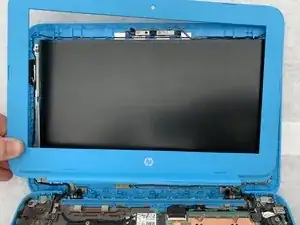
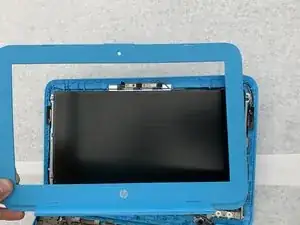
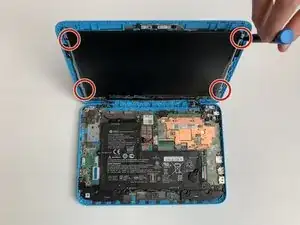
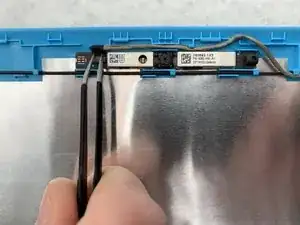
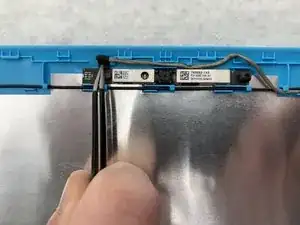
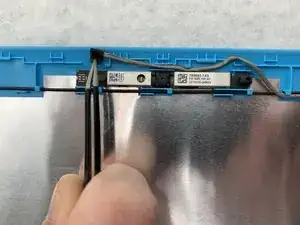
Insert iFixit opening picks into the edges of the screen to break the seal between the screen and bezel.
-
-
-
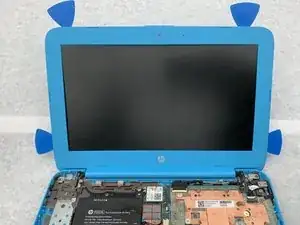
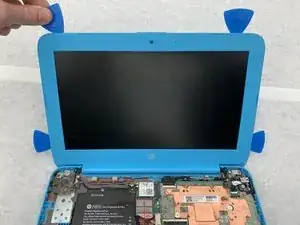
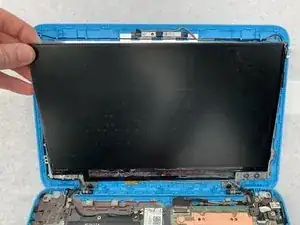
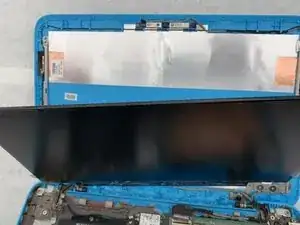
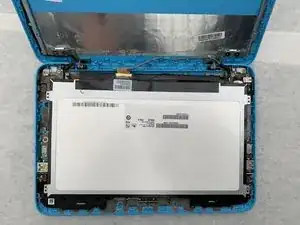
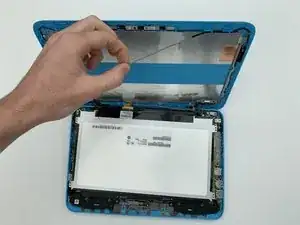
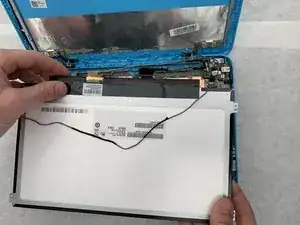
Gently remove the screen from its holding and lay the screen down on the keyboard. It is still attached to the computer.
-


To reassemble your device, follow these instructions in reverse order.

Thanks for the easy & simple guide very useful!
Quick question, if we’re only accessing the top section laptop components, how come we need to undo the back screws? Also if there’s a back screw that’s underneath the wifi card is missing, would that interfere with its functionality? (Like grounding screws etc)
Thanks for your time!
B33PB00P -