
Introduction
Are you finding that your laptop's battery life isn't lasting as long as it first was? It might be time to consider replacing the battery to restore those lengthy work or entertainment sessions without constant interruptions. Typically, after 18 to 24 months of frequent use, laptop batteries tend to show signs of wear and diminished performance, prompting for the need for replacement.
In this guide, we'll walk you through the steps to safely remove and reinstall your laptop's battery. Whether you're looking to replace a worn-out battery or simply need to access other components within your laptop, this process is essential. Before diving in, it's important to gather the necessary tools, so please have ready a plastic prying tool and a Phillips #1 screwdriver head.
Let's get started.
-
-
Use an opening pick to gently pry up the edge of the rubber foot.
-
Grab the lifted edge of the foot and gently pull it away.
-
Repeat for the other rubber foot.
-
-
-
Insert an opening pick in the seam between the lower case and chassis.
-
Slide the opening pick around the perimeter, prying every couple of centimeters as you go.
-
Continue prying around the entire perimeter until the lower case fully releases.
-
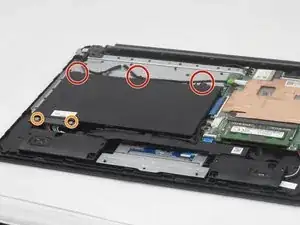
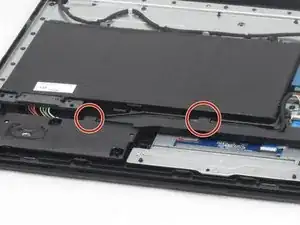
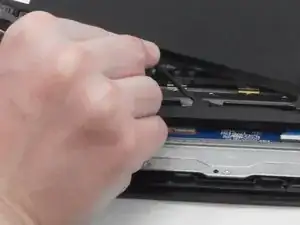
Lift off the lower case.
-
-
-
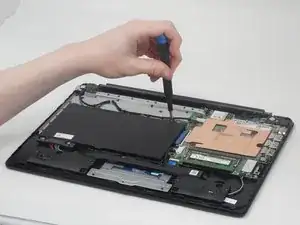
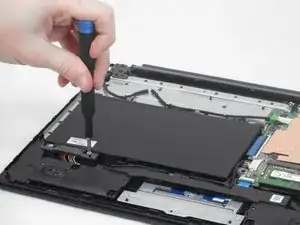
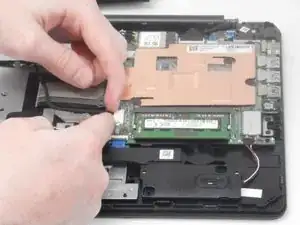
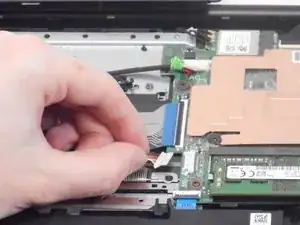
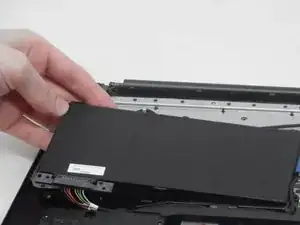
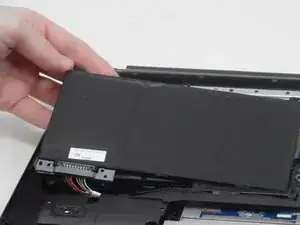
Use your fingers or the point of a spudger to slowly “wiggle” the battery connector directly out of its socket.
-


For optimal performance, calibrate your newly installed battery after completing this guide.
Compare your new replacement part to the original part—you may need to transfer remaining components or remove adhesive backings from the new part before installing.
To reassemble your device, follow the above steps in reverse order.
Take your e-waste to an R2 or e-Stewards certified recycler.