
Introduction
Is your computer running slowly when you have multiple browser tabs open? It might be time for a RAM upgrade. Follow this guide for the removal and reinstallation of your laptop’s RAM component.
Replacing RAM is a very simple, straight-forward process. However, the laptop's battery must be removed prior to removing the battery, making the entire process moderately difficult.
For this guide, all you need is a plastic opening tool and a Phillips #1 screwdriver head.
-
-
Use an opening pick to gently pry up the edge of the rubber foot.
-
Grab the lifted edge of the foot and gently pull it away.
-
Repeat for the other rubber foot.
-
-
-
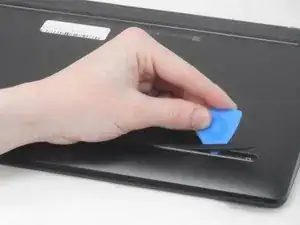
Insert an opening pick in the seam between the lower case and chassis.
-
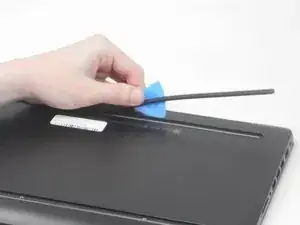
Slide the opening pick around the perimeter, prying every couple of centimeters as you go.
-
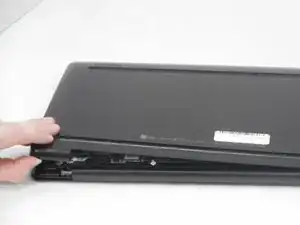
Continue prying around the entire perimeter until the lower case fully releases.
-
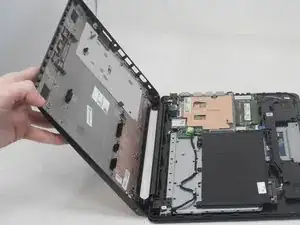
Lift off the lower case.
-
-
-
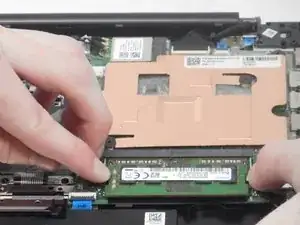
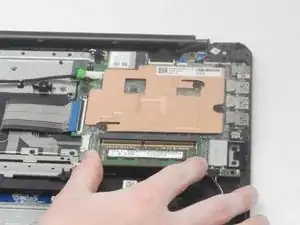
There are spring-loaded metal clips on each side of the RAM stick. Place your fingers on each metal clip and push them to the side.
-


To reassemble your device, follow these instructions in reverse order.