Introduction
Are you finding that the sound quality from your laptop speakers just isn't as vibrant as it used to be? If your audio experience is marred by crackling, distorted sound, or even silence, it might be time to consider replacing your laptop speakers. Typically, after 18 to 24 months of regular use, laptop speakers can start to show signs of wear and tear, leading to diminished sound quality.
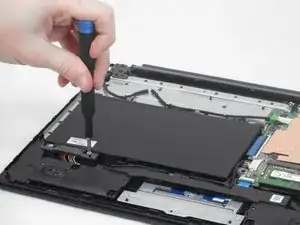
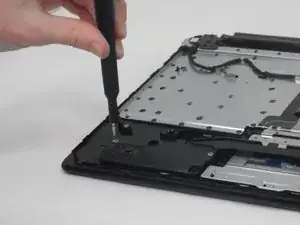
In this guide, we'll walk you through the step-by-step process of safely removing and installing new speakers for your laptop. Whether you're dealing with worn-out speakers or need to access other internal components, understanding this procedure is essential. Before you begin, make sure you have the right tools at your disposal: a plastic prying tool and a Phillips #1 screwdriver head.
Tools
-
-
Use an opening pick to gently pry up the edge of the rubber foot.
-
Grab the lifted edge of the foot and gently pull it away.
-
Repeat for the other rubber foot.
-
-
-
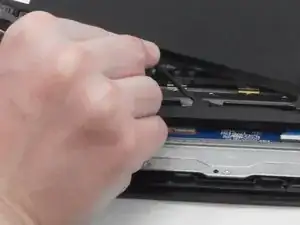
Insert an opening pick in the seam between the lower case and chassis.
-
Slide the opening pick around the perimeter, prying every couple of centimeters as you go.
-
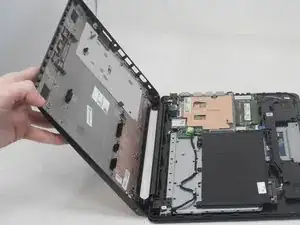
Continue prying around the entire perimeter until the lower case fully releases.
-
Lift off the lower case.
-
-
-
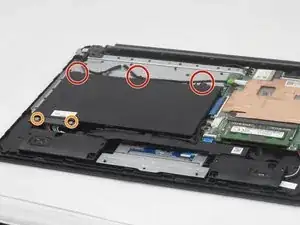
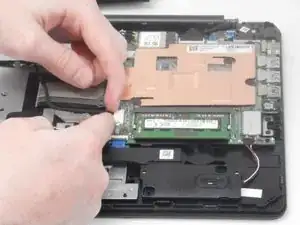
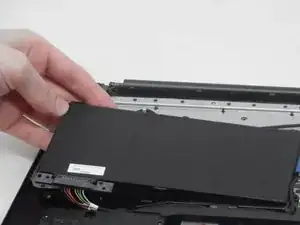
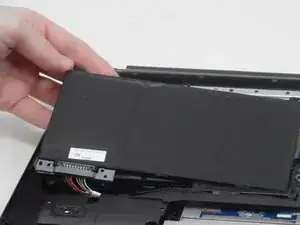
Use your fingers or the point of a spudger to slowly “wiggle” the battery connector directly out of its socket.
-
-
-
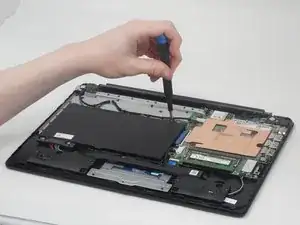
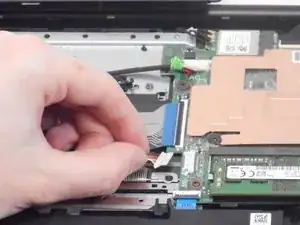
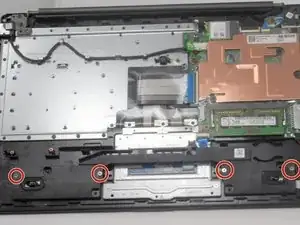
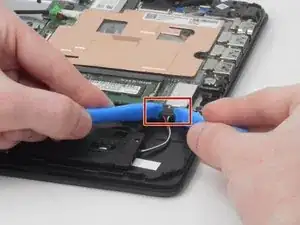
Use two plastic opening tools to "walk" the speaker connector directly out of its motherboard port.
-
-
-
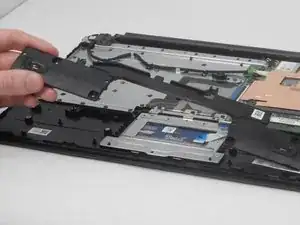
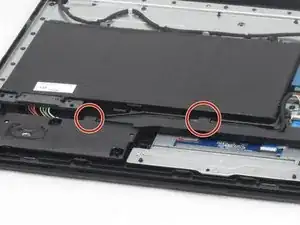
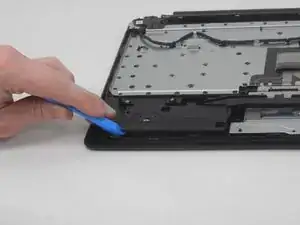
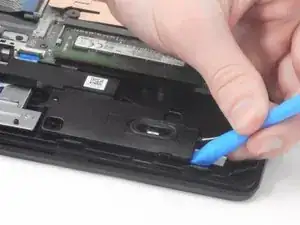
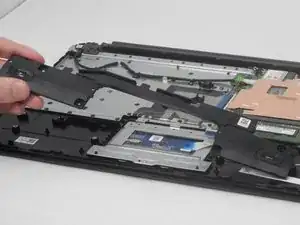
Wedge an opening tool underneath one corner of the speakers and prop that side of the speaker upwards.
-
Repeat this for both sides of the speakers.
-
To reassemble your device, follow these instructions in reverse order.
