
Introduction
If the Wi-Fi on your laptop is not working, it can be frustrating and disruptive to your daily tasks, especially in today's interconnected world. One of the common reasons for this issue could be a faulty or damaged Wi-Fi card. The Wi-Fi card, also known as a wireless network adapter, is the component responsible for connecting your laptop to wireless networks. Over time, due to various reasons like physical damage, overheating, or wear and tear, the Wi-Fi card may fail or malfunction. Additionally, to remove the motherboard of the laptop, the Wi-Fi card must be removed first.
In this guide, we will walk you through the steps to safely remove your laptop's Wi-Fi card. All you will need for this process is a Phillips #1 screwdriver and a plastic prying tool.
-
-
Use an opening pick to gently pry up the edge of the rubber foot.
-
Grab the lifted edge of the foot and gently pull it away.
-
Repeat for the other rubber foot.
-
-
-
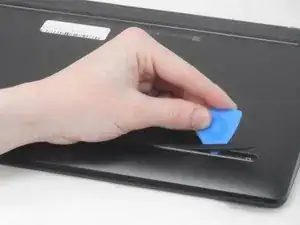
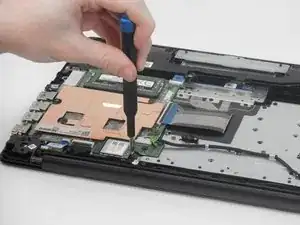
Insert an opening pick in the seam between the lower case and chassis.
-
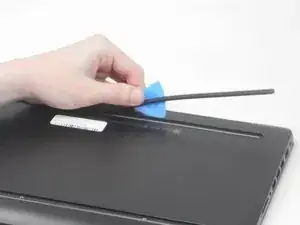
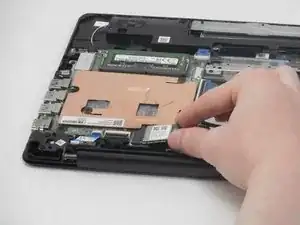
Slide the opening pick around the perimeter, prying every couple of centimeters as you go.
-
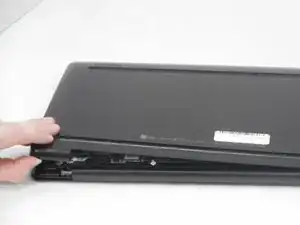
Continue prying around the entire perimeter until the lower case fully releases.
-
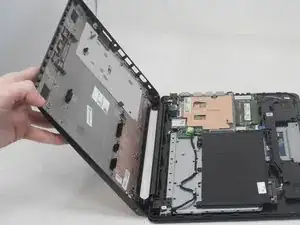
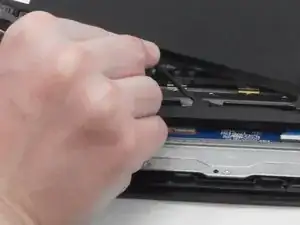
Lift off the lower case.
-
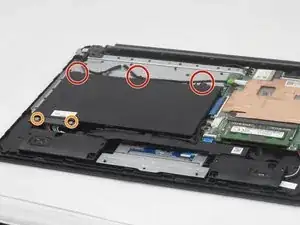
-
-
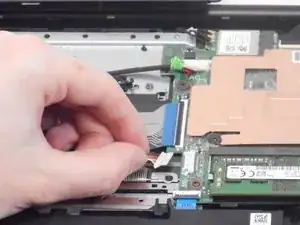
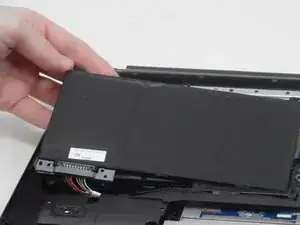
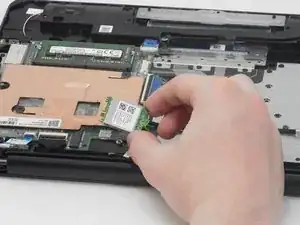
Use your fingers or the point of a spudger to slowly “wiggle” the battery connector directly out of its socket.
-


To reassemble your device, follow these instructions in reverse order.