Introduction
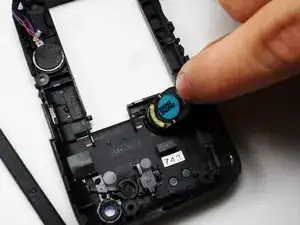
There are two speakers in the HTC EXCA100. We will be replacing both - the speaker used for the ringer and speaker phone, and the speaker used for the ear piece.
Tools
-
-
Start off with a clean open space to work in and then power off your phone.
-
Remove the SIM card and microSD, if it was inserted.
-
-
-
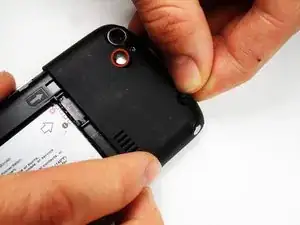
To take off the back cover, you can use a pry tool or your fingernail to take it off.
-
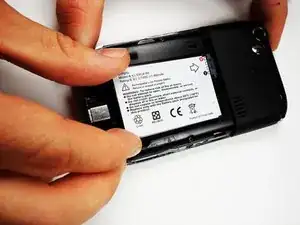
Gripping the battery by the bottom, lift and remove it from the phone.
-
-
-
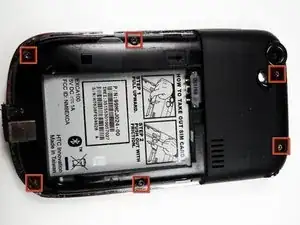
After removing the rubber stoppers on top, there should be six exposed screws. Remove these using the T6 screwdriver.
-
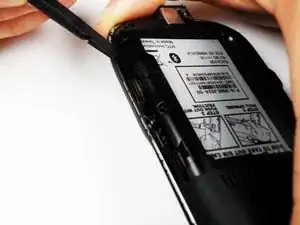
Next, use the spudger to loosen the case underneath the shiny metal edge. Go all the way around the phone until completely loosened.
-
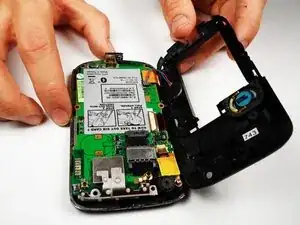
After loosening the case, remove it.
-
When taking the cover off, make sure not to snap any of the clips that are attached to the phone.
-
-
-
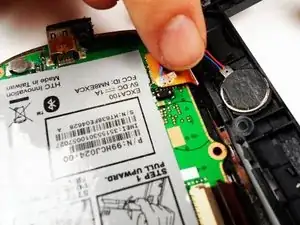
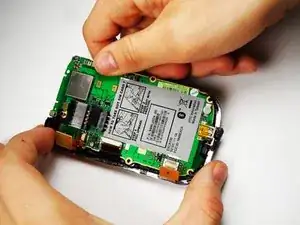
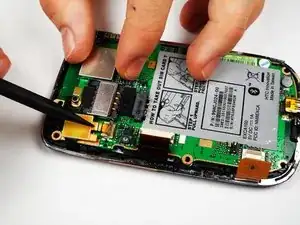
Disconnect all the ribbon cables that are connected to the logic board and do it either with the plastic pry tool or tweezers.
-
-
-
On the left side of the phone, there are three copper colored clips.
-
Unclip the bottom clip, thread the middle one through the logic board, and pull the top one out gently.
-
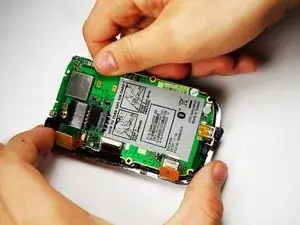
You can then lift the logic board out of the phone.
-
Be gentle when taking the logic board out and be mindful of any remaining connectors or adhesive.
-
-
-
When installing the logic board, make sure it is aligned properly in the phone.
-
After, reconnect all the ribbon cables back to the logic board and insert the screws again.
-
-
-
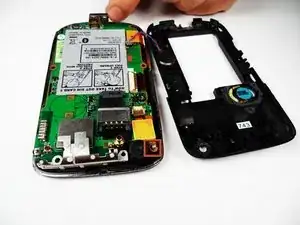
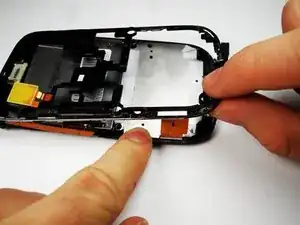
Remove the metal frame. Slip out the copper clips still attached to the bottom frame from the frame carefully.
-
-
-
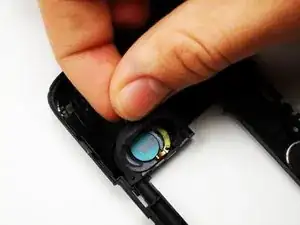
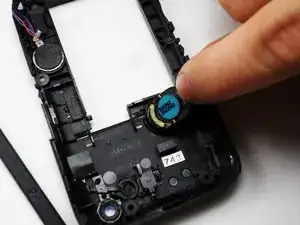
On the back case above the opening, pull off the rubber ring around the speaker using the small tab on it.
-
Remove and replace the speaker.
-
-
-
Above the screen on the opposite, gently pry off the ear piece with the spudger.
-
This can be removed with your hands. Insert the new ear piece, and reassemble the phone.
-
To reassemble your device, follow these instructions in reverse order.
