Introduction

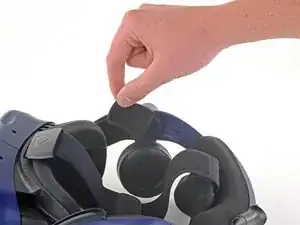
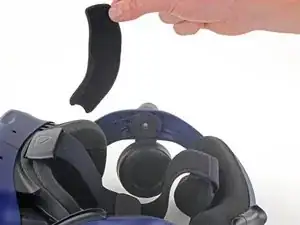
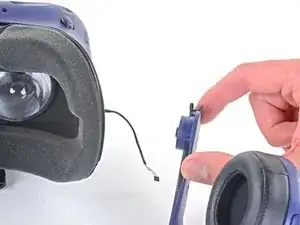
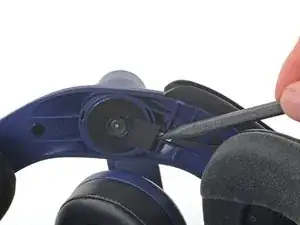
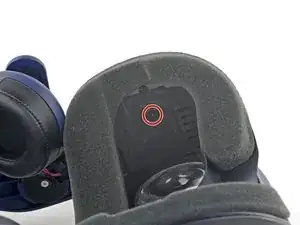
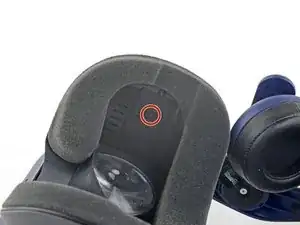
Use this guide to replace the head strap on your HTC Vive Pro 2 headset.

Some photos in this guide are from a different model and may contain slight visual discrepancies, but they won't affect the procedure.

Power off and unplug your headset before you begin your repair.

  1. HYe1UHPoxweusSWo
    HYe1UHPoxweusSWo
    Vp3EUnqHbUMB4IHc
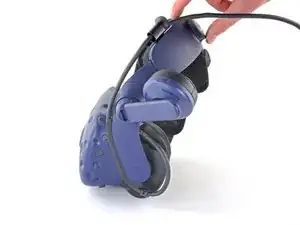
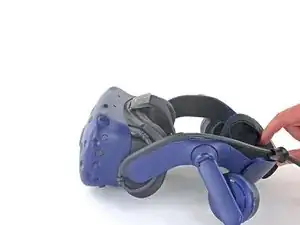
    • Rotate the head strap forward as far as it will go.

  2. lGRGmrJqbaNo2Ngy
    lGRGmrJqbaNo2Ngy
    tWWbSxVKBHuNwFNq
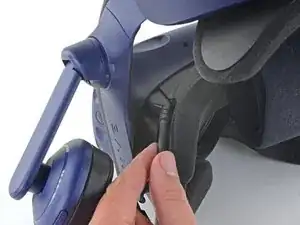
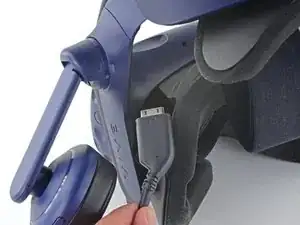
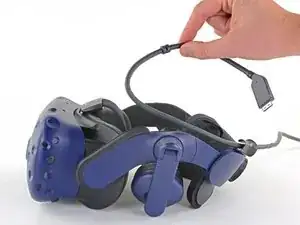
    • Unplug the All-In-One Cable from your headset.

  3. HbQvVLZ6kJDOwNRY
    HbQvVLZ6kJDOwNRY
    gXqSBAhFSAFT2PXt
    2NxZbAVObNCtX5Cs
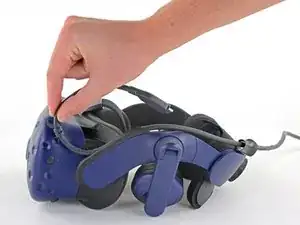
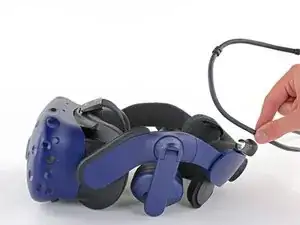
    • Remove the All-In-One Cable from the cable guides along the left side of the head strap.

    • During reassembly, connect the All-In-One Cable to the headset before routing it through the cable guides. This will ensure it has the right amount of slack.

  4. 3dG4uV5DpUAQZptQ
    3dG4uV5DpUAQZptQ
    YiMWeYhExTRMVKFO
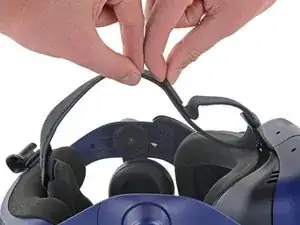
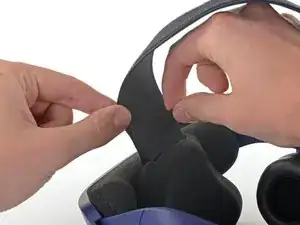
    • Separate the top strap from itself where the Velcro secures it.

  5. VLPdIX14F6iiruXO
    VLPdIX14F6iiruXO
    UmwroeIuZueAKbbW
    e5EtHVxxujdCPHxB
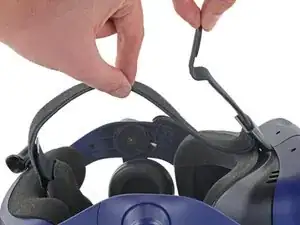
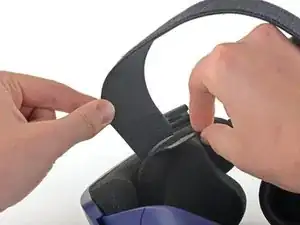
    • Peel back the Velcro securing the rear of the top strap.

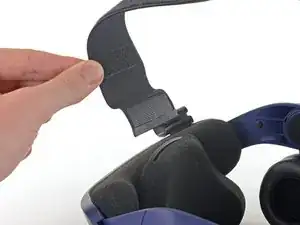
    • Feed the top strap out through the head strap to partially remove it.

  6. HcrR5RsAx4PE1h5j
    HcrR5RsAx4PE1h5j
    5vWrMBaqmgo4UBuT
    dCT1YqKf4opHuM2s
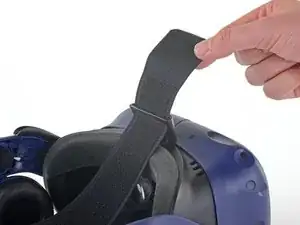
    • Feed the top strap through the clip near the front of headset to fully remove it.

  7. mPWInBOiUxUoIWHk
    mPWInBOiUxUoIWHk
    32lhPiKJihIMHrPC
    uLLL1T1UQArB36AA
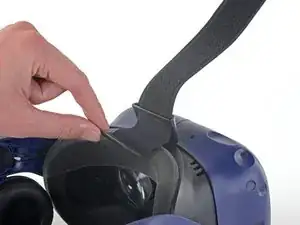
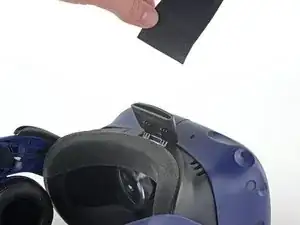
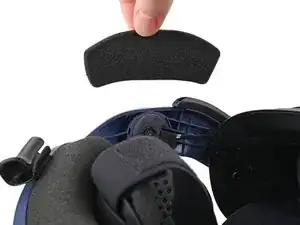
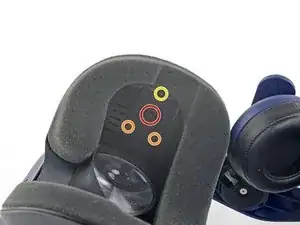
    • Peel off both front side foam pads to uncover the speaker wires.

  8. slTfqZlYFlIpvRDn
    slTfqZlYFlIpvRDn
    v3IOaci2GtBbSDqL
    NSimWm3BecjdeNBf
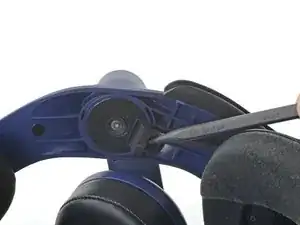
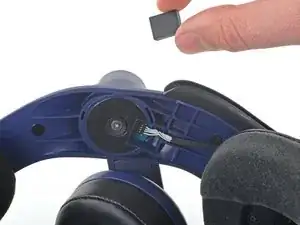
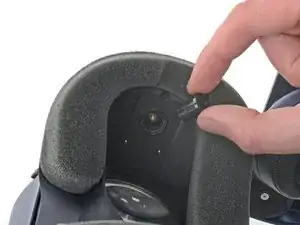
    • Use the point of your spudger to pry out the two rubber spacers next to the headphone screws.

    • Be careful not to accidentally pry any of the speaker wires under the rubber spacer.

  9. CVbX4PPWpfuB3Lev
    CVbX4PPWpfuB3Lev
    gTHLVQVxN2kPBLhD
    jNGX6DLIWu5LyFqO
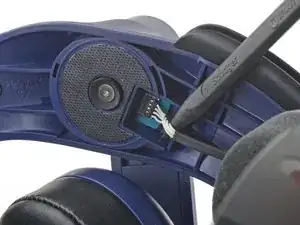
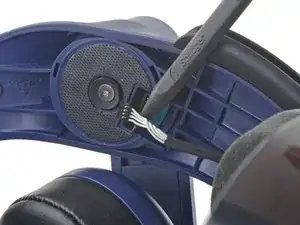
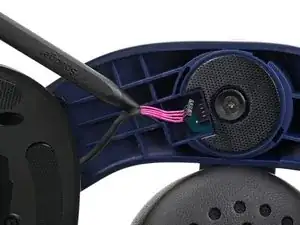
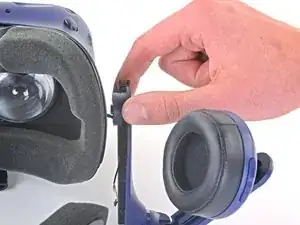
    • Use the point of your spudger to pry up and disconnect both the left and right headphone speaker wires.

  10. jyvLOIRiavsuSgk3
    jyvLOIRiavsuSgk3
    sAPbTeRiI1VYx2yZ
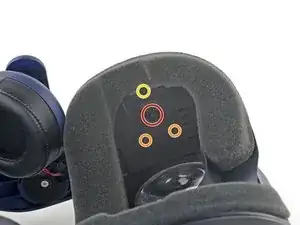
    • Use a T6 Torx screwdriver to remove the two 12.1 mm screws (one on each side) securing the head strap to the headset.

    • Use a T5 Torx screwdriver to remove the following screws securing the head strap to the headset:

    • Four 3.9 mm screws (two on each side)

    • Two 4.1 mm screws (one on each side)

    You do not need to remove the four 3.9mm screws or the 4.1mm screw. They do not secure the strap to the headset. You only need to remove the two 12.1mm screws.

    Ike -

  11. 2KDUshEaMsb6IDTc
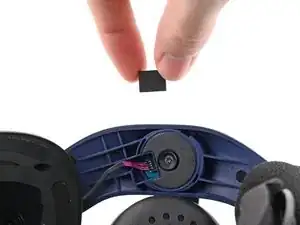
    • Remove the two plastic spacers underneath the previously removed Torx T6 screw.

  12. wifnXFGOEgTEfFXd
    wifnXFGOEgTEfFXd
    JCVxpnXqUOImeZhg
    kcUiO6qBPPYHBAdT
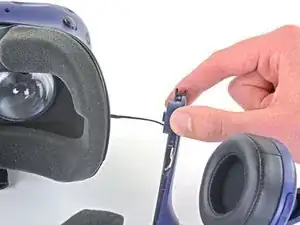
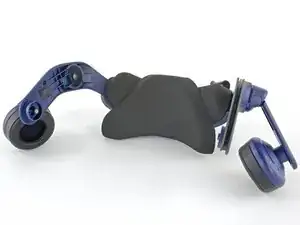
    • Thread the headphone speaker wires out through both ends of the head strap.

  13. mPWInBOiUxUoIWHk
    mPWInBOiUxUoIWHk
    32lhPiKJihIMHrPC
    uLLL1T1UQArB36AA
    • Peel off both front side foam pads to uncover the speaker wires.

  14. t6vDCnMiVLFAL4PR
    t6vDCnMiVLFAL4PR
    slTfqZlYFlIpvRDn
    v3IOaci2GtBbSDqL
    • Use the point of your spudger to pry out the two rubber spacers next to the headphone screws.

    • Be careful not to accidentally pry any of the speaker wires under the rubber spacer.

  15. CVbX4PPWpfuB3Lev
    CVbX4PPWpfuB3Lev
    gTHLVQVxN2kPBLhD
    • Use the point of your spudger to pry up and disconnect both the left and right headphone speaker wires.

  16. is1mqUj1UohMBXoG
    is1mqUj1UohMBXoG
    TTDvBZ5tWGuSPTej
    • Use a T6 Torx screwdriver to remove the two 12.1 mm screws (one on each side) securing the head strap to the headset.

  17. 2KDUshEaMsb6IDTc
    • Remove the two plastic spacers underneath the previously removed Torx T6 screw.

  18. wifnXFGOEgTEfFXd
    wifnXFGOEgTEfFXd
    JCVxpnXqUOImeZhg
    kcUiO6qBPPYHBAdT
    • Thread the headphone speaker wires out through both ends of the head strap.

Conclusion

Compare your new replacement part to the original part—you may need to transfer remaining components or remove adhesive backings from the new part before installing.

To reassemble your device, follow the above steps in reverse order.

Take your e-waste to an R2 or e-Stewards certified recycler.

Repair didn’t go as planned? Try some basic troubleshooting, or ask our Answers community for help.
Alex Diaz-Kokaisl

Member since: 16/01/22

163004 Reputation

0 comments