Introduction

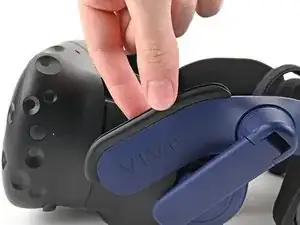
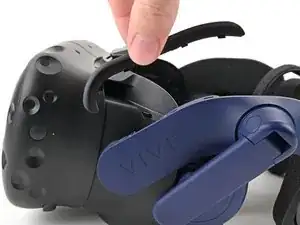
Use this guide to replace the outer shell on your HTC Vive Pro 2 headset.

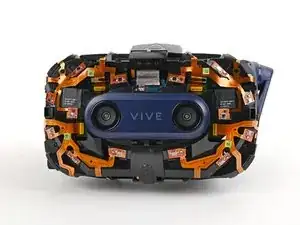
Some photos in this guide are from a different model and may contain slight visual discrepancies, but they won't affect the procedure.

Power off and unplug your headset before you begin your repair.

  1. JGRLvKAPwkQXqGxD
    JGRLvKAPwkQXqGxD
    4MnYolsQt6v2N3hU
    eANMYIZCSfkM42XN
    • Unplug the All-In-One Cable from your headset.

  2. nVsYN3QTbYBMs1Ms
    nVsYN3QTbYBMs1Ms
    4NyPKeTwOtSWEThx
    • Remove the All-In-One Cable from the cable guides along the left side of the head strap.

    • During reassembly, connect the All-In-One Cable to the headset before routing it through the cable guides. This will ensure it has the right amount of slack.

  3. RR5lujKwuB2U6Qcs
    RR5lujKwuB2U6Qcs
    K5ZCJqEfZSQnh5Cw
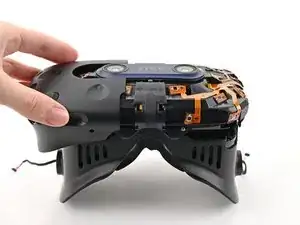
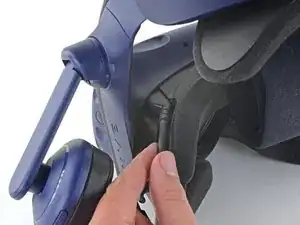
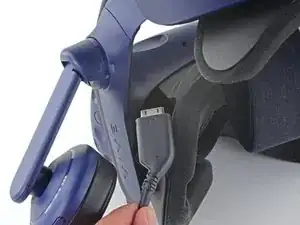
    • Use a Phillips screwdriver to remove the three 2.4 mm‑long screws securing the All-in-One cable bracket.

  4. JXwPBEyGJAIarESw
    JXwPBEyGJAIarESw
    3aYGAOCbBWqtTQnQ
    • Lift the All-in-One cable bracket straight off the headset and remove it.

    • The bracket is aligned on the headset with pegs. During reassembly, make sure the pegs align properly and the bracket sits flush on the headset.

  5. L5NuMAHXWiniFnKw
    L5NuMAHXWiniFnKw
    fchmXUSrgKuuexE4
    gcXlD1g3tInORGDc
    • The four screws securing the outer shell are covered with black stickers. If the stickers are difficult to remove, simply press your T6 Torx driver through them.

  6. lDSZDQUVjnv64yQC
    lDSZDQUVjnv64yQC
    Njq6gOjiGnOCDYJg
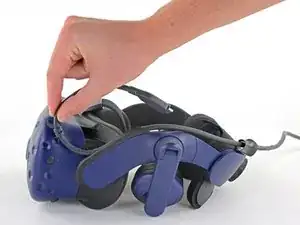
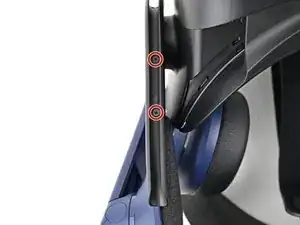
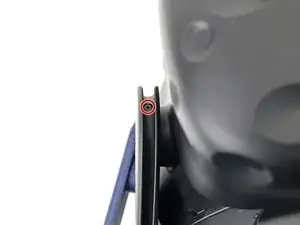
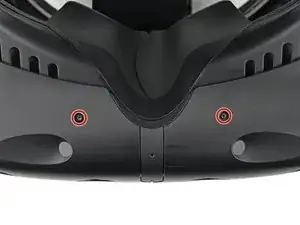
    • Use a T6 Torx screwdriver to remove the four 3.9 mm screws (two on top, two on bottom) securing the outer shell to the headset.

  7. dNV6ZQLKwaAjWsw1
    dNV6ZQLKwaAjWsw1
    V2Hf1xLNgqXEU2B6
    xtxnc6XAatfjBopR
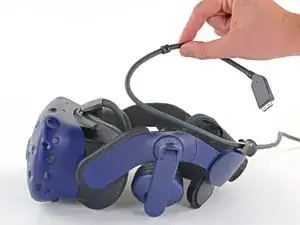
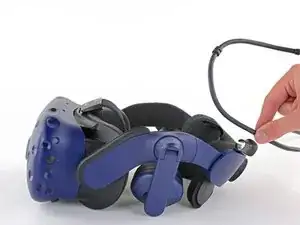
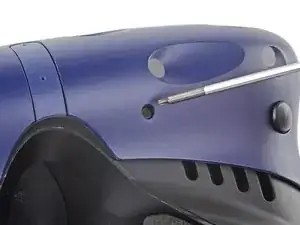
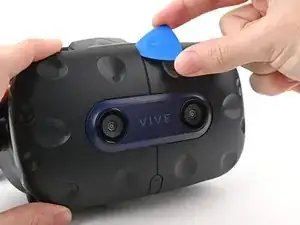
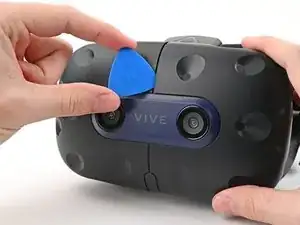
    • Insert an opening pick into the seam between the two halves of the outer shell.

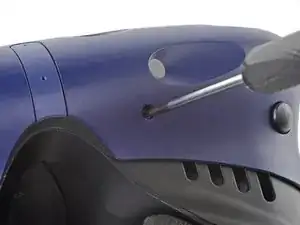
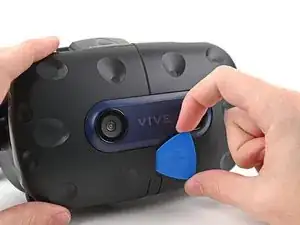
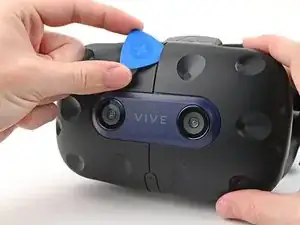
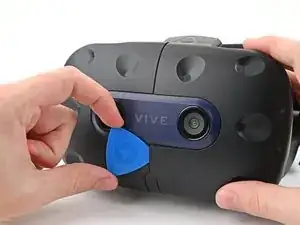
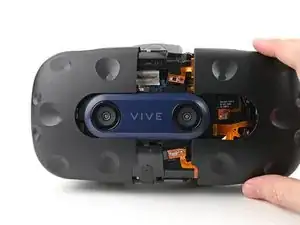
    • Slide the opening pick through the seam to dislodge the clips securing it to the headset.

    • Only insert the opening pick as far as necessary. There are ribbon cables underneath the outer shell.

  8. gyHWVuKWgTjqK6PF
    gyHWVuKWgTjqK6PF
    2VHg1TRaoVWQlM14
    2Y4ugF2fTtQfrG6Z
    • Continue sliding the opening pick through each seam until all clips have been dislodged.

  9. B2dkAm1DnW21Nj16
    B2dkAm1DnW21Nj16
    VjU6MklS5WgnaEE3
    FvSfIXpgMHAlybrC
    • Carefully slide each half of the outer shell off of the sensor array.

    • Be careful not to snag any of the ribbon cables underneath.

Conclusion

To reassemble your device, follow the above steps in reverse order.

Repair didn’t go as planned? Try some basic troubleshooting, or ask our Answers community for help.

Alex Diaz-Kokaisl

Member since: 16/01/22

163004 Reputation

0 comments