Introduction
The motherboard of the headphones is arguably its most important component. It is the central piece of technology that allows your headphones to transmit information with the device you are streaming audio from and transcribes the audio signal into actual sound. This guide will show you how to replace a damaged or malfunctioning motherboard in your Heyday headphones.
-
-
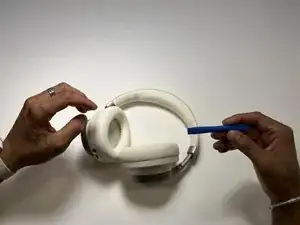
Position the headphones so that you can see the opening for the cushion. It should be along the outer edge where the cushion meets the plastic.
-
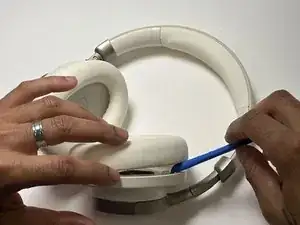
Take your IFixIt opening tool and place it between the cushion and the plastic to help you separate them.
-
-
-
Remove the ear-pad cushion.
-
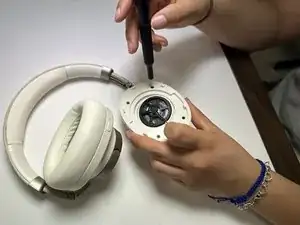
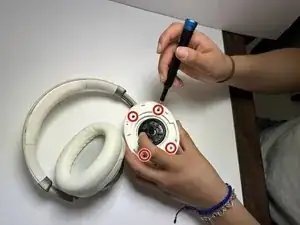
Once the cushion has been removed, you should see 4 black screws around the center of the speaker in the headphone.
-
Use a Phillips #00 to remove all 4 screws.
-
-
-
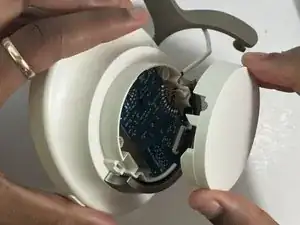
Once the screws are removed, turn the headphones over and remove the plastic cover on the outside. You should be able to see the motherboard under the plastic casing.
-
-
-
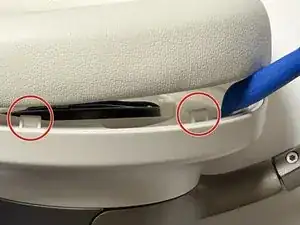
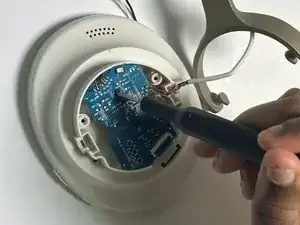
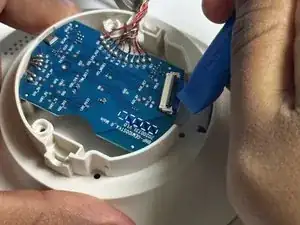
Using your IFitIt opening tool, release the the tab that that connects the motherboard.
-
Carefully disconnect the chip that connects the motherboard to the rest of the headphones.
-
-
-
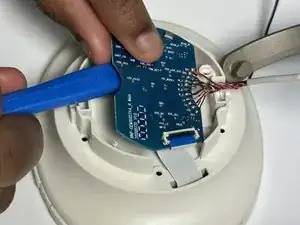
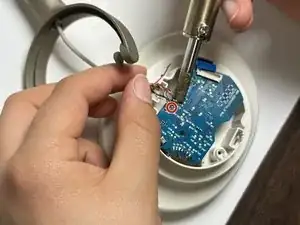
Plug in soldering tool and allow it to heat up.
-
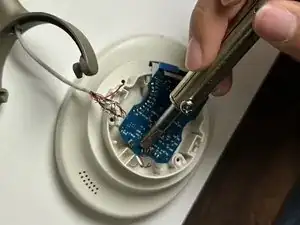
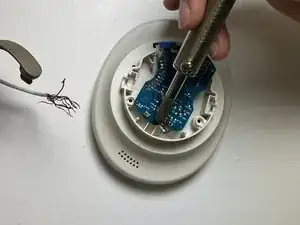
Disconnect the motherboard by soldering the wires where they connect to the motherboard.
-
Once these are disconnected, the motherboard can be removed and replaced.
-

To reassemble your device, follow these instructions in reverse order.
