Introduction

  1. rd2KGxJrfuQwZVHL
    rd2KGxJrfuQwZVHL
    2NCW11rUlnVsBYVo
    • Use a metal spudger to pry the fabric-covered top off of the speaker.

  2. senHcfHcErjecenC
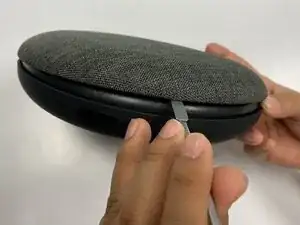
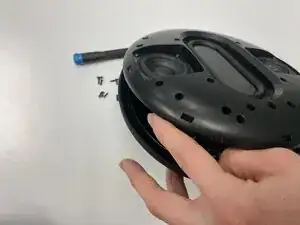
    • Use a Phillips #0 screwdriver to remove the twelve screws around the perimeter of the inner plastic shell.

  3. 1jPfQ313af3Bu3IN
    • Remove the inner shell from the back case.

    • Don't yank or pull the shell case off the bottom case. There are cables connecting the two and they could be damaged if pulled.

  4. O3TaOsoiS3UY3Mud
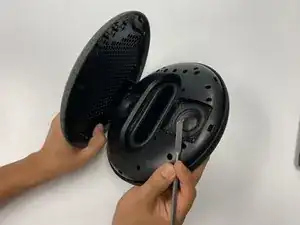
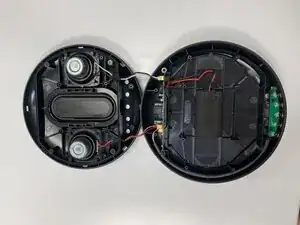
    • Once the hardware is opened by the screwdriver, both sides of the motherboard will be exposed and ready for any needed repairs.

  5. sT2b3FlMAjUsk4hs
    sT2b3FlMAjUsk4hs
    ILogpmwXVKPZkUwB
    • Use curved tip tweezers to detach the connectors of two 2-prong Aux In/Out plugs extending from the subwoofer.

  6. AkUYvLq4m1whSPhK
    AkUYvLq4m1whSPhK
    DiRK6tlHaZ5hePhH
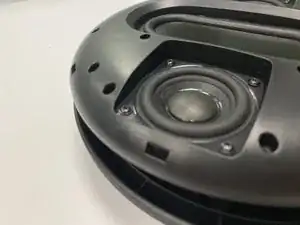
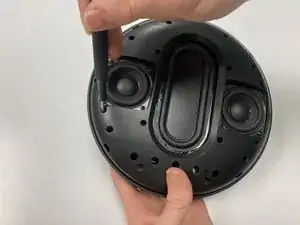
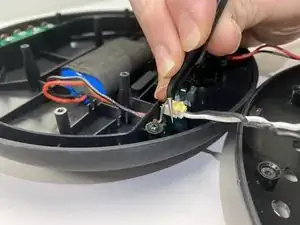
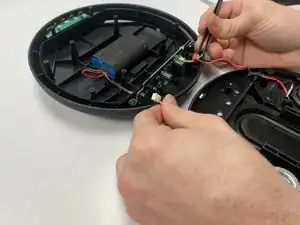
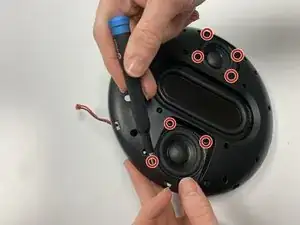
    • Use a Phillips #0 screwdriver to remove the four screws at the edge of each subwoofer to release them.

    • Remove both subwoofers.

Conclusion

To reassemble your device, follow these instructions in reverse order.

Jonathan Sotelo

Member since: 22/09/22

302 Reputation

0 comments