Introduction

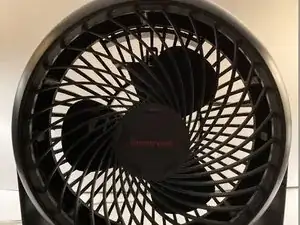
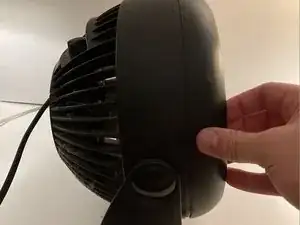
This guide will show you how to disassemble a Honeywell Turbo Force Air Circulator Fan, so cleaning the interior of the fan is easier. It will also allow for further actions to take place such as oiling the rotor of the fan.

  1. WjE5PpPbFjJLxXIH
    WjE5PpPbFjJLxXIH
    LPdFQsYSRcdNpdxu
    • Honeywell Turbo Force 12" Air Circulator.

    • Dimensions - 11.22" x 9.8" x 13.98", 5.7 lbs.

  2. HuMHYanneFXSLjSJ
    HuMHYanneFXSLjSJ
    oVImTu6edQccOKob
    MiblYretLgQGtQ6D
    • Remove the 6 screws from the backside of the fan.

  3. Iql5TyAphuZiE1dl
    Iql5TyAphuZiE1dl
    pYoTeHXWCoPg4r16
    • Remove the front grill cover.

    This is a lot harder than it looks at first. I believe that some models may have a metal ring, and that can make the removal 10 times harder. The only way I was able to remove the ring was to take a small screwdriver and bend one of the flaps up until the ring had enough room to be pried out.

    Noah -

  4. hmsfFrYAEgDfttCj
    hmsfFrYAEgDfttCj
    PA4dNjjaldVM2KNY
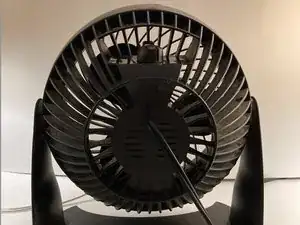
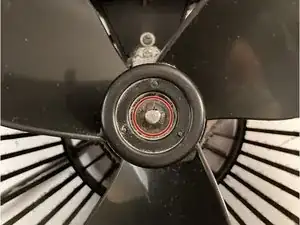
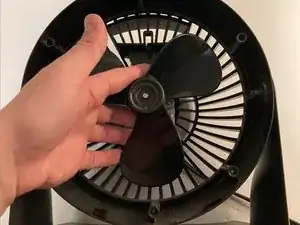
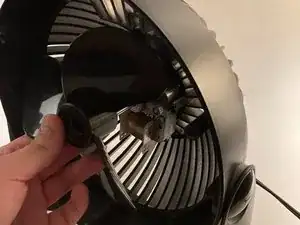
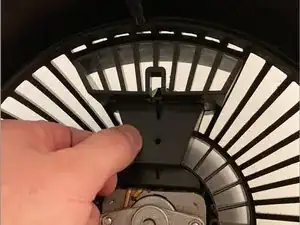
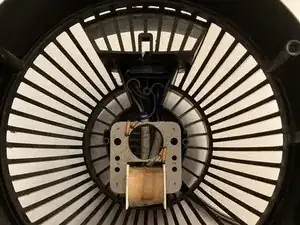
    • Remove the inside plastic ring around center shaft.

    • Enables the fan blades to be removed.

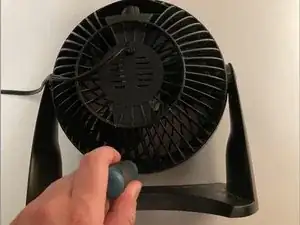
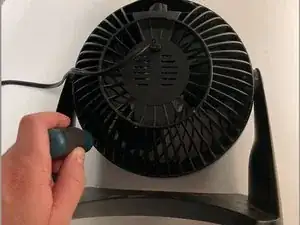
    • Use a flat head screwdriver to remove the plastic ring.

  5. CVgufAMa6P6NegqE
    CVgufAMa6P6NegqE
    1v2FJmtTnHXmDX2V
    • Remove the fan blades by pulling.

  6. YTZyElJqAGrluf1A
    YTZyElJqAGrluf1A
    PdPrrlGW5lCYlBKM
    • Remove 1 screw inside to detach the plastic wire covering.

  7. t6iS2AQtRG5swNTU
    • Remove the plastic covering.

  8. gIVodFxSmHPEFQ16
    gIVodFxSmHPEFQ16
    dqRCkPWvENhl4vns
    X1KNBqGDDtPFAf6P
    • Remove the 2 screws on the motor.

    • This allows the motor to pull away from the housing.

  9. agIQ1mmKTaEAIx2l
    • Pull the motor away from the housing to expose wiring.

    • Use caution to not detach the wiring from the back.

  10. Unc1bcanpNsVoVAG
    Unc1bcanpNsVoVAG
    ROyBOpTisMKMPpMS
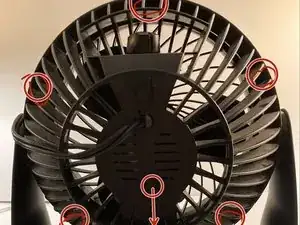
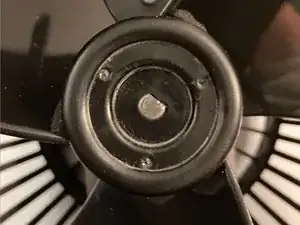
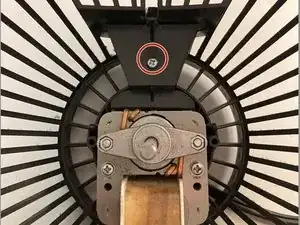
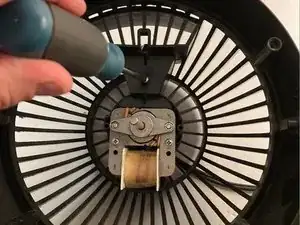
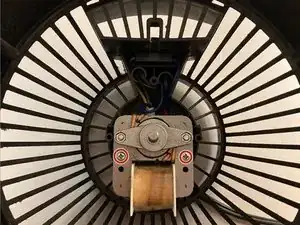
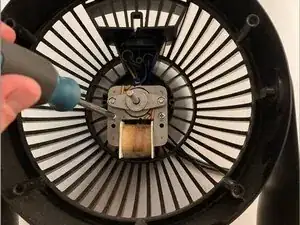
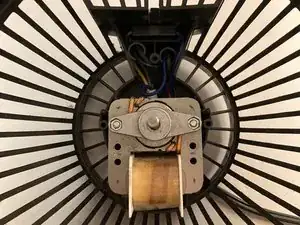
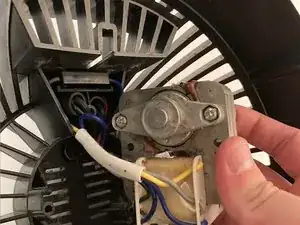
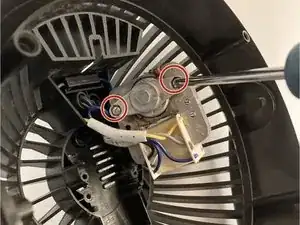
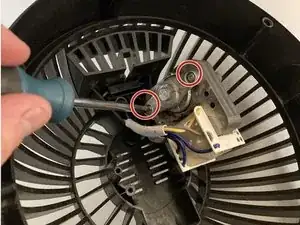
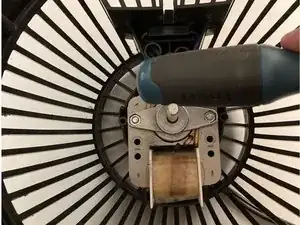
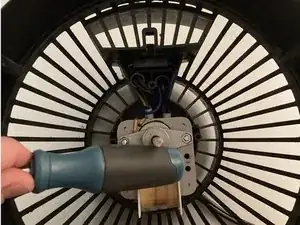
    • Remove the two screws from the back of the motor.

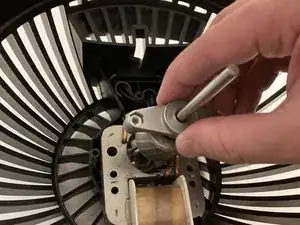
    • Allows the rotor and front/back bearings to be removed.

  11. QQfaLg4JFRZvDeNc
    QQfaLg4JFRZvDeNc
    1TALYMBudJcWCw4y
    • Remove the rotor and front bearings by pulling.

  12. HpMZvWR6APjVnC5P
    HpMZvWR6APjVnC5P
    WmTBrPDXfXhANu4i
    GbNdyuoMmdthckkV
    • During reassembly, re-align the bearings by tapping on the shaft.

Conclusion

To reassemble the fan, follow these instructions in reverse order. Note that Step 12 is an extra step in the reassembly process to follow.

Donovan Williams

Member since: 12/04/22

352 Reputation

5 comments

Thank you for the good guide, I saved my fan in the middle of hot weather!

Noah -

I have a Honeywell HF910. I have taken the cover off but there are no screws behind the fan blades. Any suggestions on how to remove the fan blades? Thank you.

Nancy Alexander -

I have a hf710 turbo fan I need the screws can I find out the size of them there the ones holding the cover on

Janet hicks -

Thank You for the detailed guide. I couldn't get the ring off, other than that Perfect.

Paula L Burnett -

I have a Honeywell HF 810 series fan. I’ve watched both your videos on the 800 and 900 series. I have a problem with the front grill releasing. I’ve taken out all 10 screws and been able to loosen it all the way around, forcefully with screw drivers but it won’t release. It is like the motor is attached to the Front/back grill.Help!

Joan -